> ## Documentation Index
> Fetch the complete documentation index at: https://help.hoopai.com/llms.txt
> Use this file to discover all available pages before exploring further.
# Sharing dashboards
> Grant team members and clients access to your dashboards using permission-based sharing and shareable links.
Sharing dashboards in the HoopAI platform lets you give other users controlled access to your custom dashboards — whether you want a colleague to edit widgets, a manager to view results, or a client to see their campaign performance. Sharing is managed entirely through the permissions system, giving you granular control over who sees what and what they can do with it.
## How dashboard sharing works
Every dashboard in the HoopAI platform has its own access settings. By default, a new dashboard is accessible only to the user who created it. To make it available to others, you need to assign them a permission level through the **Manage Permissions** panel.
There are four permission levels that control what a shared user can do:
| Permission level | What the user can do |
| ---------------- | --------------------------------------------------------------------------------- |
| **Full** | Create, edit, share, clone, and delete the dashboard |
| **Edit** | Add, modify, and remove widgets — cannot delete the dashboard |
| **View** | Read-only access — can see data and use Quick Filters, but cannot change anything |
| **No Access** | Dashboard is completely hidden from this user |
## Sharing a dashboard with team members
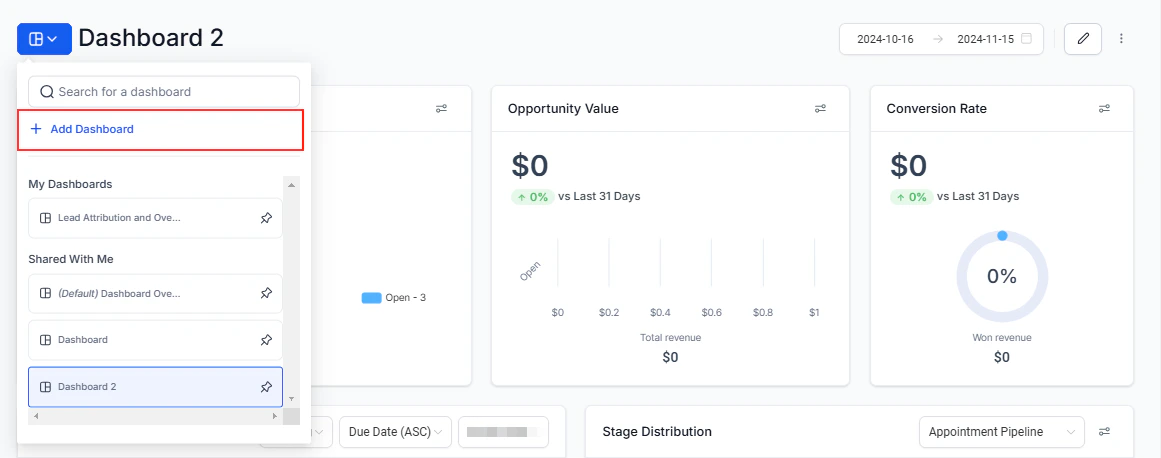 Navigate to the dashboard you want to share. Click the **three dots** icon in the top-right corner of the dashboard header.
Choose **"Manage Permissions"** from the dropdown menu. The permissions panel will open, listing all users in your account.
Find each team member you want to share with and select their permission level from the dropdown next to their name. You can share with multiple users at different levels simultaneously — for example, give a team lead **Edit** access and give account executives **View** access.
Navigate to the dashboard you want to share. Click the **three dots** icon in the top-right corner of the dashboard header.
Choose **"Manage Permissions"** from the dropdown menu. The permissions panel will open, listing all users in your account.
Find each team member you want to share with and select their permission level from the dropdown next to their name. You can share with multiple users at different levels simultaneously — for example, give a team lead **Edit** access and give account executives **View** access.
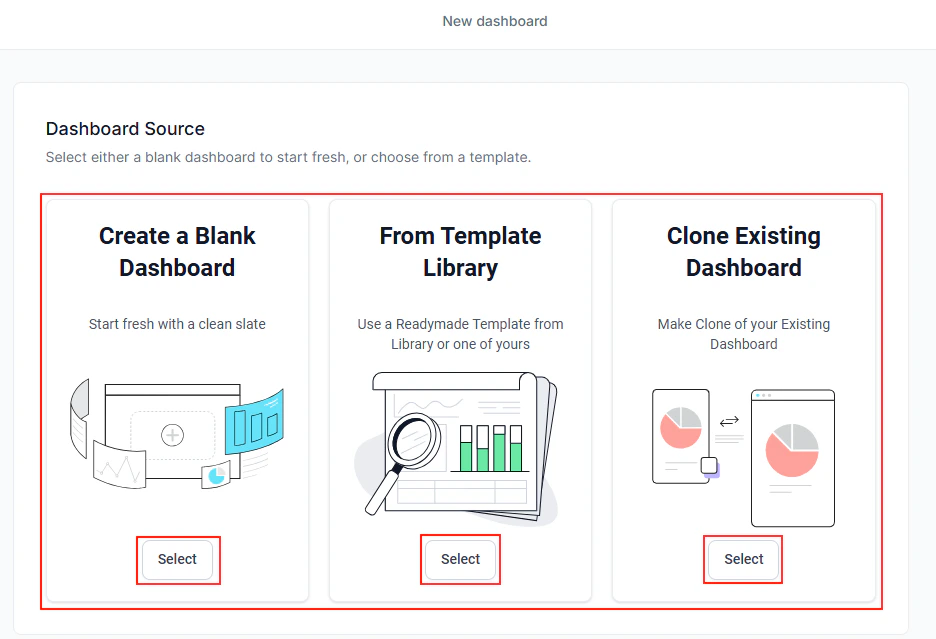 Click **Save** to apply the updated permissions. The selected users will now have access to the dashboard immediately.
To share a dashboard with your entire team efficiently, set the default permission for all users to **View**, then individually upgrade specific users to **Edit** or **Full** as needed.
## Private dashboards
When creating or editing a dashboard, you can toggle the **Private Dashboard** option. A private dashboard is hidden from all users by default and must be explicitly shared with individuals one at a time. Use private dashboards for sensitive reporting — for example, executive performance data or financial summaries — that should only be visible to specific people.
To make a dashboard private after it has already been shared:
1. Open the dashboard options menu and select **Manage Permissions**
2. Toggle the **Private Dashboard** switch to on
3. Review the user list and adjust individual permissions as needed
4. Click **Save**
## Sharing with clients
The HoopAI platform supports client-facing dashboards that allow your clients to view their own data. To set up a client-facing dashboard:
1. Create a dedicated dashboard with widgets scoped to that client's data
2. Use widget-level **Conditions** to filter data to the relevant contact or pipeline
3. Assign the client's user account **View** access through the Manage Permissions panel
4. Optionally mark the dashboard as **Private** so it is only visible to that client and your internal team
Clients with View access can apply Quick Filters to adjust the data they see, but they cannot add, edit, or remove widgets from the dashboard.
## Sharing vs. cloning
**Sharing** a dashboard gives another user access to the same dashboard — any changes made (by users with Edit or Full access) affect the shared version that everyone sees.
**Cloning** a dashboard creates an independent copy for another user or team. Use cloning when you want multiple teams to have their own customizable version of a dashboard without interfering with each other.
To clone a dashboard, click the **three dots** menu and select **"Clone Dashboard"**. The clone is created as a separate dashboard and can then be shared independently.
## Role-based access considerations
Click **Save** to apply the updated permissions. The selected users will now have access to the dashboard immediately.
To share a dashboard with your entire team efficiently, set the default permission for all users to **View**, then individually upgrade specific users to **Edit** or **Full** as needed.
## Private dashboards
When creating or editing a dashboard, you can toggle the **Private Dashboard** option. A private dashboard is hidden from all users by default and must be explicitly shared with individuals one at a time. Use private dashboards for sensitive reporting — for example, executive performance data or financial summaries — that should only be visible to specific people.
To make a dashboard private after it has already been shared:
1. Open the dashboard options menu and select **Manage Permissions**
2. Toggle the **Private Dashboard** switch to on
3. Review the user list and adjust individual permissions as needed
4. Click **Save**
## Sharing with clients
The HoopAI platform supports client-facing dashboards that allow your clients to view their own data. To set up a client-facing dashboard:
1. Create a dedicated dashboard with widgets scoped to that client's data
2. Use widget-level **Conditions** to filter data to the relevant contact or pipeline
3. Assign the client's user account **View** access through the Manage Permissions panel
4. Optionally mark the dashboard as **Private** so it is only visible to that client and your internal team
Clients with View access can apply Quick Filters to adjust the data they see, but they cannot add, edit, or remove widgets from the dashboard.
## Sharing vs. cloning
**Sharing** a dashboard gives another user access to the same dashboard — any changes made (by users with Edit or Full access) affect the shared version that everyone sees.
**Cloning** a dashboard creates an independent copy for another user or team. Use cloning when you want multiple teams to have their own customizable version of a dashboard without interfering with each other.
To clone a dashboard, click the **three dots** menu and select **"Clone Dashboard"**. The clone is created as a separate dashboard and can then be shared independently.
## Role-based access considerations
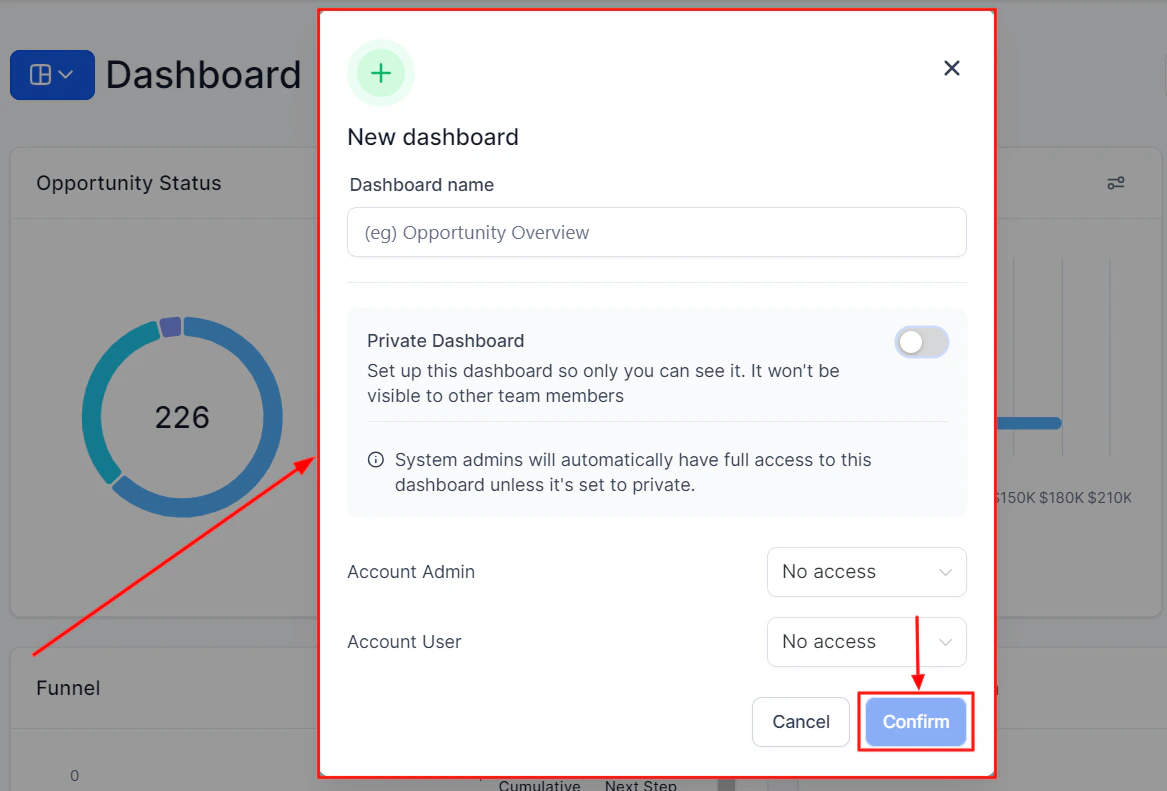 Permission assignments follow role hierarchy within your account:
* **Account Admins** have default Full view access to all dashboards unless explicitly restricted
* **Account Users** see only dashboards they have been granted access to
* Lower-level roles cannot be granted higher access than is permitted by their role in the account settings
Only users with **Full** permission on a dashboard can manage that dashboard's sharing settings. Users with Edit or View access cannot modify who else has access.
## Frequently asked questions
Dashboard sharing requires the recipient to have a user account in your HoopAI platform. External users without an account cannot be directly added to a dashboard's permission list.
Shared users see the same dashboard layout and widgets, but data may differ if widgets are configured with user-specific conditions (such as "Logged in User" conditions). Each user's own filters and Quick Filter selections are also personal and do not affect others' views.
Open the dashboard options menu, select "Manage Permissions," find the user, and set their permission level to **No Access**. Click Save to apply.
Yes. Any user with Full dashboard access can set a dashboard as the account default. All users must have at least View access to the dashboard before it can be set as the default login view.
Permission assignments follow role hierarchy within your account:
* **Account Admins** have default Full view access to all dashboards unless explicitly restricted
* **Account Users** see only dashboards they have been granted access to
* Lower-level roles cannot be granted higher access than is permitted by their role in the account settings
Only users with **Full** permission on a dashboard can manage that dashboard's sharing settings. Users with Edit or View access cannot modify who else has access.
## Frequently asked questions
Dashboard sharing requires the recipient to have a user account in your HoopAI platform. External users without an account cannot be directly added to a dashboard's permission list.
Shared users see the same dashboard layout and widgets, but data may differ if widgets are configured with user-specific conditions (such as "Logged in User" conditions). Each user's own filters and Quick Filter selections are also personal and do not affect others' views.
Open the dashboard options menu, select "Manage Permissions," find the user, and set their permission level to **No Access**. Click Save to apply.
Yes. Any user with Full dashboard access can set a dashboard as the account default. All users must have at least View access to the dashboard before it can be set as the default login view.