> ## Documentation Index
> Fetch the complete documentation index at: https://help.hoopai.com/llms.txt
> Use this file to discover all available pages before exploring further.
# Notes
> Create, edit, pin, and search notes on contact records to capture context and keep your team informed in the HoopAI Platform.
Notes let you record free-form information directly on a contact record — call summaries, preferences, background details, or anything else your team needs to remember. Every note is timestamped, searchable, and visible to all team members with access to the contact.
## Accessing notes
Open any contact record and click the **Notes** tab in the right-side information panel. All existing notes for that contact are displayed in reverse chronological order (newest first).
***
## Creating a note
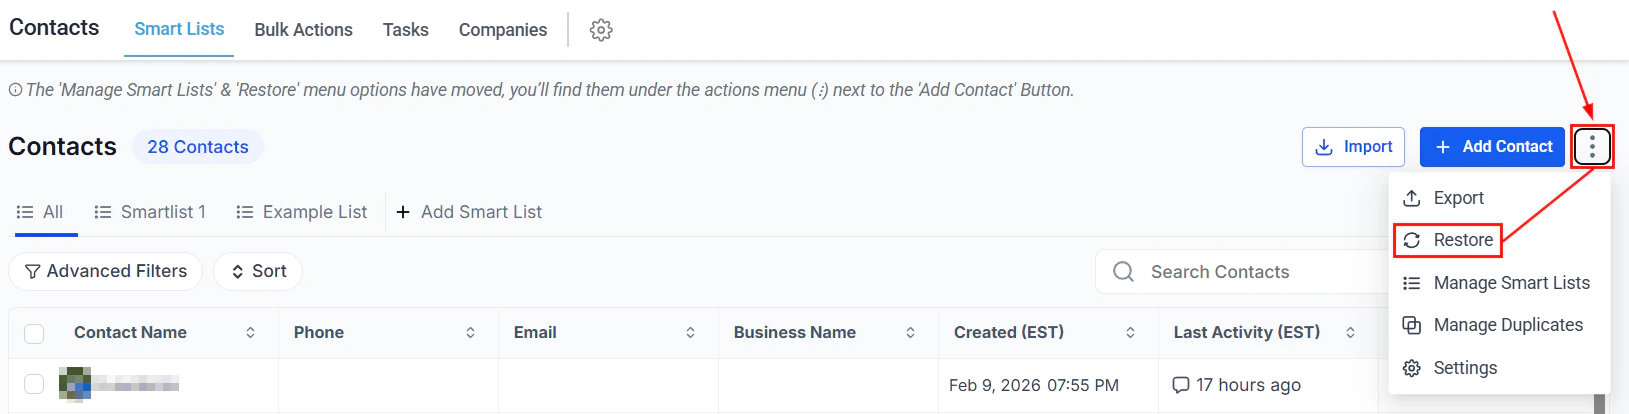
Navigate to **Contacts > Smart Lists**, click a contact's name to open their record, then select the **Notes** tab in the right-side panel.
Click **+ Add** to open the note editor.
Enter your note text in the editor. Notes support plain text and can be as long as needed. Common uses include:
* Call summaries and next steps
* Client preferences and personal details
* Meeting outcomes and decisions made
* Concerns, objections, or special handling instructions
Click **Save** to attach the note to the contact record. The note appears immediately with your name and a timestamp.
 ***
## Editing a note
In the **Notes** tab, find the note you want to update.
Click the **pencil icon** on the note card to open the editor.
Make your changes, then click **Save**. The note retains its original timestamp but shows that it has been edited.
***
## Deleting a note
Click the **trash icon** on the note card to delete it. A confirmation prompt appears before the note is permanently removed.
Deleting a note is permanent and cannot be undone. If you want to preserve the content, edit the note rather than deleting it.
***
## Searching and sorting notes
Use the **search bar** at the top of the Notes tab to find notes by keyword. This is especially useful on contacts with a long history.
Use the **sort control** to switch between:
* **Newest first** — default view; most recent notes appear at the top
* **Oldest first** — useful for reviewing the full chronological history of a contact
***
## Pinning notes
***
## Editing a note
In the **Notes** tab, find the note you want to update.
Click the **pencil icon** on the note card to open the editor.
Make your changes, then click **Save**. The note retains its original timestamp but shows that it has been edited.
***
## Deleting a note
Click the **trash icon** on the note card to delete it. A confirmation prompt appears before the note is permanently removed.
Deleting a note is permanent and cannot be undone. If you want to preserve the content, edit the note rather than deleting it.
***
## Searching and sorting notes
Use the **search bar** at the top of the Notes tab to find notes by keyword. This is especially useful on contacts with a long history.
Use the **sort control** to switch between:
* **Newest first** — default view; most recent notes appear at the top
* **Oldest first** — useful for reviewing the full chronological history of a contact
***
## Pinning notes
 Pin important notes so they always appear at the top of the list, regardless of sort order.
Find the note in the Notes tab.
Click the **pin icon** on the note card. Pinned notes move to the top of the list and display a filled pin icon.
Click the pin icon again to unpin the note and return it to its natural position in the list.
Pin your most important context notes — such as a client's preferred communication method or an agreed-upon discount — so they are immediately visible to any team member who opens the record.
***
## Notes in automation
Pin important notes so they always appear at the top of the list, regardless of sort order.
Find the note in the Notes tab.
Click the **pin icon** on the note card. Pinned notes move to the top of the list and display a filled pin icon.
Click the pin icon again to unpin the note and return it to its natural position in the list.
Pin your most important context notes — such as a client's preferred communication method or an agreed-upon discount — so they are immediately visible to any team member who opens the record.
***
## Notes in automation
 Workflows can create notes on contact records automatically using the **Create Note** action. This is useful for logging events such as:
* When a contact submits a form
* When a payment is received
* When a workflow stage changes
Automated notes are indistinguishable from manual notes in the Notes tab and include a timestamp reflecting when the workflow ran.
***
## Frequently asked questions
Yes. Notes are visible to any team member who has access to the contact record. There is no concept of private notes — use internal comments in the Conversations tab if you need to leave messages only for specific team members.
Notes are text-only. To attach files to a contact record, use the **Documents** tab where you can upload PDFs, images, and other file types.
Yes. When two contacts are merged, all notes from both records are combined on the master record.
Not directly from the Notes tab. Use the **Advanced Filters** in Smart Lists and filter by note content to find contacts based on notes across your entire database.
Workflows can create notes on contact records automatically using the **Create Note** action. This is useful for logging events such as:
* When a contact submits a form
* When a payment is received
* When a workflow stage changes
Automated notes are indistinguishable from manual notes in the Notes tab and include a timestamp reflecting when the workflow ran.
***
## Frequently asked questions
Yes. Notes are visible to any team member who has access to the contact record. There is no concept of private notes — use internal comments in the Conversations tab if you need to leave messages only for specific team members.
Notes are text-only. To attach files to a contact record, use the **Documents** tab where you can upload PDFs, images, and other file types.
Yes. When two contacts are merged, all notes from both records are combined on the master record.
Not directly from the Notes tab. Use the **Advanced Filters** in Smart Lists and filter by note content to find contacts based on notes across your entire database.