> ## Documentation Index
> Fetch the complete documentation index at: https://help.hoopai.com/llms.txt
> Use this file to discover all available pages before exploring further.
# Appointments
> Book, view, reschedule, and cancel appointments directly from a contact record in the HoopAI Platform.
Every contact record includes an **Appointments** tab that lets you view the contact's full booking history and create new appointments without leaving the contact view. You can schedule meetings, service appointments, or any calendar type that has been set up in your account.
***
## Accessing appointments on a contact record
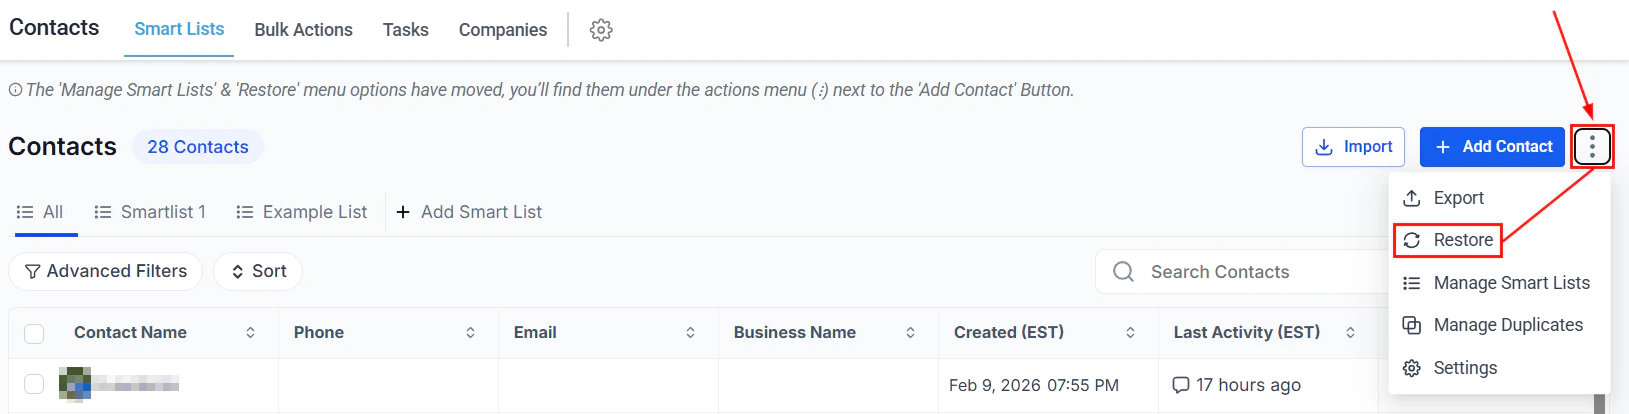
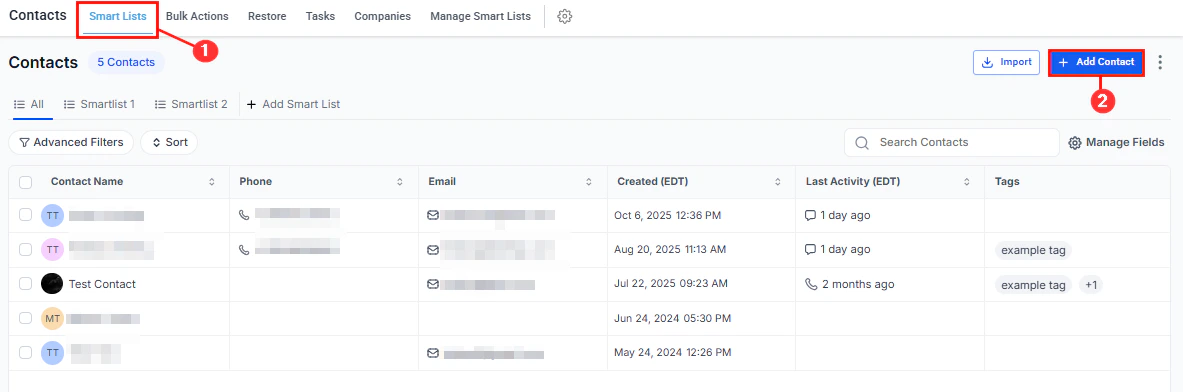
Navigate to **Contacts > Smart Lists** and click the contact's name.
In the right-side information panel, click the **Appointments** tab. A list of the contact's upcoming and past appointments is displayed.
 The Appointments tab shows two views:
* **New** — upcoming appointments that have not yet occurred
* **Previous** — past appointments with their final status (completed, cancelled, no-show)
Use the **search bar** at the top of the tab to find a specific appointment by title or date.
***
## Booking an appointment
In the **Appointments** tab, click **+ Add** to open the appointment booking form.
Select the type of appointment:
* **Meetings** — standard meeting-type calendars
* **Services** — service-based calendars with assigned service providers
The options available depend on which calendars have been configured in your account.
Choose the specific calendar to book the appointment on from the **Calendar** dropdown.
Fill in the appointment fields:
| Field | Description |
| ---------------- | ----------------------------------------------------------------------------------------------------------- |
| Title | Custom title for the appointment; leave blank to use the calendar's default |
| Description | Additional context or notes about the booking |
| Team member | The user assigned to the appointment; or leave on automatic assignment |
| Attendees | Add other contacts as guests who will receive confirmation details |
| Time zone | The time zone for the date and time selection |
| Date | Click a date on the calendar to select it |
| Time slot | Available slots appear based on the calendar's availability; unavailable times are greyed out |
| Meeting location | Physical address, video link, or phone number; defaults to the calendar's configured location if left blank |
| Status | Set as **Confirmed** or **Unconfirmed** |
Click **Book Appointment**. The appointment is added to the calendar and to the contact's Appointments tab. Confirmation emails and reminders are sent automatically if configured on the calendar.
The Appointments tab shows two views:
* **New** — upcoming appointments that have not yet occurred
* **Previous** — past appointments with their final status (completed, cancelled, no-show)
Use the **search bar** at the top of the tab to find a specific appointment by title or date.
***
## Booking an appointment
In the **Appointments** tab, click **+ Add** to open the appointment booking form.
Select the type of appointment:
* **Meetings** — standard meeting-type calendars
* **Services** — service-based calendars with assigned service providers
The options available depend on which calendars have been configured in your account.
Choose the specific calendar to book the appointment on from the **Calendar** dropdown.
Fill in the appointment fields:
| Field | Description |
| ---------------- | ----------------------------------------------------------------------------------------------------------- |
| Title | Custom title for the appointment; leave blank to use the calendar's default |
| Description | Additional context or notes about the booking |
| Team member | The user assigned to the appointment; or leave on automatic assignment |
| Attendees | Add other contacts as guests who will receive confirmation details |
| Time zone | The time zone for the date and time selection |
| Date | Click a date on the calendar to select it |
| Time slot | Available slots appear based on the calendar's availability; unavailable times are greyed out |
| Meeting location | Physical address, video link, or phone number; defaults to the calendar's configured location if left blank |
| Status | Set as **Confirmed** or **Unconfirmed** |
Click **Book Appointment**. The appointment is added to the calendar and to the contact's Appointments tab. Confirmation emails and reminders are sent automatically if configured on the calendar.
 If a time slot shows as unavailable, check the assigned team member's calendar availability settings. Blocked times, lunch breaks, and existing bookings all reduce available slots.
***
## Editing an appointment
In the **Appointments** tab of the contact record, find the appointment card.
Click the **three-dot icon** on the appointment card, then click the **pencil icon** to open the full edit form.
Update any fields as needed. Click **Save** to apply the changes. Updated confirmation details are sent to the contact if notifications are enabled on the calendar.
***
## Rescheduling an appointment
To move an appointment to a different date or time, open the edit view (as above) and select a new date and time slot. Save the appointment to confirm the new time.
If the contact needs to reschedule themselves, they can do so through the rescheduling link included in their confirmation email — provided the calendar has the reschedule option enabled.
***
## Cancelling an appointment
In the **Appointments** tab, find the appointment and click the **three-dot icon**.
Click **Cancel** from the menu. A confirmation popup appears.
Click **Confirm** to cancel the appointment. The appointment status changes to **Cancelled** and any workflows triggered by appointment cancellation will start automatically.
Cancelling an appointment from the contact record does not automatically send a cancellation email to the contact unless a workflow or calendar notification is configured to do so.
***
## Appointment statuses
If a time slot shows as unavailable, check the assigned team member's calendar availability settings. Blocked times, lunch breaks, and existing bookings all reduce available slots.
***
## Editing an appointment
In the **Appointments** tab of the contact record, find the appointment card.
Click the **three-dot icon** on the appointment card, then click the **pencil icon** to open the full edit form.
Update any fields as needed. Click **Save** to apply the changes. Updated confirmation details are sent to the contact if notifications are enabled on the calendar.
***
## Rescheduling an appointment
To move an appointment to a different date or time, open the edit view (as above) and select a new date and time slot. Save the appointment to confirm the new time.
If the contact needs to reschedule themselves, they can do so through the rescheduling link included in their confirmation email — provided the calendar has the reschedule option enabled.
***
## Cancelling an appointment
In the **Appointments** tab, find the appointment and click the **three-dot icon**.
Click **Cancel** from the menu. A confirmation popup appears.
Click **Confirm** to cancel the appointment. The appointment status changes to **Cancelled** and any workflows triggered by appointment cancellation will start automatically.
Cancelling an appointment from the contact record does not automatically send a cancellation email to the contact unless a workflow or calendar notification is configured to do so.
***
## Appointment statuses
 | Status | Description |
| ----------- | --------------------------------------------------------------- |
| Confirmed | Appointment is active and scheduled |
| Unconfirmed | Booking is tentative and awaiting confirmation |
| Showed | Contact attended the appointment (can be set manually) |
| No Show | Contact did not attend (can be set manually or by workflow) |
| Cancelled | Appointment was cancelled by either party |
| Invalid | Appointment could not be processed due to a configuration issue |
You can update the status manually by editing the appointment and selecting the appropriate value from the **Status** field.
***
## Adding attendees
A single appointment can include multiple attendees. This is useful for group sessions, discovery calls with multiple stakeholders, or internal team meetings.
To add attendees when booking or editing an appointment:
1. Click the **Attendees** field
2. Search for and select additional contact records
3. Each attendee receives their own confirmation email (if notifications are enabled)
***
## Viewing appointments across the account
To see all appointments across all contacts — not just within a single record — navigate to **Calendars** in the main navigation. The calendar view lets you filter by team member, calendar, and date range to get a complete picture of your booking pipeline.
***
## Frequently asked questions
Yes. An email address is not required to create an appointment manually from a contact record. However, the contact will not receive email confirmation or reminders unless an email address is on file.
The booking form only displays available time slots. If a slot appears unavailable, the calendar's availability settings are preventing it from being shown. You can override availability in some calendar configurations — check the calendar settings for that option.
Yes, if the self-rescheduling and self-cancellation options are enabled on the calendar. Contacts can use the links in their confirmation email to manage their own bookings within the rules you set.
Not automatically. You can associate an appointment with an opportunity manually, or use a workflow to create this linkage when an appointment is booked.
| Status | Description |
| ----------- | --------------------------------------------------------------- |
| Confirmed | Appointment is active and scheduled |
| Unconfirmed | Booking is tentative and awaiting confirmation |
| Showed | Contact attended the appointment (can be set manually) |
| No Show | Contact did not attend (can be set manually or by workflow) |
| Cancelled | Appointment was cancelled by either party |
| Invalid | Appointment could not be processed due to a configuration issue |
You can update the status manually by editing the appointment and selecting the appropriate value from the **Status** field.
***
## Adding attendees
A single appointment can include multiple attendees. This is useful for group sessions, discovery calls with multiple stakeholders, or internal team meetings.
To add attendees when booking or editing an appointment:
1. Click the **Attendees** field
2. Search for and select additional contact records
3. Each attendee receives their own confirmation email (if notifications are enabled)
***
## Viewing appointments across the account
To see all appointments across all contacts — not just within a single record — navigate to **Calendars** in the main navigation. The calendar view lets you filter by team member, calendar, and date range to get a complete picture of your booking pipeline.
***
## Frequently asked questions
Yes. An email address is not required to create an appointment manually from a contact record. However, the contact will not receive email confirmation or reminders unless an email address is on file.
The booking form only displays available time slots. If a slot appears unavailable, the calendar's availability settings are preventing it from being shown. You can override availability in some calendar configurations — check the calendar settings for that option.
Yes, if the self-rescheduling and self-cancellation options are enabled on the calendar. Contacts can use the links in their confirmation email to manage their own bookings within the rules you set.
Not automatically. You can associate an appointment with an opportunity manually, or use a workflow to create this linkage when an appointment is booked.