> ## Documentation Index
> Fetch the complete documentation index at: https://help.hoopai.com/llms.txt
> Use this file to discover all available pages before exploring further.
# Payment calendars
> Collect payments and deposits at the time of booking using the HoopAI platform's calendar payment features.
The HoopAI platform lets you require payment when a contact books an appointment. This is useful for consultations, classes, service appointments, and any scenario where you want to secure commitment upfront or collect a deposit before the session takes place.
## Supported payment gateways
Before enabling payments on a calendar, you must connect a payment gateway to your account. The platform supports:
* **Stripe**
* **PayPal**
* **Square**
* **Authorize.net**
* **NMI**
* **Razorpay**
To connect a gateway, go to **Payments > Integrations** in your account settings and follow the setup steps for your chosen provider. Note that Square, NMI, and Razorpay do not support every calendar type — they are not available for classic widget or service menu configurations.
If you have multiple gateways connected, designate one as the default. Only the default gateway processes transactions from calendar bookings.
## Enabling payments on a calendar
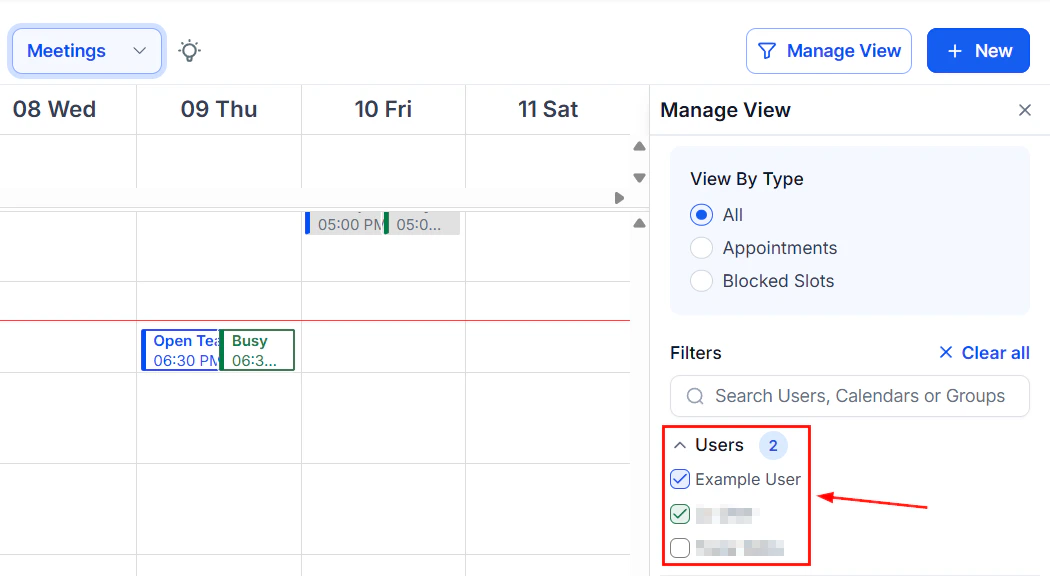 1. Go to **Calendars > Calendar Settings** and click **Edit** on the calendar you want to configure.
2. Open the **Forms & Payment** tab.
3. Toggle on **Accept Payments**.
4. Enter the **Amount** and select the **Currency**.
5. Add a **Description** (for example, "Initial consultation fee" or "Yoga class booking").
6. Set **Payment mode** to **Test** while setting up, then switch to **Live** when you are ready to accept real payments.
7. Click **Save**.
Once enabled, the booking widget will display a payment step after the contact selects a time slot and fills in their information. The appointment is only confirmed after successful payment.
Contacts cannot complete a booking without paying when payment is required. If a contact's payment fails, the appointment is not created. Make sure your payment gateway is fully configured and tested before going live.
## Per-attendee pricing for class bookings
On class booking calendars with the Add Guests feature enabled, you can charge based on the total number of attendees rather than a flat fee per booking. Enable **Accept Payments for All Attendees** in the Add Guests section of the Forms & Payment tab. The platform multiplies the per-person price by the number of attendees (including the primary booker and any added guests) and charges the total at checkout.
## Deposits and partial payments
The HoopAI platform supports collecting a partial payment (deposit) at the time of booking, with the remaining balance due later.
### Setting up deposit collection
Navigate to the calendar's **Advanced Settings > Forms & Payment** tab.
Toggle on **Accept Payments** if not already enabled.
Choose **Partial Payment / Deposit** as the payment type. Enter the deposit amount or percentage of the total price.
Click **Save**. The booking widget will collect only the deposit amount at checkout.
The remaining balance can be collected:
* In person at the time of the appointment
* Via a separate invoice sent through the Payments section
* Through a follow-up payment link sent via SMS or email
Communicate your deposit and balance policy clearly in the calendar description and in the booking confirmation email so contacts know what to expect before and at the appointment.
### Alternative approach
If partial payment is not available for your calendar type, you can:
* Set the payment amount to equal your deposit amount and collect the remainder separately
* Use a Stripe payment intent workflow to handle staged payments outside the calendar booking flow
## Tracking payments
1. Go to **Calendars > Calendar Settings** and click **Edit** on the calendar you want to configure.
2. Open the **Forms & Payment** tab.
3. Toggle on **Accept Payments**.
4. Enter the **Amount** and select the **Currency**.
5. Add a **Description** (for example, "Initial consultation fee" or "Yoga class booking").
6. Set **Payment mode** to **Test** while setting up, then switch to **Live** when you are ready to accept real payments.
7. Click **Save**.
Once enabled, the booking widget will display a payment step after the contact selects a time slot and fills in their information. The appointment is only confirmed after successful payment.
Contacts cannot complete a booking without paying when payment is required. If a contact's payment fails, the appointment is not created. Make sure your payment gateway is fully configured and tested before going live.
## Per-attendee pricing for class bookings
On class booking calendars with the Add Guests feature enabled, you can charge based on the total number of attendees rather than a flat fee per booking. Enable **Accept Payments for All Attendees** in the Add Guests section of the Forms & Payment tab. The platform multiplies the per-person price by the number of attendees (including the primary booker and any added guests) and charges the total at checkout.
## Deposits and partial payments
The HoopAI platform supports collecting a partial payment (deposit) at the time of booking, with the remaining balance due later.
### Setting up deposit collection
Navigate to the calendar's **Advanced Settings > Forms & Payment** tab.
Toggle on **Accept Payments** if not already enabled.
Choose **Partial Payment / Deposit** as the payment type. Enter the deposit amount or percentage of the total price.
Click **Save**. The booking widget will collect only the deposit amount at checkout.
The remaining balance can be collected:
* In person at the time of the appointment
* Via a separate invoice sent through the Payments section
* Through a follow-up payment link sent via SMS or email
Communicate your deposit and balance policy clearly in the calendar description and in the booking confirmation email so contacts know what to expect before and at the appointment.
### Alternative approach
If partial payment is not available for your calendar type, you can:
* Set the payment amount to equal your deposit amount and collect the remainder separately
* Use a Stripe payment intent workflow to handle staged payments outside the calendar booking flow
## Tracking payments
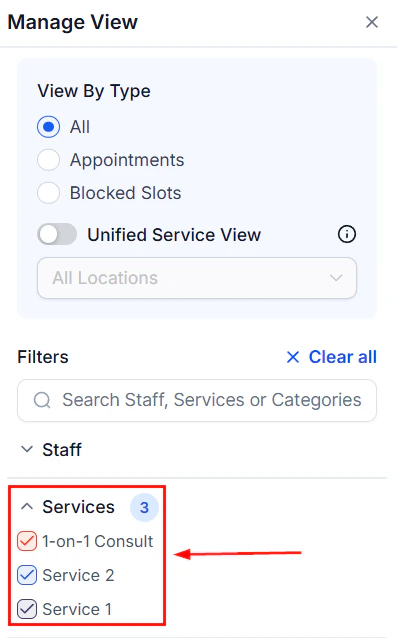 The **Payments** tab on any calendar that has payment collection enabled provides a summary of all transactions associated with that calendar. You can view:
* Total revenue collected
* Individual transaction history with dates, amounts, and contact names
* Per-attendee payment status on class bookings
You can also view payment status directly on appointment records in the **Appointments** list and within individual contact profiles.
## Refunds
The platform does not process refunds automatically when an appointment is cancelled. To issue a refund:
1. Log in to your payment gateway dashboard (Stripe, PayPal, etc.).
2. Find the original transaction.
3. Issue a full or partial refund through the gateway's interface.
The platform will not automatically update the appointment's payment record to reflect the refund. It is good practice to note the refund in the appointment or contact record manually.
## Payments on recurring appointments
If a calendar has recurring appointments enabled, payment collection applies to the first appointment in the series only by default. You cannot charge separately for each recurrence through the standard calendar payment flow. For recurring billing, consider pairing the calendar with a subscription or invoice workflow in the Payments section.
## Test mode
The **Payments** tab on any calendar that has payment collection enabled provides a summary of all transactions associated with that calendar. You can view:
* Total revenue collected
* Individual transaction history with dates, amounts, and contact names
* Per-attendee payment status on class bookings
You can also view payment status directly on appointment records in the **Appointments** list and within individual contact profiles.
## Refunds
The platform does not process refunds automatically when an appointment is cancelled. To issue a refund:
1. Log in to your payment gateway dashboard (Stripe, PayPal, etc.).
2. Find the original transaction.
3. Issue a full or partial refund through the gateway's interface.
The platform will not automatically update the appointment's payment record to reflect the refund. It is good practice to note the refund in the appointment or contact record manually.
## Payments on recurring appointments
If a calendar has recurring appointments enabled, payment collection applies to the first appointment in the series only by default. You cannot charge separately for each recurrence through the standard calendar payment flow. For recurring billing, consider pairing the calendar with a subscription or invoice workflow in the Payments section.
## Test mode
 Before going live, run at least one test booking using test mode and your payment gateway's test card numbers. Verify that:
* The payment step appears correctly in the booking widget
* A test appointment is created after simulated payment
* The confirmation notification is sent
* The test transaction appears in your gateway dashboard
Switch the calendar to **Live** payment mode only after confirming everything works as expected in test mode.
Before going live, run at least one test booking using test mode and your payment gateway's test card numbers. Verify that:
* The payment step appears correctly in the booking widget
* A test appointment is created after simulated payment
* The confirmation notification is sent
* The test transaction appears in your gateway dashboard
Switch the calendar to **Live** payment mode only after confirming everything works as expected in test mode.