> ## Documentation Index
> Fetch the complete documentation index at: https://help.hoopai.com/llms.txt
> Use this file to discover all available pages before exploring further.
# Availability hours
> Configure weekly working hours, date-specific overrides, days off, and holidays for any calendar on the HoopAI platform.
Availability hours define when a calendar accepts bookings. The HoopAI platform gives you two complementary layers of control: a repeating weekly schedule that covers your normal working pattern, and date-specific overrides that let you adjust or block individual dates for holidays, events, or personal time off.
## Weekly working hours
 Weekly working hours are the foundation of every calendar's availability. You set them once and they repeat automatically each week.
To configure weekly working hours:
1. Go to **Calendars** in the left navigation and select **Calendar Settings**.
2. Find the calendar you want to configure and click **Edit**.
3. Select **Availability** from the left-hand menu inside the calendar editor.
4. Click your name or the team member's name to open the availability panel.
5. Under **Weekly Working Hours**, click **Edit**.
6. Toggle each day on or off. For active days, set the start and end times using the time dropdowns.
7. Use the **Copy** button on any day to duplicate that day's hours across other selected days.
8. Click **Save** to apply.
You can define multiple time blocks within a single day. For example, if you take a lunch break from noon to 1 PM, add a morning block of 9 AM–12 PM and an afternoon block of 1 PM–5 PM. This prevents the platform from showing slots during your break.
Use the Copy feature to quickly apply the same hours across Monday through Friday instead of configuring each day individually.
## Date-specific hours
Weekly working hours are the foundation of every calendar's availability. You set them once and they repeat automatically each week.
To configure weekly working hours:
1. Go to **Calendars** in the left navigation and select **Calendar Settings**.
2. Find the calendar you want to configure and click **Edit**.
3. Select **Availability** from the left-hand menu inside the calendar editor.
4. Click your name or the team member's name to open the availability panel.
5. Under **Weekly Working Hours**, click **Edit**.
6. Toggle each day on or off. For active days, set the start and end times using the time dropdowns.
7. Use the **Copy** button on any day to duplicate that day's hours across other selected days.
8. Click **Save** to apply.
You can define multiple time blocks within a single day. For example, if you take a lunch break from noon to 1 PM, add a morning block of 9 AM–12 PM and an afternoon block of 1 PM–5 PM. This prevents the platform from showing slots during your break.
Use the Copy feature to quickly apply the same hours across Monday through Friday instead of configuring each day individually.
## Date-specific hours
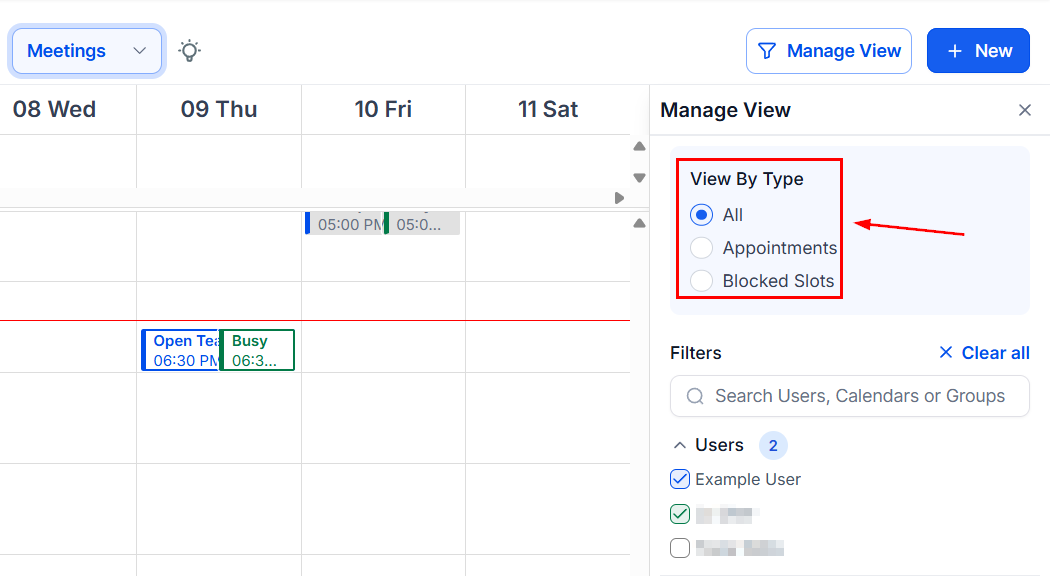 Date-specific hours let you override the weekly schedule for individual dates. This is the right tool for:
* Blocking a holiday when you are closed
* Extending hours for a special event day
* Reducing availability on a day you have limited time
To add date-specific hours:
1. Open the calendar's **Availability** panel as described above.
2. Select the **Date-Specific Hours** tab.
3. Click **Edit**, then click **+ Add date-specific hours**.
4. Choose a date from the date picker.
5. Use the **+** icon to add time blocks for that date, or use the **trash** icon to remove all blocks and mark the entire day as unavailable.
6. Click **Submit** to save.
Date-specific hours completely replace weekly hours for any date they cover. If you add date-specific hours for a day, you must include every time block you want that day — it does not merge with the weekly schedule.
## Marking days off and holidays
To mark a day as fully unavailable (a holiday or day off), add a date-specific override for that date and remove all time blocks. When no blocks exist for a date, the platform treats the day as closed and hides all slots on the booking page.
Common examples:
| Date | What to do |
| ------------------------- | ---------------------------------------------------- |
| National holidays | Add date-specific override, remove all blocks |
| Business closed for event | Add date-specific override, remove all blocks |
| Short day before holiday | Add date-specific override with shortened hours |
| Special extended hours | Add date-specific override with extended time blocks |
## Availability for calendars with multiple team members
On round robin and collective booking calendars, each assigned team member can have their own individual availability. The platform calculates open slots by checking every relevant member's schedule before showing booking options to the customer.
To edit a specific team member's availability on a shared calendar, open the **Availability** panel and click that team member's name to expand their individual schedule settings.
## Centralized schedules
Date-specific hours let you override the weekly schedule for individual dates. This is the right tool for:
* Blocking a holiday when you are closed
* Extending hours for a special event day
* Reducing availability on a day you have limited time
To add date-specific hours:
1. Open the calendar's **Availability** panel as described above.
2. Select the **Date-Specific Hours** tab.
3. Click **Edit**, then click **+ Add date-specific hours**.
4. Choose a date from the date picker.
5. Use the **+** icon to add time blocks for that date, or use the **trash** icon to remove all blocks and mark the entire day as unavailable.
6. Click **Submit** to save.
Date-specific hours completely replace weekly hours for any date they cover. If you add date-specific hours for a day, you must include every time block you want that day — it does not merge with the weekly schedule.
## Marking days off and holidays
To mark a day as fully unavailable (a holiday or day off), add a date-specific override for that date and remove all time blocks. When no blocks exist for a date, the platform treats the day as closed and hides all slots on the booking page.
Common examples:
| Date | What to do |
| ------------------------- | ---------------------------------------------------- |
| National holidays | Add date-specific override, remove all blocks |
| Business closed for event | Add date-specific override, remove all blocks |
| Short day before holiday | Add date-specific override with shortened hours |
| Special extended hours | Add date-specific override with extended time blocks |
## Availability for calendars with multiple team members
On round robin and collective booking calendars, each assigned team member can have their own individual availability. The platform calculates open slots by checking every relevant member's schedule before showing booking options to the customer.
To edit a specific team member's availability on a shared calendar, open the **Availability** panel and click that team member's name to expand their individual schedule settings.
## Centralized schedules
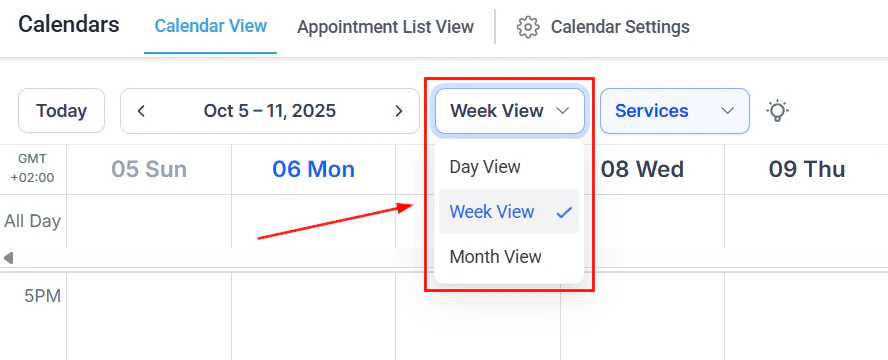 If you manage multiple calendars that share the same availability pattern, you can create a reusable **Schedule** rather than configuring hours on each calendar separately. Schedules are managed under **Calendars > Schedules** and can be assigned to any number of calendars. When you update the schedule, all linked calendars update automatically.
Centralized schedules are ideal for businesses where all staff follow the same operating hours, or for teams managing multiple calendars with the same availability.
## Pre and post buffers
Buffer time prevents back-to-back bookings by adding padding before and/or after each appointment. This gives you preparation and wrap-up time between sessions.
| Buffer type | Purpose | Example |
| --------------- | -------------------------------------- | --------------------------------------------- |
| **Pre-buffer** | Preparation time before an appointment | 10 minutes to set up a room or review notes |
| **Post-buffer** | Wrap-up time after an appointment | 15 minutes to clean up, write notes, or reset |
### Configuring buffers
1. Open the calendar's **Advanced Settings > Availability** tab
2. Find the **Pre-Buffer Time** and **Post-Buffer Time** fields
3. Enter the number of minutes for each buffer
4. Click **Save**
Buffer time is not visible to contacts on the booking page — it simply removes adjacent time slots from availability. For example, with a 15-minute post-buffer on a 30-minute appointment at 2:00 PM, the next available slot would be 2:45 PM instead of 2:30 PM.
If you find yourself consistently running over on appointments, add a post-buffer instead of extending the meeting duration. This keeps your listed duration accurate while giving you breathing room.
***
## How availability affects the booking page
The booking widget only displays time slots that fall within the configured availability and that have not already been taken by existing appointments. If a date has no available slots — because of a day-off override, full bookings, or no matching availability — it appears grayed out in the date picker and cannot be selected by the booker.
If you manage multiple calendars that share the same availability pattern, you can create a reusable **Schedule** rather than configuring hours on each calendar separately. Schedules are managed under **Calendars > Schedules** and can be assigned to any number of calendars. When you update the schedule, all linked calendars update automatically.
Centralized schedules are ideal for businesses where all staff follow the same operating hours, or for teams managing multiple calendars with the same availability.
## Pre and post buffers
Buffer time prevents back-to-back bookings by adding padding before and/or after each appointment. This gives you preparation and wrap-up time between sessions.
| Buffer type | Purpose | Example |
| --------------- | -------------------------------------- | --------------------------------------------- |
| **Pre-buffer** | Preparation time before an appointment | 10 minutes to set up a room or review notes |
| **Post-buffer** | Wrap-up time after an appointment | 15 minutes to clean up, write notes, or reset |
### Configuring buffers
1. Open the calendar's **Advanced Settings > Availability** tab
2. Find the **Pre-Buffer Time** and **Post-Buffer Time** fields
3. Enter the number of minutes for each buffer
4. Click **Save**
Buffer time is not visible to contacts on the booking page — it simply removes adjacent time slots from availability. For example, with a 15-minute post-buffer on a 30-minute appointment at 2:00 PM, the next available slot would be 2:45 PM instead of 2:30 PM.
If you find yourself consistently running over on appointments, add a post-buffer instead of extending the meeting duration. This keeps your listed duration accurate while giving you breathing room.
***
## How availability affects the booking page
The booking widget only displays time slots that fall within the configured availability and that have not already been taken by existing appointments. If a date has no available slots — because of a day-off override, full bookings, or no matching availability — it appears grayed out in the date picker and cannot be selected by the booker.