> ## Documentation Index
> Fetch the complete documentation index at: https://help.hoopai.com/llms.txt
> Use this file to discover all available pages before exploring further.

# Using pre-built workflow recipes

> Launch automation in minutes using pre-built workflow templates in the HoopAI Platform — then customize them to fit your brand and business.

export const CourseTracker = ({courseId, lessonId, videoId}) => {
  const [progress, setProgress] = useState({});
  const [expanded, setExpanded] = useState(false);
  useEffect(() => {
    setProgress(loadProgress());
    document.body.setAttribute("data-academy", "true");
    return () => document.body.removeAttribute("data-academy");
  }, []);
  const course = COURSES[courseId];
  if (!course) return null;
  const lessons = course.lessons;
  const currentIndex = lessons.findIndex(l => l.id === lessonId);
  const completedCount = lessons.filter(l => !!progress[courseId + "/" + l.id]).length;
  const percent = lessons.length > 0 ? Math.round(completedCount / lessons.length * 100) : 0;
  const isCurrentDone = !!progress[courseId + "/" + lessonId];
  const prev = currentIndex > 0 ? lessons[currentIndex - 1] : null;
  const next = currentIndex < lessons.length - 1 ? lessons[currentIndex + 1] : null;
  const totalDuration = formatTotalDuration(lessons);
  const handleToggle = () => {
    const key = courseId + "/" + lessonId;
    const updated = {
      ...progress
    };
    if (updated[key]) {
      delete updated[key];
    } else {
      updated[key] = Date.now();
    }
    setProgress(updated);
    persistProgress(updated);
  };
  const lessonPath = lesson => "/academy/" + course.dir + "/" + lesson.id;
  const videoEmbed = videoId ? <div style={{
    position: "relative",
    width: "100%",
    paddingBottom: "56.25%",
    borderRadius: "var(--ds-radius-lg)",
    overflow: "hidden",
    marginBottom: "24px",
    background: "#000"
  }}>
      <iframe src={"https://www.youtube-nocookie.com/embed/" + videoId + "?rel=0"} title="Lesson video" allow="accelerometer; autoplay; clipboard-write; encrypted-media; gyroscope; picture-in-picture" allowFullScreen style={{
    position: "absolute",
    top: 0,
    left: 0,
    width: "100%",
    height: "100%",
    border: "none"
  }} />
    </div> : null;
  const lessonList = lessons.map(lesson => {
    const isActive = lesson.id === lessonId;
    const isDone = !!progress[courseId + "/" + lesson.id];
    const itemStyle = {
      display: "flex",
      alignItems: "center",
      gap: "8px",
      padding: "10px 16px",
      borderTop: "1px solid var(--academy-border-subtle, #f3f4f6)",
      background: isActive ? "var(--academy-active-bg, #f9fafb)" : "transparent",
      textDecoration: "none",
      cursor: isActive ? "default" : "pointer",
      color: "inherit",
      transition: "background 0.15s"
    };
    const titleStyle = {
      flex: 1,
      fontSize: "13px",
      fontWeight: isActive ? 600 : 400,
      color: isActive ? "var(--academy-text, #111827)" : "var(--academy-text-secondary, #6b7280)",
      overflow: "hidden",
      textOverflow: "ellipsis",
      whiteSpace: "nowrap",
      lineHeight: "1.4"
    };
    const durationStyle = {
      fontSize: "12px",
      color: "var(--academy-text-muted, #9ca3af)",
      whiteSpace: "nowrap"
    };
    const inner = <>
        {isDone ? <CheckCircle /> : <VideoIcon />}
        <span style={titleStyle}>{lesson.title}</span>
        <span style={durationStyle}>{lesson.duration}</span>
      </>;
    if (isActive) {
      return <div key={lesson.id} style={itemStyle}>
          {inner}
        </div>;
    }
    return <a key={lesson.id} href={lessonPath(lesson)} style={itemStyle}>
        {inner}
      </a>;
  });
  return <div className="not-prose" id="academy-course-tracker">
      {videoEmbed}
      <div className="academy-tracker" style={{
    fontFamily: "Inter, -apple-system, BlinkMacSystemFont, sans-serif",
    borderRadius: "var(--ds-radius-lg)",
    border: "1px solid var(--academy-border, #e5e7eb)",
    background: "var(--academy-bg, #ffffff)",
    overflow: "hidden",
    marginBottom: "24px"
  }}>
        {}
        <div style={{
    padding: "16px 16px 0"
  }}>
          <h3 style={{
    margin: 0,
    fontSize: "16px",
    fontWeight: 600,
    lineHeight: "1.4",
    color: "var(--academy-text, #111827)"
  }}>
            {course.title}
          </h3>
          <div style={{
    display: "flex",
    gap: "12px",
    marginTop: "8px"
  }}>
            <span style={{
    display: "flex",
    alignItems: "center",
    gap: "5px",
    fontSize: "12px",
    color: "var(--academy-text-secondary, #6b7280)",
    padding: "3px 8px 3px 6px",
    borderRadius: "var(--ds-radius-sm)",
    border: "1px solid var(--academy-border, #e5e7eb)"
  }}>
              <BookIcon /> {lessons.length} lessons
            </span>
            <span style={{
    display: "flex",
    alignItems: "center",
    gap: "5px",
    fontSize: "12px",
    color: "var(--academy-text-secondary, #6b7280)",
    padding: "3px 8px 3px 6px",
    borderRadius: "var(--ds-radius-sm)",
    border: "1px solid var(--academy-border, #e5e7eb)"
  }}>
              <ClockIcon /> Approx. {totalDuration}
            </span>
          </div>
        </div>

        {}
        <div style={{
    padding: "14px 16px 16px"
  }}>
          <div style={{
    display: "flex",
    justifyContent: "space-between",
    fontSize: "12px",
    color: "var(--academy-text-secondary, #6b7280)"
  }}>
            <span>Your progress</span>
            <span style={{
    fontWeight: 500,
    color: "var(--academy-text, #111827)"
  }}>
              {percent}%
            </span>
          </div>
          <div style={{
    height: "6px",
    borderRadius: "var(--ds-radius-full)",
    background: "var(--academy-track, #f3f4f6)",
    marginTop: "8px",
    overflow: "hidden"
  }}>
            <div style={{
    height: "100%",
    borderRadius: "var(--ds-radius-full)",
    background: "var(--academy-progress, #3b82f6)",
    transition: "width 0.5s cubic-bezier(0.4, 0, 0.2, 1)",
    width: percent + "%"
  }} />
          </div>
        </div>

        {}
        <div className="academy-lessons-desktop">{lessonList}</div>

        {}
        <div className="academy-lessons-mobile">
          <button onClick={() => setExpanded(!expanded)} aria-expanded={expanded} style={{
    display: "flex",
    alignItems: "center",
    justifyContent: "space-between",
    padding: "12px 16px",
    cursor: "pointer",
    borderTop: "1px solid var(--academy-border-subtle, #f3f4f6)",
    background: "transparent",
    border: "none",
    borderTopStyle: "solid",
    borderTopWidth: "1px",
    borderTopColor: "var(--academy-border-subtle, #f3f4f6)",
    width: "100%",
    textAlign: "left",
    color: "var(--academy-text-secondary, #6b7280)",
    fontSize: "13px",
    fontWeight: 500,
    fontFamily: "inherit"
  }}>
            <span>
              {expanded ? "Hide lessons" : "Show all " + lessons.length + " lessons"}
            </span>
            <ChevronDown open={expanded} />
          </button>
          {expanded && lessonList}
        </div>

        {}
        <div style={{
    display: "flex",
    alignItems: "center",
    justifyContent: "space-between",
    borderTop: "1px solid var(--academy-border, #e5e7eb)",
    padding: "10px 16px"
  }}>
          {prev ? <a href={lessonPath(prev)} style={{
    fontSize: "13px",
    color: "var(--academy-text-secondary, #6b7280)",
    textDecoration: "none",
    display: "flex",
    alignItems: "center",
    gap: "4px"
  }}>
              ‹ Previous
            </a> : <div />}
          <button onClick={handleToggle} style={{
    fontSize: "13px",
    fontWeight: 500,
    cursor: "pointer",
    padding: "6px 14px",
    borderRadius: "var(--ds-radius-md)",
    border: isCurrentDone ? "1px solid var(--academy-border, #e5e7eb)" : "none",
    background: isCurrentDone ? "var(--academy-bg, #ffffff)" : "var(--academy-btn-bg, #111827)",
    color: isCurrentDone ? "var(--academy-complete, #10b981)" : "var(--academy-btn-text, #ffffff)",
    display: "flex",
    alignItems: "center",
    gap: "6px",
    transition: "all 0.2s",
    lineHeight: "1.4",
    fontFamily: "inherit"
  }}>
            {isCurrentDone ? <>
                <CheckCircle /> Completed
              </> : "Mark as completed"}
          </button>
          {next ? <a href={lessonPath(next)} style={{
    fontSize: "13px",
    color: "var(--academy-text-secondary, #6b7280)",
    textDecoration: "none",
    display: "flex",
    alignItems: "center",
    gap: "4px"
  }}>
              Next ›
            </a> : <div />}
        </div>
      </div>
    </div>;
};

<CourseTracker courseId="workflow-automation" lessonId="using-pre-built-workflow-recipes" />

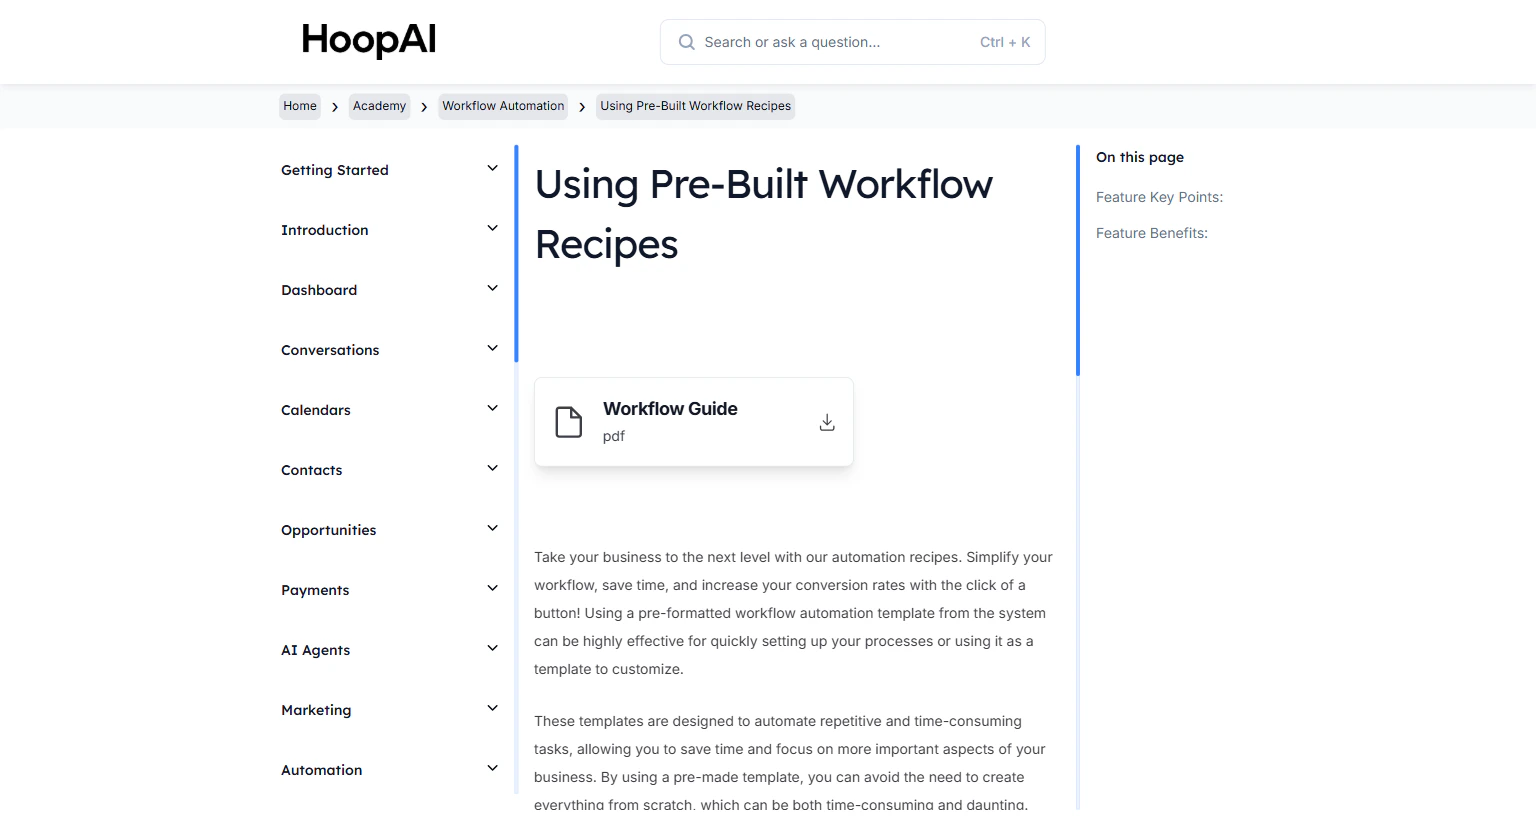
Workflow recipes are pre-built automation templates that cover the most common business automation scenarios. Instead of building a workflow from scratch, you start from a fully structured template and customize it to your brand in minutes. Pre-built recipes also ensure the automation is structured correctly from the start.

<Frame caption="The Using Pre-Built Workflow Recipes lesson in the HoopAI Academy">
  <img src="https://mintcdn.com/hoopai-84ec0cdc/gyU98wGhFXcTdqFf/images/academy-workflow-recipes.png?fit=max&auto=format&n=gyU98wGhFXcTdqFf&q=85&s=82127a8fe14c91ea981ab7dbb7c56771" alt="Using pre-built workflow recipes article" width="1536" height="826" data-path="images/academy-workflow-recipes.png" />
</Frame>

## Why this matters

Building a workflow from scratch requires knowing what trigger to use, what actions to sequence, how long to wait between follow-ups, and how to handle different scenarios. Recipes take all of that decision-making away. You get a battle-tested structure out of the box — and you only need to fill in your own content.

<Tip>
  The **Fast 5 Recipe** is one of the most impactful automations you can deploy. It automatically engages new leads within 5 minutes of inquiry. Research shows that responding within 5 minutes vs. 30 minutes results in an 80% increase in lead conversion rates.
</Tip>

## How to use pre-built workflow recipes

<Steps>
  <Step title="Navigate to Workflows">
    Go to **Automation** > **Workflows** in the HoopAI Platform.

    <Frame caption="The Workflow Automation section in the HoopAI Platform">
      <img src="https://mintcdn.com/hoopai-84ec0cdc/gyU98wGhFXcTdqFf/images/academy-workflow-recipes.png?fit=max&auto=format&n=gyU98wGhFXcTdqFf&q=85&s=82127a8fe14c91ea981ab7dbb7c56771" alt="Workflow automation navigation" width="1536" height="826" data-path="images/academy-workflow-recipes.png" />
    </Frame>
  </Step>

  <Step title="Browse the recipe library">
    Click **New Workflow** and look for the **Recipes** tab or the **Start From Recipe** option. Browse the available recipe categories — common options include lead follow-up, appointment booking, review requests, missed call sequences, and more.

    <Frame caption="Browsing the recipe library when creating a new workflow">
      <img src="https://mintcdn.com/hoopai-84ec0cdc/gyU98wGhFXcTdqFf/images/academy-workflow-triggers.png?fit=max&auto=format&n=gyU98wGhFXcTdqFf&q=85&s=0aa03e5a41598c8044d00b6cb03b7b27" alt="Workflow recipe library" width="1536" height="826" data-path="images/academy-workflow-triggers.png" />
    </Frame>
  </Step>

  <Step title="Select a recipe">
    Choose the recipe that best matches what you want to automate. Click on it to preview the trigger, actions, and sequence structure before importing it.
  </Step>

  <Step title="Import the recipe">
    Click **Use This Recipe** or **Import**. The workflow is copied into your account as a draft, ready for customization.
  </Step>

  <Step title="Customize the recipe">
    Review and update each action step with your specific content:

    * Replace placeholder message text with your brand voice
    * Update email sender names and from addresses to match your dedicated domain
    * Adjust wait step durations based on your follow-up timing preferences
    * Add or remove steps as needed for your specific use case

    <Tip>
      Focus your customization on the message content. The structure — trigger, wait steps, sequence logic — is already optimized. The most important change is making the messaging sound like your brand, not a generic template.
    </Tip>
  </Step>

  <Step title="Configure the trigger">
    Confirm that the trigger is set correctly for your use case. Add any filters needed to ensure the workflow only fires for the right contacts.
  </Step>

  <Step title="Publish the workflow">
    Once customized, toggle the workflow to **Published**. Test it using a test contact to confirm everything fires as expected before going live.

    <Frame caption="Publishing a customized workflow recipe in the HoopAI Platform">
      <img src="https://mintcdn.com/hoopai-84ec0cdc/gyU98wGhFXcTdqFf/images/academy-workflow-recipes.png?fit=max&auto=format&n=gyU98wGhFXcTdqFf&q=85&s=82127a8fe14c91ea981ab7dbb7c56771" alt="Publishing a workflow recipe" width="1536" height="826" data-path="images/academy-workflow-recipes.png" />
    </Frame>
  </Step>
</Steps>

## Key points

<AccordionGroup>
  <Accordion title="The Fast 5 lead follow-up recipe">
    The Fast 5 recipe fires a rapid sequence of follow-up messages within 5 minutes of a new lead submitting a form or making contact. Studies show businesses that respond within 5 minutes are 80% more likely to convert compared to those that respond 30 minutes later.
  </Accordion>

  <Accordion title="Customizing vs. building from scratch">
    Starting from a recipe is significantly faster than building from scratch. The structure — trigger, wait steps, message sequence, branching logic — is already in place. You only need to customize the content and settings.
  </Accordion>

  <Accordion title="Using recipes as base templates">
    Once you customize a recipe, you can save it as a template for future use. This is useful if you want to replicate a proven automation across different campaigns or if you manage multiple accounts.
  </Accordion>
</AccordionGroup>

## Key benefits

<AccordionGroup>
  <Accordion title="Speed">
    Launch a fully functioning automation in minutes instead of hours.
  </Accordion>

  <Accordion title="Reliability">
    Pre-formatted recipes are structured correctly, minimizing setup errors.
  </Accordion>

  <Accordion title="Proven results">
    The Fast 5 recipe is based on research showing an 80% increase in lead conversion with fast response times.
  </Accordion>

  <Accordion title="Consistency">
    Using standard recipes ensures your automation processes are uniform across campaigns.
  </Accordion>

  <Accordion title="Time savings">
    Eliminate repetitive build work by starting from a proven template every time.
  </Accordion>
</AccordionGroup>