> ## Documentation Index
> Fetch the complete documentation index at: https://help.hoopai.com/llms.txt
> Use this file to discover all available pages before exploring further.

# Trigger links for tracking clicks

> Learn how to create trigger links in the HoopAI Platform to track who clicks your links and fire automated follow-ups based on click behavior.

export const CourseTracker = ({courseId, lessonId, videoId}) => {
  const [progress, setProgress] = useState({});
  const [expanded, setExpanded] = useState(false);
  useEffect(() => {
    setProgress(loadProgress());
    document.body.setAttribute("data-academy", "true");
    return () => document.body.removeAttribute("data-academy");
  }, []);
  const course = COURSES[courseId];
  if (!course) return null;
  const lessons = course.lessons;
  const currentIndex = lessons.findIndex(l => l.id === lessonId);
  const completedCount = lessons.filter(l => !!progress[courseId + "/" + l.id]).length;
  const percent = lessons.length > 0 ? Math.round(completedCount / lessons.length * 100) : 0;
  const isCurrentDone = !!progress[courseId + "/" + lessonId];
  const prev = currentIndex > 0 ? lessons[currentIndex - 1] : null;
  const next = currentIndex < lessons.length - 1 ? lessons[currentIndex + 1] : null;
  const totalDuration = formatTotalDuration(lessons);
  const handleToggle = () => {
    const key = courseId + "/" + lessonId;
    const updated = {
      ...progress
    };
    if (updated[key]) {
      delete updated[key];
    } else {
      updated[key] = Date.now();
    }
    setProgress(updated);
    persistProgress(updated);
  };
  const lessonPath = lesson => "/academy/" + course.dir + "/" + lesson.id;
  const videoEmbed = videoId ? <div style={{
    position: "relative",
    width: "100%",
    paddingBottom: "56.25%",
    borderRadius: "var(--ds-radius-lg)",
    overflow: "hidden",
    marginBottom: "24px",
    background: "#000"
  }}>
      <iframe src={"https://www.youtube-nocookie.com/embed/" + videoId + "?rel=0"} title="Lesson video" allow="accelerometer; autoplay; clipboard-write; encrypted-media; gyroscope; picture-in-picture" allowFullScreen style={{
    position: "absolute",
    top: 0,
    left: 0,
    width: "100%",
    height: "100%",
    border: "none"
  }} />
    </div> : null;
  const lessonList = lessons.map(lesson => {
    const isActive = lesson.id === lessonId;
    const isDone = !!progress[courseId + "/" + lesson.id];
    const itemStyle = {
      display: "flex",
      alignItems: "center",
      gap: "8px",
      padding: "10px 16px",
      borderTop: "1px solid var(--academy-border-subtle, #f3f4f6)",
      background: isActive ? "var(--academy-active-bg, #f9fafb)" : "transparent",
      textDecoration: "none",
      cursor: isActive ? "default" : "pointer",
      color: "inherit",
      transition: "background 0.15s"
    };
    const titleStyle = {
      flex: 1,
      fontSize: "13px",
      fontWeight: isActive ? 600 : 400,
      color: isActive ? "var(--academy-text, #111827)" : "var(--academy-text-secondary, #6b7280)",
      overflow: "hidden",
      textOverflow: "ellipsis",
      whiteSpace: "nowrap",
      lineHeight: "1.4"
    };
    const durationStyle = {
      fontSize: "12px",
      color: "var(--academy-text-muted, #9ca3af)",
      whiteSpace: "nowrap"
    };
    const inner = <>
        {isDone ? <CheckCircle /> : <VideoIcon />}
        <span style={titleStyle}>{lesson.title}</span>
        <span style={durationStyle}>{lesson.duration}</span>
      </>;
    if (isActive) {
      return <div key={lesson.id} style={itemStyle}>
          {inner}
        </div>;
    }
    return <a key={lesson.id} href={lessonPath(lesson)} style={itemStyle}>
        {inner}
      </a>;
  });
  return <div className="not-prose" id="academy-course-tracker">
      {videoEmbed}
      <div className="academy-tracker" style={{
    fontFamily: "Inter, -apple-system, BlinkMacSystemFont, sans-serif",
    borderRadius: "var(--ds-radius-lg)",
    border: "1px solid var(--academy-border, #e5e7eb)",
    background: "var(--academy-bg, #ffffff)",
    overflow: "hidden",
    marginBottom: "24px"
  }}>
        {}
        <div style={{
    padding: "16px 16px 0"
  }}>
          <h3 style={{
    margin: 0,
    fontSize: "16px",
    fontWeight: 600,
    lineHeight: "1.4",
    color: "var(--academy-text, #111827)"
  }}>
            {course.title}
          </h3>
          <div style={{
    display: "flex",
    gap: "12px",
    marginTop: "8px"
  }}>
            <span style={{
    display: "flex",
    alignItems: "center",
    gap: "5px",
    fontSize: "12px",
    color: "var(--academy-text-secondary, #6b7280)",
    padding: "3px 8px 3px 6px",
    borderRadius: "var(--ds-radius-sm)",
    border: "1px solid var(--academy-border, #e5e7eb)"
  }}>
              <BookIcon /> {lessons.length} lessons
            </span>
            <span style={{
    display: "flex",
    alignItems: "center",
    gap: "5px",
    fontSize: "12px",
    color: "var(--academy-text-secondary, #6b7280)",
    padding: "3px 8px 3px 6px",
    borderRadius: "var(--ds-radius-sm)",
    border: "1px solid var(--academy-border, #e5e7eb)"
  }}>
              <ClockIcon /> Approx. {totalDuration}
            </span>
          </div>
        </div>

        {}
        <div style={{
    padding: "14px 16px 16px"
  }}>
          <div style={{
    display: "flex",
    justifyContent: "space-between",
    fontSize: "12px",
    color: "var(--academy-text-secondary, #6b7280)"
  }}>
            <span>Your progress</span>
            <span style={{
    fontWeight: 500,
    color: "var(--academy-text, #111827)"
  }}>
              {percent}%
            </span>
          </div>
          <div style={{
    height: "6px",
    borderRadius: "var(--ds-radius-full)",
    background: "var(--academy-track, #f3f4f6)",
    marginTop: "8px",
    overflow: "hidden"
  }}>
            <div style={{
    height: "100%",
    borderRadius: "var(--ds-radius-full)",
    background: "var(--academy-progress, #3b82f6)",
    transition: "width 0.5s cubic-bezier(0.4, 0, 0.2, 1)",
    width: percent + "%"
  }} />
          </div>
        </div>

        {}
        <div className="academy-lessons-desktop">{lessonList}</div>

        {}
        <div className="academy-lessons-mobile">
          <button onClick={() => setExpanded(!expanded)} aria-expanded={expanded} style={{
    display: "flex",
    alignItems: "center",
    justifyContent: "space-between",
    padding: "12px 16px",
    cursor: "pointer",
    borderTop: "1px solid var(--academy-border-subtle, #f3f4f6)",
    background: "transparent",
    border: "none",
    borderTopStyle: "solid",
    borderTopWidth: "1px",
    borderTopColor: "var(--academy-border-subtle, #f3f4f6)",
    width: "100%",
    textAlign: "left",
    color: "var(--academy-text-secondary, #6b7280)",
    fontSize: "13px",
    fontWeight: 500,
    fontFamily: "inherit"
  }}>
            <span>
              {expanded ? "Hide lessons" : "Show all " + lessons.length + " lessons"}
            </span>
            <ChevronDown open={expanded} />
          </button>
          {expanded && lessonList}
        </div>

        {}
        <div style={{
    display: "flex",
    alignItems: "center",
    justifyContent: "space-between",
    borderTop: "1px solid var(--academy-border, #e5e7eb)",
    padding: "10px 16px"
  }}>
          {prev ? <a href={lessonPath(prev)} style={{
    fontSize: "13px",
    color: "var(--academy-text-secondary, #6b7280)",
    textDecoration: "none",
    display: "flex",
    alignItems: "center",
    gap: "4px"
  }}>
              ‹ Previous
            </a> : <div />}
          <button onClick={handleToggle} style={{
    fontSize: "13px",
    fontWeight: 500,
    cursor: "pointer",
    padding: "6px 14px",
    borderRadius: "var(--ds-radius-md)",
    border: isCurrentDone ? "1px solid var(--academy-border, #e5e7eb)" : "none",
    background: isCurrentDone ? "var(--academy-bg, #ffffff)" : "var(--academy-btn-bg, #111827)",
    color: isCurrentDone ? "var(--academy-complete, #10b981)" : "var(--academy-btn-text, #ffffff)",
    display: "flex",
    alignItems: "center",
    gap: "6px",
    transition: "all 0.2s",
    lineHeight: "1.4",
    fontFamily: "inherit"
  }}>
            {isCurrentDone ? <>
                <CheckCircle /> Completed
              </> : "Mark as completed"}
          </button>
          {next ? <a href={lessonPath(next)} style={{
    fontSize: "13px",
    color: "var(--academy-text-secondary, #6b7280)",
    textDecoration: "none",
    display: "flex",
    alignItems: "center",
    gap: "4px"
  }}>
              Next ›
            </a> : <div />}
        </div>
      </div>
    </div>;
};

<CourseTracker courseId="workflow-automation" lessonId="trigger-links-for-tracking-clicks" />

Trigger links let you track exactly who clicks a link in your emails or SMS messages — and when. Unlike regular URLs, a trigger link fires a platform event every time it is clicked, which you can use to start a workflow, apply a tag, or branch your automation based on engagement behavior.

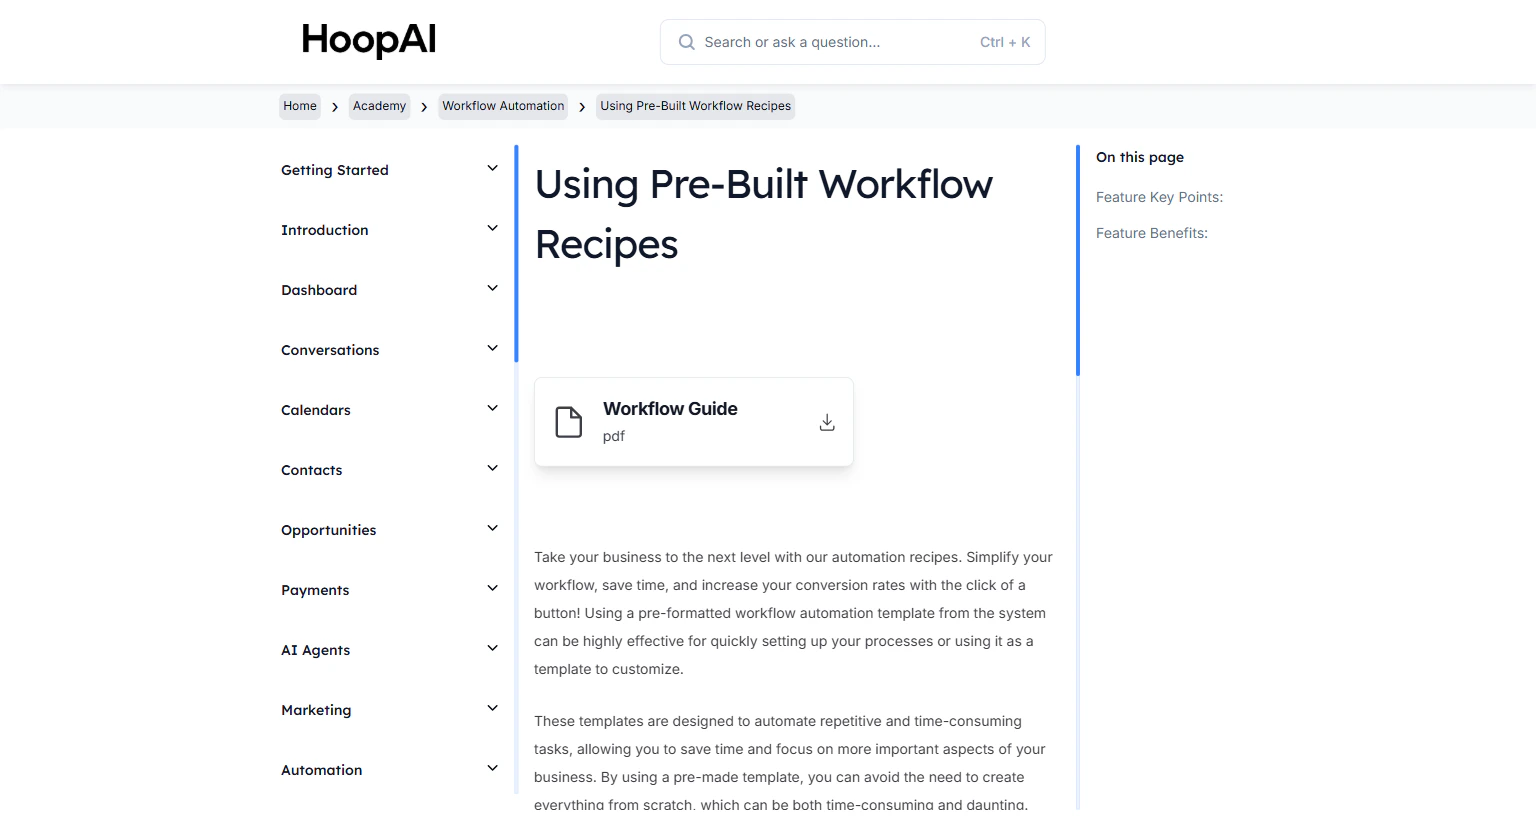
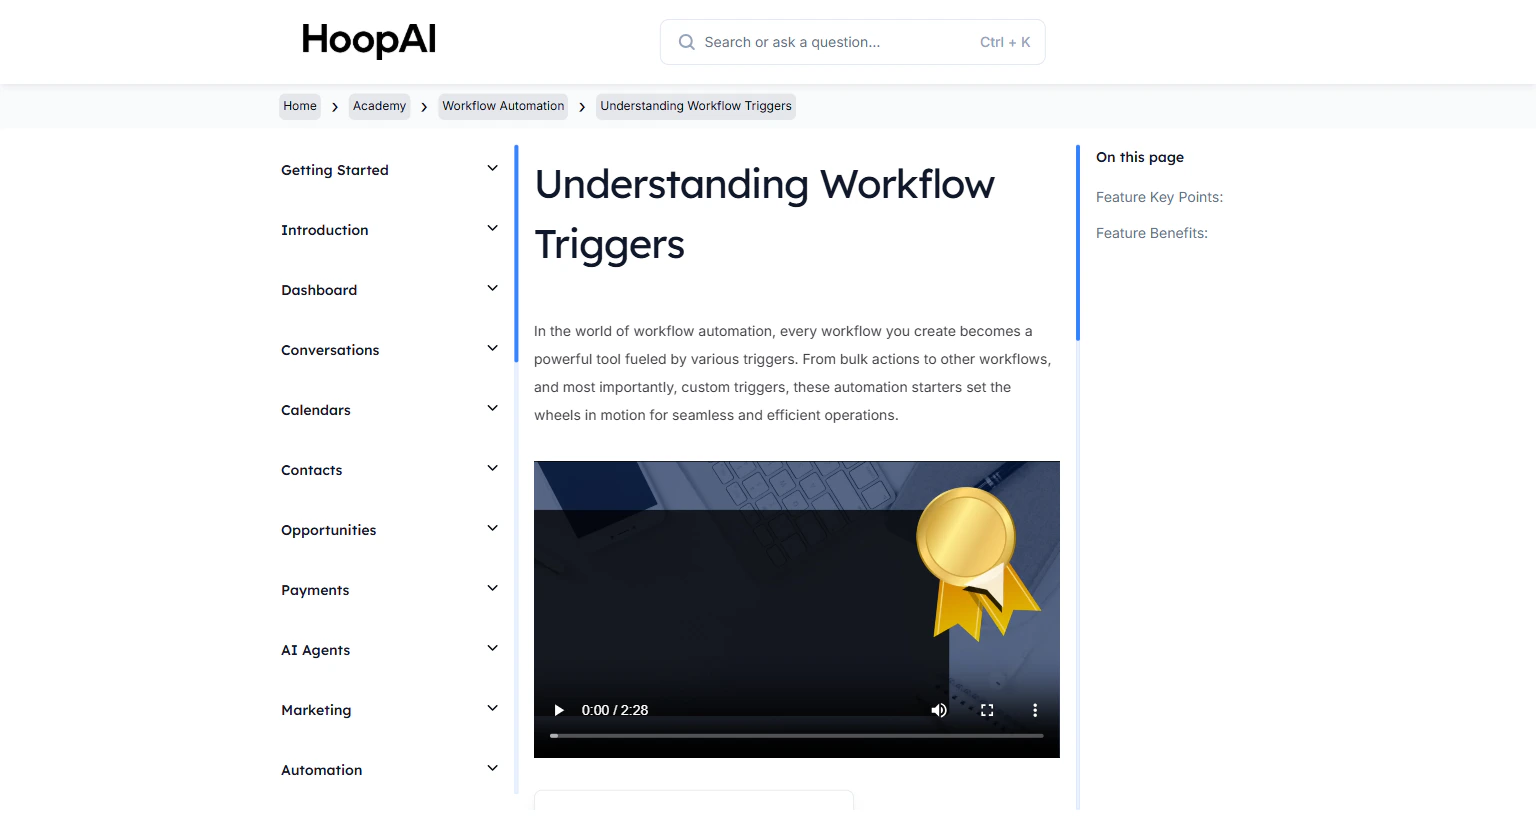
<Frame caption="The Trigger Links for Tracking Clicks lesson in the HoopAI Academy">
  <img src="https://mintcdn.com/hoopai-84ec0cdc/gyU98wGhFXcTdqFf/images/academy-workflow-triggers.png?fit=max&auto=format&n=gyU98wGhFXcTdqFf&q=85&s=0aa03e5a41598c8044d00b6cb03b7b27" alt="Trigger links for tracking clicks article" width="1536" height="826" data-path="images/academy-workflow-triggers.png" />
</Frame>

## Why this matters

A regular link just takes someone to a URL. A trigger link does the same thing — but also tells you who clicked it, when they clicked it, and can automatically launch follow-up actions the moment it happens. This turns passive link clicks into active lead intelligence. You can identify your highest-intent contacts based on what they actually click — not just whether they opened an email.

## How to create and use trigger links

<Steps>
  <Step title="Create a trigger link">
    Go to **Marketing** > **Trigger Links** (or find them in the **Conversations** section depending on your account view). Click **New Trigger Link**.

    Give the link a descriptive name — for example, "Pricing Page Click" or "Free Guide Download". Enter the destination URL the link should point to. Click **Save**.

    <Frame caption="Creating a new trigger link in the Marketing section of the HoopAI Platform">
      <img src="https://mintcdn.com/hoopai-84ec0cdc/gyU98wGhFXcTdqFf/images/academy-workflow-triggers.png?fit=max&auto=format&n=gyU98wGhFXcTdqFf&q=85&s=0aa03e5a41598c8044d00b6cb03b7b27" alt="Creating a trigger link" width="1536" height="826" data-path="images/academy-workflow-triggers.png" />
    </Frame>
  </Step>

  <Step title="Add the trigger link to a campaign">
    In your email or SMS builder, insert the trigger link as a regular hyperlink or button. In the link URL field, select your trigger link from the available options — the platform replaces the URL with a tracked version automatically.
  </Step>

  <Step title="Build a workflow based on the click">
    In **Automation** > **Workflows**, create or open a workflow. Add the trigger **Trigger Link Clicked** and select the specific trigger link you want to respond to.

    When a contact clicks that link, the workflow fires automatically.

    <Frame caption="Configuring a Trigger Link Clicked workflow trigger to fire on a specific link click">
      <img src="https://mintcdn.com/hoopai-84ec0cdc/gyU98wGhFXcTdqFf/images/academy-workflow-recipes.png?fit=max&auto=format&n=gyU98wGhFXcTdqFf&q=85&s=82127a8fe14c91ea981ab7dbb7c56771" alt="Trigger link clicked workflow trigger" width="1536" height="826" data-path="images/academy-workflow-recipes.png" />
    </Frame>
  </Step>

  <Step title="Add actions to the workflow">
    After the trigger, add the actions you want to execute when someone clicks:

    * **Send SMS:** Immediately follow up with a relevant message
    * **Send Email:** Deliver related content or a personalized offer
    * **Add Tag:** Mark the contact as interested in the specific topic
    * **Update Pipeline:** Move the contact to a new opportunity stage
    * **Wait Step:** Pause before the next action

    <Tip>
      A trigger link click indicates high intent. The follow-up action should be immediate and relevant — if someone clicks your pricing page link, send them a message about scheduling a call or a quote within minutes.
    </Tip>
  </Step>

  <Step title="Use if/else branches based on clicks">
    In a longer sequence, use an **If/Else Branch** to check whether a contact has clicked a specific trigger link within a time window. Send different messages to contacts who clicked vs. those who did not — keeping your follow-up relevant to their actual behavior.
  </Step>

  <Step title="Analyze click statistics">
    View detailed click analytics for each trigger link from the **Trigger Links** section. See total clicks, unique clicks, and a full log of which contacts clicked and when.

    <Frame caption="Viewing trigger link click analytics — total clicks, unique clicks, and contact log">
      <img src="https://mintcdn.com/hoopai-84ec0cdc/gyU98wGhFXcTdqFf/images/academy-workflow-triggers.png?fit=max&auto=format&n=gyU98wGhFXcTdqFf&q=85&s=0aa03e5a41598c8044d00b6cb03b7b27" alt="Trigger link click analytics" width="1536" height="826" data-path="images/academy-workflow-triggers.png" />
    </Frame>
  </Step>
</Steps>

## Key points

<AccordionGroup>
  <Accordion title="How trigger links differ from regular links">
    A regular link takes the contact to a URL without notifying the platform. A trigger link passes through the platform first — recording the click event and firing any associated automation — before redirecting the contact to the destination URL. The redirect is instant and invisible to the contact.
  </Accordion>

  <Accordion title="Using wait steps with trigger links">
    In a workflow, add a **Wait Step** configured to wait until the contact clicks a trigger link (or until a time limit expires). This is useful when the next action depends on whether the contact engaged with your content.
  </Accordion>

  <Accordion title="Trigger links in SMS vs. email">
    Trigger links work in both SMS messages and emails. In SMS, the tracked link is shortened automatically for readability. In email, the link can be attached to button text or inline text.
  </Accordion>

  <Accordion title="Best uses for trigger links">
    Common use cases: tracking who clicks a pricing page, triggering an immediate follow-up when someone downloads a lead magnet, segmenting contacts based on which product category they clicked, and identifying your most engaged leads for high-priority manual follow-up.
  </Accordion>
</AccordionGroup>

## Key benefits

<AccordionGroup>
  <Accordion title="Behavioral insights">
    Understand exactly what your audience is interested in based on what they click.
  </Accordion>

  <Accordion title="Personalized follow-up">
    Automatically send relevant messages to contacts based on their specific click behavior.
  </Accordion>

  <Accordion title="Precise segmentation">
    Tag and segment contacts based on engagement events rather than just message opens.
  </Accordion>

  <Accordion title="Timely automation">
    Fire workflows immediately when a contact shows interest — the most valuable moment to engage.
  </Accordion>

  <Accordion title="Conversion optimization">
    Identify your highest-intent leads by tracking who clicks your most important links.
  </Accordion>
</AccordionGroup>