> ## Documentation Index
> Fetch the complete documentation index at: https://help.hoopai.com/llms.txt
> Use this file to discover all available pages before exploring further.

# Configuring workflow settings

> Learn how to configure workflow settings — including re-entry rules, time zones, sender details, and execution logs — in the HoopAI Platform.

export const CourseTracker = ({courseId, lessonId, videoId}) => {
  const [progress, setProgress] = useState({});
  const [expanded, setExpanded] = useState(false);
  useEffect(() => {
    setProgress(loadProgress());
    document.body.setAttribute("data-academy", "true");
    return () => document.body.removeAttribute("data-academy");
  }, []);
  const course = COURSES[courseId];
  if (!course) return null;
  const lessons = course.lessons;
  const currentIndex = lessons.findIndex(l => l.id === lessonId);
  const completedCount = lessons.filter(l => !!progress[courseId + "/" + l.id]).length;
  const percent = lessons.length > 0 ? Math.round(completedCount / lessons.length * 100) : 0;
  const isCurrentDone = !!progress[courseId + "/" + lessonId];
  const prev = currentIndex > 0 ? lessons[currentIndex - 1] : null;
  const next = currentIndex < lessons.length - 1 ? lessons[currentIndex + 1] : null;
  const totalDuration = formatTotalDuration(lessons);
  const handleToggle = () => {
    const key = courseId + "/" + lessonId;
    const updated = {
      ...progress
    };
    if (updated[key]) {
      delete updated[key];
    } else {
      updated[key] = Date.now();
    }
    setProgress(updated);
    persistProgress(updated);
  };
  const lessonPath = lesson => "/academy/" + course.dir + "/" + lesson.id;
  const videoEmbed = videoId ? <div style={{
    position: "relative",
    width: "100%",
    paddingBottom: "56.25%",
    borderRadius: "var(--ds-radius-lg)",
    overflow: "hidden",
    marginBottom: "24px",
    background: "#000"
  }}>
      <iframe src={"https://www.youtube-nocookie.com/embed/" + videoId + "?rel=0"} title="Lesson video" allow="accelerometer; autoplay; clipboard-write; encrypted-media; gyroscope; picture-in-picture" allowFullScreen style={{
    position: "absolute",
    top: 0,
    left: 0,
    width: "100%",
    height: "100%",
    border: "none"
  }} />
    </div> : null;
  const lessonList = lessons.map(lesson => {
    const isActive = lesson.id === lessonId;
    const isDone = !!progress[courseId + "/" + lesson.id];
    const itemStyle = {
      display: "flex",
      alignItems: "center",
      gap: "8px",
      padding: "10px 16px",
      borderTop: "1px solid var(--academy-border-subtle, #f3f4f6)",
      background: isActive ? "var(--academy-active-bg, #f9fafb)" : "transparent",
      textDecoration: "none",
      cursor: isActive ? "default" : "pointer",
      color: "inherit",
      transition: "background 0.15s"
    };
    const titleStyle = {
      flex: 1,
      fontSize: "13px",
      fontWeight: isActive ? 600 : 400,
      color: isActive ? "var(--academy-text, #111827)" : "var(--academy-text-secondary, #6b7280)",
      overflow: "hidden",
      textOverflow: "ellipsis",
      whiteSpace: "nowrap",
      lineHeight: "1.4"
    };
    const durationStyle = {
      fontSize: "12px",
      color: "var(--academy-text-muted, #9ca3af)",
      whiteSpace: "nowrap"
    };
    const inner = <>
        {isDone ? <CheckCircle /> : <VideoIcon />}
        <span style={titleStyle}>{lesson.title}</span>
        <span style={durationStyle}>{lesson.duration}</span>
      </>;
    if (isActive) {
      return <div key={lesson.id} style={itemStyle}>
          {inner}
        </div>;
    }
    return <a key={lesson.id} href={lessonPath(lesson)} style={itemStyle}>
        {inner}
      </a>;
  });
  return <div className="not-prose" id="academy-course-tracker">
      {videoEmbed}
      <div className="academy-tracker" style={{
    fontFamily: "Inter, -apple-system, BlinkMacSystemFont, sans-serif",
    borderRadius: "var(--ds-radius-lg)",
    border: "1px solid var(--academy-border, #e5e7eb)",
    background: "var(--academy-bg, #ffffff)",
    overflow: "hidden",
    marginBottom: "24px"
  }}>
        {}
        <div style={{
    padding: "16px 16px 0"
  }}>
          <h3 style={{
    margin: 0,
    fontSize: "16px",
    fontWeight: 600,
    lineHeight: "1.4",
    color: "var(--academy-text, #111827)"
  }}>
            {course.title}
          </h3>
          <div style={{
    display: "flex",
    gap: "12px",
    marginTop: "8px"
  }}>
            <span style={{
    display: "flex",
    alignItems: "center",
    gap: "5px",
    fontSize: "12px",
    color: "var(--academy-text-secondary, #6b7280)",
    padding: "3px 8px 3px 6px",
    borderRadius: "var(--ds-radius-sm)",
    border: "1px solid var(--academy-border, #e5e7eb)"
  }}>
              <BookIcon /> {lessons.length} lessons
            </span>
            <span style={{
    display: "flex",
    alignItems: "center",
    gap: "5px",
    fontSize: "12px",
    color: "var(--academy-text-secondary, #6b7280)",
    padding: "3px 8px 3px 6px",
    borderRadius: "var(--ds-radius-sm)",
    border: "1px solid var(--academy-border, #e5e7eb)"
  }}>
              <ClockIcon /> Approx. {totalDuration}
            </span>
          </div>
        </div>

        {}
        <div style={{
    padding: "14px 16px 16px"
  }}>
          <div style={{
    display: "flex",
    justifyContent: "space-between",
    fontSize: "12px",
    color: "var(--academy-text-secondary, #6b7280)"
  }}>
            <span>Your progress</span>
            <span style={{
    fontWeight: 500,
    color: "var(--academy-text, #111827)"
  }}>
              {percent}%
            </span>
          </div>
          <div style={{
    height: "6px",
    borderRadius: "var(--ds-radius-full)",
    background: "var(--academy-track, #f3f4f6)",
    marginTop: "8px",
    overflow: "hidden"
  }}>
            <div style={{
    height: "100%",
    borderRadius: "var(--ds-radius-full)",
    background: "var(--academy-progress, #3b82f6)",
    transition: "width 0.5s cubic-bezier(0.4, 0, 0.2, 1)",
    width: percent + "%"
  }} />
          </div>
        </div>

        {}
        <div className="academy-lessons-desktop">{lessonList}</div>

        {}
        <div className="academy-lessons-mobile">
          <button onClick={() => setExpanded(!expanded)} aria-expanded={expanded} style={{
    display: "flex",
    alignItems: "center",
    justifyContent: "space-between",
    padding: "12px 16px",
    cursor: "pointer",
    borderTop: "1px solid var(--academy-border-subtle, #f3f4f6)",
    background: "transparent",
    border: "none",
    borderTopStyle: "solid",
    borderTopWidth: "1px",
    borderTopColor: "var(--academy-border-subtle, #f3f4f6)",
    width: "100%",
    textAlign: "left",
    color: "var(--academy-text-secondary, #6b7280)",
    fontSize: "13px",
    fontWeight: 500,
    fontFamily: "inherit"
  }}>
            <span>
              {expanded ? "Hide lessons" : "Show all " + lessons.length + " lessons"}
            </span>
            <ChevronDown open={expanded} />
          </button>
          {expanded && lessonList}
        </div>

        {}
        <div style={{
    display: "flex",
    alignItems: "center",
    justifyContent: "space-between",
    borderTop: "1px solid var(--academy-border, #e5e7eb)",
    padding: "10px 16px"
  }}>
          {prev ? <a href={lessonPath(prev)} style={{
    fontSize: "13px",
    color: "var(--academy-text-secondary, #6b7280)",
    textDecoration: "none",
    display: "flex",
    alignItems: "center",
    gap: "4px"
  }}>
              ‹ Previous
            </a> : <div />}
          <button onClick={handleToggle} style={{
    fontSize: "13px",
    fontWeight: 500,
    cursor: "pointer",
    padding: "6px 14px",
    borderRadius: "var(--ds-radius-md)",
    border: isCurrentDone ? "1px solid var(--academy-border, #e5e7eb)" : "none",
    background: isCurrentDone ? "var(--academy-bg, #ffffff)" : "var(--academy-btn-bg, #111827)",
    color: isCurrentDone ? "var(--academy-complete, #10b981)" : "var(--academy-btn-text, #ffffff)",
    display: "flex",
    alignItems: "center",
    gap: "6px",
    transition: "all 0.2s",
    lineHeight: "1.4",
    fontFamily: "inherit"
  }}>
            {isCurrentDone ? <>
                <CheckCircle /> Completed
              </> : "Mark as completed"}
          </button>
          {next ? <a href={lessonPath(next)} style={{
    fontSize: "13px",
    color: "var(--academy-text-secondary, #6b7280)",
    textDecoration: "none",
    display: "flex",
    alignItems: "center",
    gap: "4px"
  }}>
              Next ›
            </a> : <div />}
        </div>
      </div>
    </div>;
};

<CourseTracker courseId="workflow-automation" lessonId="configuring-workflow-settings" />

Workflow settings control how a workflow behaves for each contact who enters it. Proper configuration ensures your automation is personalized, correctly timed, and compliant with your business rules. This guide covers all the key settings available in the Workflow Settings panel.

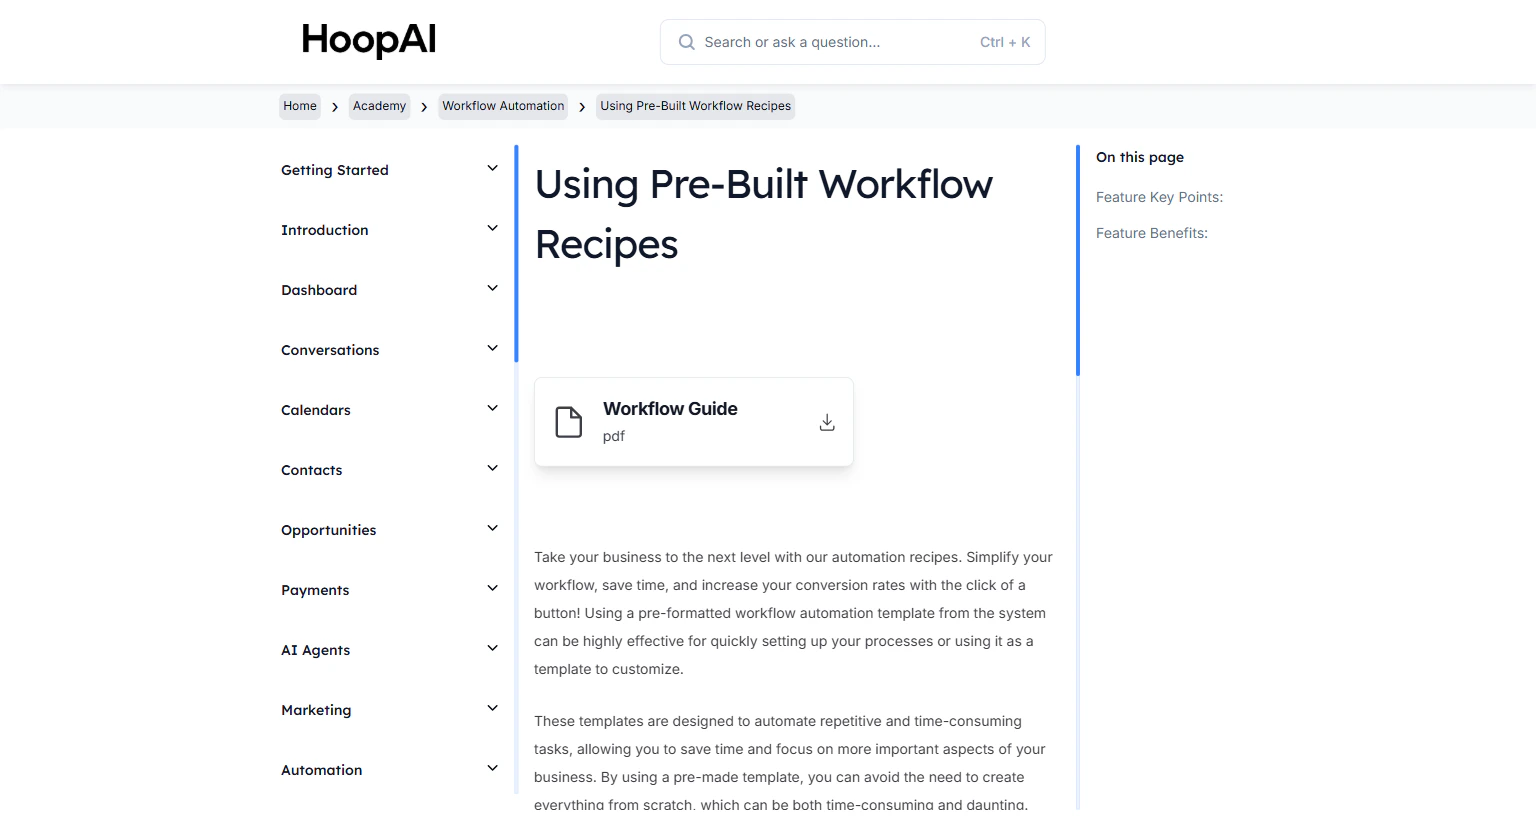
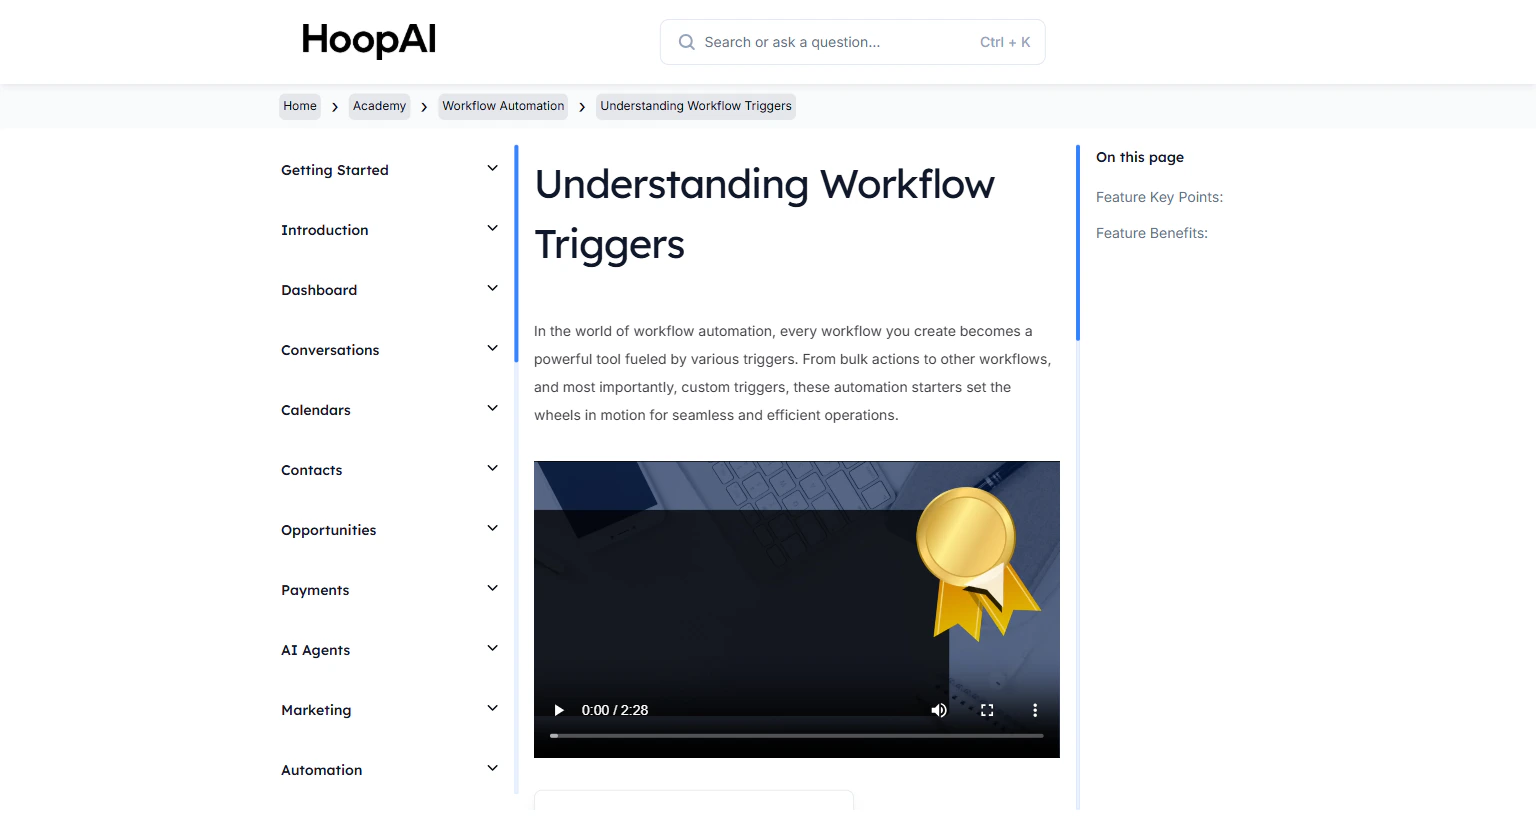
<Frame caption="The Configuring Workflow Settings lesson in the HoopAI Academy">
  <img src="https://mintcdn.com/hoopai-84ec0cdc/gyU98wGhFXcTdqFf/images/academy-workflow-triggers.png?fit=max&auto=format&n=gyU98wGhFXcTdqFf&q=85&s=0aa03e5a41598c8044d00b6cb03b7b27" alt="Configuring workflow settings article" width="1536" height="826" data-path="images/academy-workflow-triggers.png" />
</Frame>

## Why this matters

A workflow can be perfectly built with the right trigger and actions, but still behave unexpectedly if the settings are wrong. Re-entry settings determine whether a contact can go through the same workflow twice. Stop On Response determines whether automation pauses when a real conversation starts. Time zone settings prevent messages from arriving at 3 AM. Getting these settings right is what separates professional automation from spam.

## How to configure workflow settings

<Steps>
  <Step title="Open the Workflow Settings panel">
    Go to **Automation** > **Workflows** and open an existing workflow (or create a new one). Look for the **Settings** tab or gear icon in the workflow builder toolbar.

    <Frame caption="The Workflow Settings panel in the HoopAI Platform workflow builder">
      <img src="https://mintcdn.com/hoopai-84ec0cdc/gyU98wGhFXcTdqFf/images/academy-workflow-triggers.png?fit=max&auto=format&n=gyU98wGhFXcTdqFf&q=85&s=0aa03e5a41598c8044d00b6cb03b7b27" alt="Workflow settings panel" width="1536" height="826" data-path="images/academy-workflow-triggers.png" />
    </Frame>
  </Step>

  <Step title="Configure Allow Re-entry">
    The **Allow Re-entry** toggle controls whether a contact can go through the workflow more than once:

    * **Off (default):** A contact can only enter the workflow once. If they trigger it again, they are skipped.
    * **On:** Contacts can re-enter and go through the workflow again each time the trigger conditions are met.

    Enable re-entry for workflows like review requests, birthday messages, or seasonal promotions where repeat execution is intentional.
  </Step>

  <Step title="Configure Stop On Response">
    When **Stop On Response** is enabled, the workflow automatically stops for a contact if they reply to a message sent from this workflow.

    This prevents sending additional automated messages to a contact who has already responded — keeping your automation from feeling robotic when a real conversation has started.

    <Tip>
      Enable Stop On Response for all lead follow-up and nurture workflows. When someone replies, it means they are engaged — the last thing you want is an automated message interrupting a live conversation.
    </Tip>
  </Step>

  <Step title="Set the time zone">
    The **Time Zone** setting determines when wait steps and time window conditions execute:

    * **Account timezone:** All timing is based on your business location
    * **Contact's timezone:** Timing adjusts based on where each individual contact is located

    Using contact timezone prevents messages from arriving at inconvenient hours for contacts in different regions.

    <Frame caption="Setting the time zone in workflow settings for accurate message timing">
      <img src="https://mintcdn.com/hoopai-84ec0cdc/gyU98wGhFXcTdqFf/images/academy-workflow-recipes.png?fit=max&auto=format&n=gyU98wGhFXcTdqFf&q=85&s=82127a8fe14c91ea981ab7dbb7c56771" alt="Workflow time zone setting" width="1536" height="826" data-path="images/academy-workflow-recipes.png" />
    </Frame>
  </Step>

  <Step title="Set sender details">
    Under **Sender Details**, configure the default:

    * **From name:** The name that appears in the From field of emails sent by this workflow
    * **From email:** The sending email address — must use your verified dedicated domain

    These defaults can be overridden per individual email action within the workflow.
  </Step>

  <Step title="Enable Mark As Read">
    Toggle **Mark As Read** to automatically mark conversations triggered by this workflow as read. This keeps your Conversations inbox clean when high-volume automations are running and prevents the inbox from filling with automated exchanges.
  </Step>

  <Step title="Review execution logs and enrollment history">
    From the workflow's **History** or **Reporting** tab, you can access:

    * **Execution logs:** Step-by-step record of every action taken for each contact
    * **Enrollment history:** Which contacts are active in the workflow, which have completed it, and which exited early

    <Frame caption="Viewing execution logs and enrollment history for a workflow">
      <img src="https://mintcdn.com/hoopai-84ec0cdc/gyU98wGhFXcTdqFf/images/academy-workflow-triggers.png?fit=max&auto=format&n=gyU98wGhFXcTdqFf&q=85&s=0aa03e5a41598c8044d00b6cb03b7b27" alt="Workflow execution logs and history" width="1536" height="826" data-path="images/academy-workflow-triggers.png" />
    </Frame>
  </Step>
</Steps>

## Key points

<AccordionGroup>
  <Accordion title="Re-entry and campaign workflows">
    For one-time campaigns (like an onboarding sequence), keep re-entry off. For recurring workflows (like birthday messages or quarterly check-ins), enable re-entry so contacts can go through again when the time comes.
  </Accordion>

  <Accordion title="Stop On Response and customer experience">
    Enabling Stop On Response prevents automation from continuing after a contact replies. When someone responds, the automation should stop and a human follow-up takes over — this keeps your communication feeling natural rather than robotic.
  </Accordion>

  <Accordion title="Using execution logs for troubleshooting">
    If a workflow is not behaving as expected, execution logs show exactly what happened at each step for each contact. This makes it easy to identify whether a trigger did not fire, an action failed, or a wait step is still pending.
  </Accordion>
</AccordionGroup>

## Key benefits

<AccordionGroup>
  <Accordion title="Personalization">
    Customizable sender details and time zone settings ensure each contact receives timely, branded messages.
  </Accordion>

  <Accordion title="Optimal timing">
    Contact-based time zones prevent sending messages at inconvenient hours for different regions.
  </Accordion>

  <Accordion title="Performance tracking">
    Execution logs show exactly how your workflow is performing and flag any issues.
  </Accordion>

  <Accordion title="Customer journey visibility">
    Enrollment history shows where every contact is in your workflow at any given moment.
  </Accordion>

  <Accordion title="Continuous improvement">
    Regular review of settings and logs helps you optimize automation for better results over time.
  </Accordion>
</AccordionGroup>