> ## Documentation Index
> Fetch the complete documentation index at: https://help.hoopai.com/llms.txt
> Use this file to discover all available pages before exploring further.

# Create and manage products

> Build a product catalog with one-time and recurring prices so you can sell through invoices, payment links, order forms, and workflows without re-entering product details every time.

export const CourseTracker = ({courseId, lessonId, videoId}) => {
  const [progress, setProgress] = useState({});
  const [expanded, setExpanded] = useState(false);
  useEffect(() => {
    setProgress(loadProgress());
    document.body.setAttribute("data-academy", "true");
    return () => document.body.removeAttribute("data-academy");
  }, []);
  const course = COURSES[courseId];
  if (!course) return null;
  const lessons = course.lessons;
  const currentIndex = lessons.findIndex(l => l.id === lessonId);
  const completedCount = lessons.filter(l => !!progress[courseId + "/" + l.id]).length;
  const percent = lessons.length > 0 ? Math.round(completedCount / lessons.length * 100) : 0;
  const isCurrentDone = !!progress[courseId + "/" + lessonId];
  const prev = currentIndex > 0 ? lessons[currentIndex - 1] : null;
  const next = currentIndex < lessons.length - 1 ? lessons[currentIndex + 1] : null;
  const totalDuration = formatTotalDuration(lessons);
  const handleToggle = () => {
    const key = courseId + "/" + lessonId;
    const updated = {
      ...progress
    };
    if (updated[key]) {
      delete updated[key];
    } else {
      updated[key] = Date.now();
    }
    setProgress(updated);
    persistProgress(updated);
  };
  const lessonPath = lesson => "/academy/" + course.dir + "/" + lesson.id;
  const videoEmbed = videoId ? <div style={{
    position: "relative",
    width: "100%",
    paddingBottom: "56.25%",
    borderRadius: "var(--ds-radius-lg)",
    overflow: "hidden",
    marginBottom: "24px",
    background: "#000"
  }}>
      <iframe src={"https://www.youtube-nocookie.com/embed/" + videoId + "?rel=0"} title="Lesson video" allow="accelerometer; autoplay; clipboard-write; encrypted-media; gyroscope; picture-in-picture" allowFullScreen style={{
    position: "absolute",
    top: 0,
    left: 0,
    width: "100%",
    height: "100%",
    border: "none"
  }} />
    </div> : null;
  const lessonList = lessons.map(lesson => {
    const isActive = lesson.id === lessonId;
    const isDone = !!progress[courseId + "/" + lesson.id];
    const itemStyle = {
      display: "flex",
      alignItems: "center",
      gap: "8px",
      padding: "10px 16px",
      borderTop: "1px solid var(--academy-border-subtle, #f3f4f6)",
      background: isActive ? "var(--academy-active-bg, #f9fafb)" : "transparent",
      textDecoration: "none",
      cursor: isActive ? "default" : "pointer",
      color: "inherit",
      transition: "background 0.15s"
    };
    const titleStyle = {
      flex: 1,
      fontSize: "13px",
      fontWeight: isActive ? 600 : 400,
      color: isActive ? "var(--academy-text, #111827)" : "var(--academy-text-secondary, #6b7280)",
      overflow: "hidden",
      textOverflow: "ellipsis",
      whiteSpace: "nowrap",
      lineHeight: "1.4"
    };
    const durationStyle = {
      fontSize: "12px",
      color: "var(--academy-text-muted, #9ca3af)",
      whiteSpace: "nowrap"
    };
    const inner = <>
        {isDone ? <CheckCircle /> : <VideoIcon />}
        <span style={titleStyle}>{lesson.title}</span>
        <span style={durationStyle}>{lesson.duration}</span>
      </>;
    if (isActive) {
      return <div key={lesson.id} style={itemStyle}>
          {inner}
        </div>;
    }
    return <a key={lesson.id} href={lessonPath(lesson)} style={itemStyle}>
        {inner}
      </a>;
  });
  return <div className="not-prose" id="academy-course-tracker">
      {videoEmbed}
      <div className="academy-tracker" style={{
    fontFamily: "Inter, -apple-system, BlinkMacSystemFont, sans-serif",
    borderRadius: "var(--ds-radius-lg)",
    border: "1px solid var(--academy-border, #e5e7eb)",
    background: "var(--academy-bg, #ffffff)",
    overflow: "hidden",
    marginBottom: "24px"
  }}>
        {}
        <div style={{
    padding: "16px 16px 0"
  }}>
          <h3 style={{
    margin: 0,
    fontSize: "16px",
    fontWeight: 600,
    lineHeight: "1.4",
    color: "var(--academy-text, #111827)"
  }}>
            {course.title}
          </h3>
          <div style={{
    display: "flex",
    gap: "12px",
    marginTop: "8px"
  }}>
            <span style={{
    display: "flex",
    alignItems: "center",
    gap: "5px",
    fontSize: "12px",
    color: "var(--academy-text-secondary, #6b7280)",
    padding: "3px 8px 3px 6px",
    borderRadius: "var(--ds-radius-sm)",
    border: "1px solid var(--academy-border, #e5e7eb)"
  }}>
              <BookIcon /> {lessons.length} lessons
            </span>
            <span style={{
    display: "flex",
    alignItems: "center",
    gap: "5px",
    fontSize: "12px",
    color: "var(--academy-text-secondary, #6b7280)",
    padding: "3px 8px 3px 6px",
    borderRadius: "var(--ds-radius-sm)",
    border: "1px solid var(--academy-border, #e5e7eb)"
  }}>
              <ClockIcon /> Approx. {totalDuration}
            </span>
          </div>
        </div>

        {}
        <div style={{
    padding: "14px 16px 16px"
  }}>
          <div style={{
    display: "flex",
    justifyContent: "space-between",
    fontSize: "12px",
    color: "var(--academy-text-secondary, #6b7280)"
  }}>
            <span>Your progress</span>
            <span style={{
    fontWeight: 500,
    color: "var(--academy-text, #111827)"
  }}>
              {percent}%
            </span>
          </div>
          <div style={{
    height: "6px",
    borderRadius: "var(--ds-radius-full)",
    background: "var(--academy-track, #f3f4f6)",
    marginTop: "8px",
    overflow: "hidden"
  }}>
            <div style={{
    height: "100%",
    borderRadius: "var(--ds-radius-full)",
    background: "var(--academy-progress, #3b82f6)",
    transition: "width 0.5s cubic-bezier(0.4, 0, 0.2, 1)",
    width: percent + "%"
  }} />
          </div>
        </div>

        {}
        <div className="academy-lessons-desktop">{lessonList}</div>

        {}
        <div className="academy-lessons-mobile">
          <button onClick={() => setExpanded(!expanded)} aria-expanded={expanded} style={{
    display: "flex",
    alignItems: "center",
    justifyContent: "space-between",
    padding: "12px 16px",
    cursor: "pointer",
    borderTop: "1px solid var(--academy-border-subtle, #f3f4f6)",
    background: "transparent",
    border: "none",
    borderTopStyle: "solid",
    borderTopWidth: "1px",
    borderTopColor: "var(--academy-border-subtle, #f3f4f6)",
    width: "100%",
    textAlign: "left",
    color: "var(--academy-text-secondary, #6b7280)",
    fontSize: "13px",
    fontWeight: 500,
    fontFamily: "inherit"
  }}>
            <span>
              {expanded ? "Hide lessons" : "Show all " + lessons.length + " lessons"}
            </span>
            <ChevronDown open={expanded} />
          </button>
          {expanded && lessonList}
        </div>

        {}
        <div style={{
    display: "flex",
    alignItems: "center",
    justifyContent: "space-between",
    borderTop: "1px solid var(--academy-border, #e5e7eb)",
    padding: "10px 16px"
  }}>
          {prev ? <a href={lessonPath(prev)} style={{
    fontSize: "13px",
    color: "var(--academy-text-secondary, #6b7280)",
    textDecoration: "none",
    display: "flex",
    alignItems: "center",
    gap: "4px"
  }}>
              ‹ Previous
            </a> : <div />}
          <button onClick={handleToggle} style={{
    fontSize: "13px",
    fontWeight: 500,
    cursor: "pointer",
    padding: "6px 14px",
    borderRadius: "var(--ds-radius-md)",
    border: isCurrentDone ? "1px solid var(--academy-border, #e5e7eb)" : "none",
    background: isCurrentDone ? "var(--academy-bg, #ffffff)" : "var(--academy-btn-bg, #111827)",
    color: isCurrentDone ? "var(--academy-complete, #10b981)" : "var(--academy-btn-text, #ffffff)",
    display: "flex",
    alignItems: "center",
    gap: "6px",
    transition: "all 0.2s",
    lineHeight: "1.4",
    fontFamily: "inherit"
  }}>
            {isCurrentDone ? <>
                <CheckCircle /> Completed
              </> : "Mark as completed"}
          </button>
          {next ? <a href={lessonPath(next)} style={{
    fontSize: "13px",
    color: "var(--academy-text-secondary, #6b7280)",
    textDecoration: "none",
    display: "flex",
    alignItems: "center",
    gap: "4px"
  }}>
              Next ›
            </a> : <div />}
        </div>
      </div>
    </div>;
};

<CourseTracker courseId="payments-purchases" lessonId="products" />

Your product catalog is the foundation of everything you sell through the platform. Every invoice line item, payment link, and order form checkout is tied to a product in this catalog. Setting up your products once means that when you create an invoice, send a payment link, or build an order form, all you do is select the product — name, price, and description are already there.

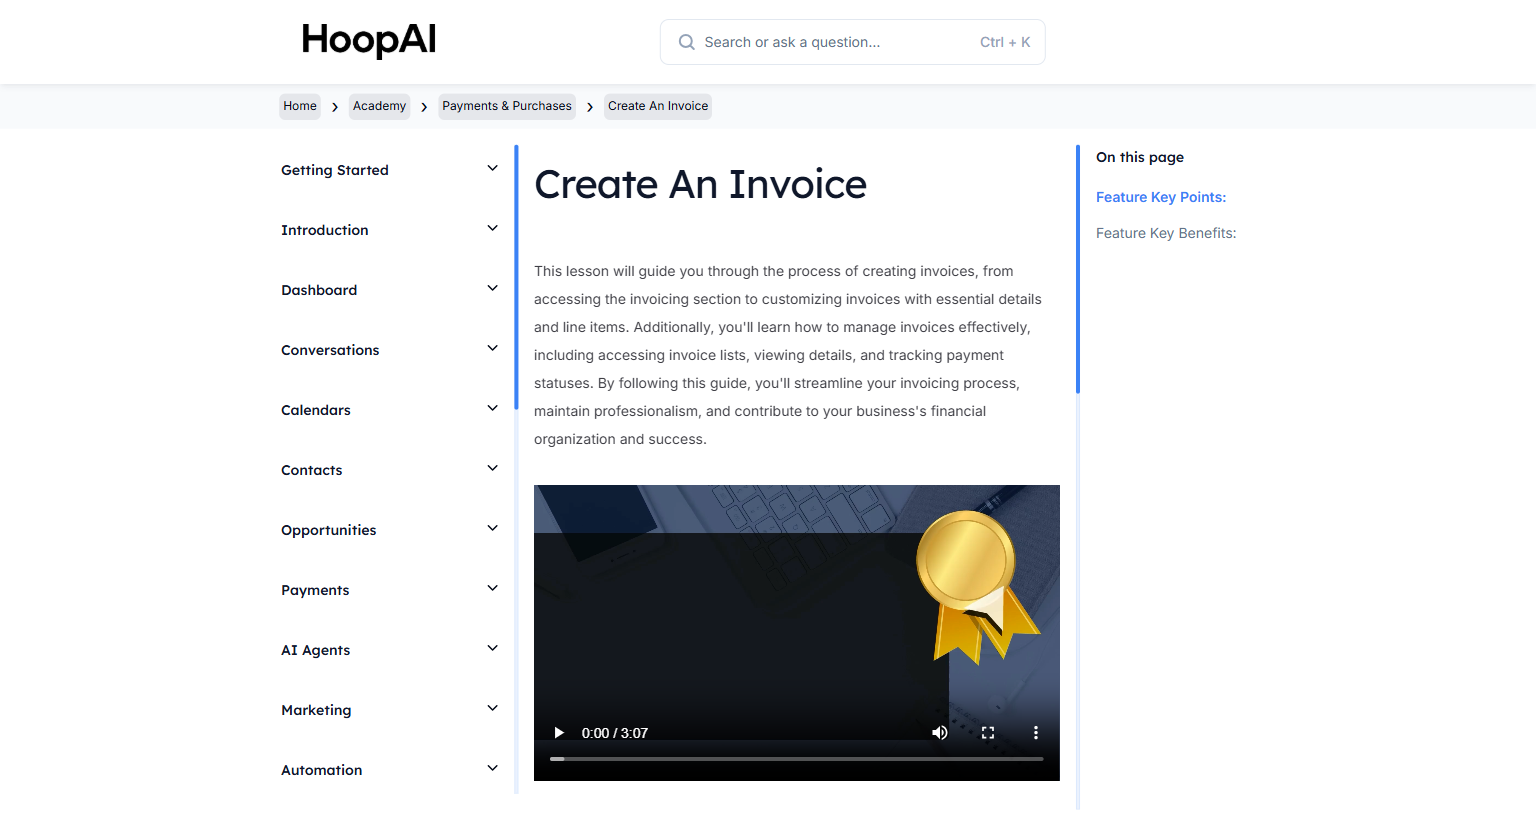
<Frame caption="The Create and Manage Products lesson in the HoopAI Academy Payments & Purchases section">
  <img src="https://mintcdn.com/hoopai-84ec0cdc/gyU98wGhFXcTdqFf/images/academy-payments-create-invoice.png?fit=max&auto=format&n=gyU98wGhFXcTdqFf&q=85&s=3d668491cf93b50382e3be8cbcfcb5a5" alt="Create and manage products article" width="1536" height="826" data-path="images/academy-payments-create-invoice.png" />
</Frame>

## Why this matters

Without a product catalog, every invoice requires re-entering the same service names and prices from scratch — introducing errors, inconsistency, and wasted time. With a catalog, your services and products are defined once: their name, description, price, and tax settings are stored and ready to use across invoices, payment links, order forms, and workflows. As your business scales, your catalog becomes the single source of truth for everything you sell.

## How to create and manage products

<Steps>
  <Step title="Navigate to Products">
    Go to **Payments** > **Products** in the left sidebar. This is your complete product catalog — all your one-time and recurring offerings in one place.
  </Step>

  <Step title="Create a new product">
    Click **New Product** or **Add Product** to open the product builder.

    <Frame caption="The product builder interface showing name, price, and product type configuration">
      <img src="https://mintcdn.com/hoopai-84ec0cdc/gyU98wGhFXcTdqFf/images/academy-payments-create-invoice.png?fit=max&auto=format&n=gyU98wGhFXcTdqFf&q=85&s=3d668491cf93b50382e3be8cbcfcb5a5" alt="Product builder in HoopAI Payments section" width="1536" height="826" data-path="images/academy-payments-create-invoice.png" />
    </Frame>
  </Step>

  <Step title="Set product details">
    Fill in the core product information:

    * **Product name:** The name that appears on invoices, payment pages, and order forms
    * **Description:** A brief explanation of what the product or service includes — this appears on the checkout page
    * **Product image:** Optional — upload an image for products sold through your store or order forms
    * **Product type:** Choose **One-time** for single purchases or **Recurring** for subscriptions

    <Tip>
      Keep product names clear and customer-facing. The name the contact sees on the invoice or checkout page should match what you discussed with them — avoid internal codes or abbreviations.
    </Tip>
  </Step>

  <Step title="Configure pricing">
    Set the price and pricing options:

    **For one-time products:**

    * Set the **price** in your account currency
    * Enable **customer-defined pricing** if you want the customer to enter their own amount (useful for donations or custom quotes)

    **For recurring products (subscriptions):**

    * Set the **recurring price** — the amount charged each billing cycle
    * Choose the **billing interval:** weekly, monthly, quarterly, or annually
    * Set a **trial period** (optional) — a free or reduced-cost period before the full price kicks in
    * Configure the **total billing cycles** if the subscription has a defined end date

    <Frame caption="Configuring a recurring subscription product with billing interval and trial period settings">
      <img src="https://mintlify.s3.us-west-1.amazonaws.com/hoopai-84ec0cdc/images/academy-sms-text2pay.png" alt="Recurring product pricing configuration" />
    </Frame>
  </Step>

  <Step title="Set tax settings">
    If your products are subject to sales tax:

    * Enable **tax** on the product
    * Assign the applicable tax rate (configured under **Payments** > **Payment Settings** > **Tax Rates**)

    The tax is calculated and displayed automatically on invoices and checkout pages when this product is selected.
  </Step>

  <Step title="Save and use the product">
    Click **Save** to add the product to your catalog. It is now available to select when:

    * Creating an invoice (as a line item)
    * Creating a payment link (as the product being sold)
    * Building an order form in your funnels or websites
    * Automating a sale through a workflow action
  </Step>

  <Step title="Organize with collections">
    For larger catalogs, use **Product Collections** to group related products — for example, a "Monthly Plans" collection and a "One-Time Services" collection. Collections make it easier to organize your store and filter products when building order forms.

    Go to **Payments** > **Products** > **Collections** to create and manage product groups.
  </Step>
</Steps>

## Key points

<AccordionGroup>
  <Accordion title="One-time vs. recurring products">
    A **one-time product** is purchased once and the transaction is complete — a consultation fee, a digital download, a physical item. A **recurring product** creates a subscription where the customer's payment method is charged automatically on the set interval — a monthly retainer, a membership, a software subscription. Both types live in the same catalog and can be used across invoices, payment links, and order forms.
  </Accordion>

  <Accordion title="Products and invoices">
    When creating an invoice, you can add catalog products as line items by searching for the product name. The price, description, and tax settings are pulled automatically. You can still override the price on the invoice if needed — for example, to apply a one-time discount — without changing the catalog price.
  </Accordion>

  <Accordion title="Products and order forms">
    Order forms in your funnels and websites are powered by products from the catalog. When building a checkout page in the funnel builder, you select the product and the price is automatically applied to the order form. This means a price change in the catalog updates every order form that uses that product.
  </Accordion>

  <Accordion title="Digital vs. physical products">
    The platform supports both digital and physical product types. **Digital products** deliver a download or access link automatically after purchase. **Physical products** integrate with shipping settings — you can define shipping rates, track inventory, and generate packing slips for fulfilled orders.
  </Accordion>
</AccordionGroup>

## Key benefits

<AccordionGroup>
  <Accordion title="Single source of truth">
    Define each product once — name, price, tax, description — and reuse it across every sales channel without re-entering data.
  </Accordion>

  <Accordion title="Consistent pricing">
    Catalog pricing ensures that every invoice, payment link, and order form shows the correct price — no manual errors or mismatched quotes.
  </Accordion>

  <Accordion title="Subscription management">
    Recurring products handle subscription billing automatically — charging the customer's card on schedule without manual intervention.
  </Accordion>

  <Accordion title="Tax compliance">
    Assign tax rates to products once and have them calculated correctly on every transaction — invoices, order forms, and payment links.
  </Accordion>

  <Accordion title="Scalable catalog">
    As your business grows, organize products into collections to keep your catalog structured and easy to navigate across your team.
  </Accordion>
</AccordionGroup>
