> ## Documentation Index
> Fetch the complete documentation index at: https://help.hoopai.com/llms.txt
> Use this file to discover all available pages before exploring further.

# Create payment links

> Generate shareable payment links for products and services so contacts can pay instantly without needing an invoice — ideal for one-click purchases, event registrations, and quick sales.

export const CourseTracker = ({courseId, lessonId, videoId}) => {
  const [progress, setProgress] = useState({});
  const [expanded, setExpanded] = useState(false);
  useEffect(() => {
    setProgress(loadProgress());
    document.body.setAttribute("data-academy", "true");
    return () => document.body.removeAttribute("data-academy");
  }, []);
  const course = COURSES[courseId];
  if (!course) return null;
  const lessons = course.lessons;
  const currentIndex = lessons.findIndex(l => l.id === lessonId);
  const completedCount = lessons.filter(l => !!progress[courseId + "/" + l.id]).length;
  const percent = lessons.length > 0 ? Math.round(completedCount / lessons.length * 100) : 0;
  const isCurrentDone = !!progress[courseId + "/" + lessonId];
  const prev = currentIndex > 0 ? lessons[currentIndex - 1] : null;
  const next = currentIndex < lessons.length - 1 ? lessons[currentIndex + 1] : null;
  const totalDuration = formatTotalDuration(lessons);
  const handleToggle = () => {
    const key = courseId + "/" + lessonId;
    const updated = {
      ...progress
    };
    if (updated[key]) {
      delete updated[key];
    } else {
      updated[key] = Date.now();
    }
    setProgress(updated);
    persistProgress(updated);
  };
  const lessonPath = lesson => "/academy/" + course.dir + "/" + lesson.id;
  const videoEmbed = videoId ? <div style={{
    position: "relative",
    width: "100%",
    paddingBottom: "56.25%",
    borderRadius: "var(--ds-radius-lg)",
    overflow: "hidden",
    marginBottom: "24px",
    background: "#000"
  }}>
      <iframe src={"https://www.youtube-nocookie.com/embed/" + videoId + "?rel=0"} title="Lesson video" allow="accelerometer; autoplay; clipboard-write; encrypted-media; gyroscope; picture-in-picture" allowFullScreen style={{
    position: "absolute",
    top: 0,
    left: 0,
    width: "100%",
    height: "100%",
    border: "none"
  }} />
    </div> : null;
  const lessonList = lessons.map(lesson => {
    const isActive = lesson.id === lessonId;
    const isDone = !!progress[courseId + "/" + lesson.id];
    const itemStyle = {
      display: "flex",
      alignItems: "center",
      gap: "8px",
      padding: "10px 16px",
      borderTop: "1px solid var(--academy-border-subtle, #f3f4f6)",
      background: isActive ? "var(--academy-active-bg, #f9fafb)" : "transparent",
      textDecoration: "none",
      cursor: isActive ? "default" : "pointer",
      color: "inherit",
      transition: "background 0.15s"
    };
    const titleStyle = {
      flex: 1,
      fontSize: "13px",
      fontWeight: isActive ? 600 : 400,
      color: isActive ? "var(--academy-text, #111827)" : "var(--academy-text-secondary, #6b7280)",
      overflow: "hidden",
      textOverflow: "ellipsis",
      whiteSpace: "nowrap",
      lineHeight: "1.4"
    };
    const durationStyle = {
      fontSize: "12px",
      color: "var(--academy-text-muted, #9ca3af)",
      whiteSpace: "nowrap"
    };
    const inner = <>
        {isDone ? <CheckCircle /> : <VideoIcon />}
        <span style={titleStyle}>{lesson.title}</span>
        <span style={durationStyle}>{lesson.duration}</span>
      </>;
    if (isActive) {
      return <div key={lesson.id} style={itemStyle}>
          {inner}
        </div>;
    }
    return <a key={lesson.id} href={lessonPath(lesson)} style={itemStyle}>
        {inner}
      </a>;
  });
  return <div className="not-prose" id="academy-course-tracker">
      {videoEmbed}
      <div className="academy-tracker" style={{
    fontFamily: "Inter, -apple-system, BlinkMacSystemFont, sans-serif",
    borderRadius: "var(--ds-radius-lg)",
    border: "1px solid var(--academy-border, #e5e7eb)",
    background: "var(--academy-bg, #ffffff)",
    overflow: "hidden",
    marginBottom: "24px"
  }}>
        {}
        <div style={{
    padding: "16px 16px 0"
  }}>
          <h3 style={{
    margin: 0,
    fontSize: "16px",
    fontWeight: 600,
    lineHeight: "1.4",
    color: "var(--academy-text, #111827)"
  }}>
            {course.title}
          </h3>
          <div style={{
    display: "flex",
    gap: "12px",
    marginTop: "8px"
  }}>
            <span style={{
    display: "flex",
    alignItems: "center",
    gap: "5px",
    fontSize: "12px",
    color: "var(--academy-text-secondary, #6b7280)",
    padding: "3px 8px 3px 6px",
    borderRadius: "var(--ds-radius-sm)",
    border: "1px solid var(--academy-border, #e5e7eb)"
  }}>
              <BookIcon /> {lessons.length} lessons
            </span>
            <span style={{
    display: "flex",
    alignItems: "center",
    gap: "5px",
    fontSize: "12px",
    color: "var(--academy-text-secondary, #6b7280)",
    padding: "3px 8px 3px 6px",
    borderRadius: "var(--ds-radius-sm)",
    border: "1px solid var(--academy-border, #e5e7eb)"
  }}>
              <ClockIcon /> Approx. {totalDuration}
            </span>
          </div>
        </div>

        {}
        <div style={{
    padding: "14px 16px 16px"
  }}>
          <div style={{
    display: "flex",
    justifyContent: "space-between",
    fontSize: "12px",
    color: "var(--academy-text-secondary, #6b7280)"
  }}>
            <span>Your progress</span>
            <span style={{
    fontWeight: 500,
    color: "var(--academy-text, #111827)"
  }}>
              {percent}%
            </span>
          </div>
          <div style={{
    height: "6px",
    borderRadius: "var(--ds-radius-full)",
    background: "var(--academy-track, #f3f4f6)",
    marginTop: "8px",
    overflow: "hidden"
  }}>
            <div style={{
    height: "100%",
    borderRadius: "var(--ds-radius-full)",
    background: "var(--academy-progress, #3b82f6)",
    transition: "width 0.5s cubic-bezier(0.4, 0, 0.2, 1)",
    width: percent + "%"
  }} />
          </div>
        </div>

        {}
        <div className="academy-lessons-desktop">{lessonList}</div>

        {}
        <div className="academy-lessons-mobile">
          <button onClick={() => setExpanded(!expanded)} aria-expanded={expanded} style={{
    display: "flex",
    alignItems: "center",
    justifyContent: "space-between",
    padding: "12px 16px",
    cursor: "pointer",
    borderTop: "1px solid var(--academy-border-subtle, #f3f4f6)",
    background: "transparent",
    border: "none",
    borderTopStyle: "solid",
    borderTopWidth: "1px",
    borderTopColor: "var(--academy-border-subtle, #f3f4f6)",
    width: "100%",
    textAlign: "left",
    color: "var(--academy-text-secondary, #6b7280)",
    fontSize: "13px",
    fontWeight: 500,
    fontFamily: "inherit"
  }}>
            <span>
              {expanded ? "Hide lessons" : "Show all " + lessons.length + " lessons"}
            </span>
            <ChevronDown open={expanded} />
          </button>
          {expanded && lessonList}
        </div>

        {}
        <div style={{
    display: "flex",
    alignItems: "center",
    justifyContent: "space-between",
    borderTop: "1px solid var(--academy-border, #e5e7eb)",
    padding: "10px 16px"
  }}>
          {prev ? <a href={lessonPath(prev)} style={{
    fontSize: "13px",
    color: "var(--academy-text-secondary, #6b7280)",
    textDecoration: "none",
    display: "flex",
    alignItems: "center",
    gap: "4px"
  }}>
              ‹ Previous
            </a> : <div />}
          <button onClick={handleToggle} style={{
    fontSize: "13px",
    fontWeight: 500,
    cursor: "pointer",
    padding: "6px 14px",
    borderRadius: "var(--ds-radius-md)",
    border: isCurrentDone ? "1px solid var(--academy-border, #e5e7eb)" : "none",
    background: isCurrentDone ? "var(--academy-bg, #ffffff)" : "var(--academy-btn-bg, #111827)",
    color: isCurrentDone ? "var(--academy-complete, #10b981)" : "var(--academy-btn-text, #ffffff)",
    display: "flex",
    alignItems: "center",
    gap: "6px",
    transition: "all 0.2s",
    lineHeight: "1.4",
    fontFamily: "inherit"
  }}>
            {isCurrentDone ? <>
                <CheckCircle /> Completed
              </> : "Mark as completed"}
          </button>
          {next ? <a href={lessonPath(next)} style={{
    fontSize: "13px",
    color: "var(--academy-text-secondary, #6b7280)",
    textDecoration: "none",
    display: "flex",
    alignItems: "center",
    gap: "4px"
  }}>
              Next ›
            </a> : <div />}
        </div>
      </div>
    </div>;
};

<CourseTracker courseId="payments-purchases" lessonId="payment-links" />

Payment links are the fastest way to collect money. Instead of building a full invoice, you create a link tied to a specific product or service, copy it, and send it — via SMS, email, or any messaging channel. The contact clicks the link, enters their card details, and the payment is processed immediately. No back-and-forth, no manual follow-up.

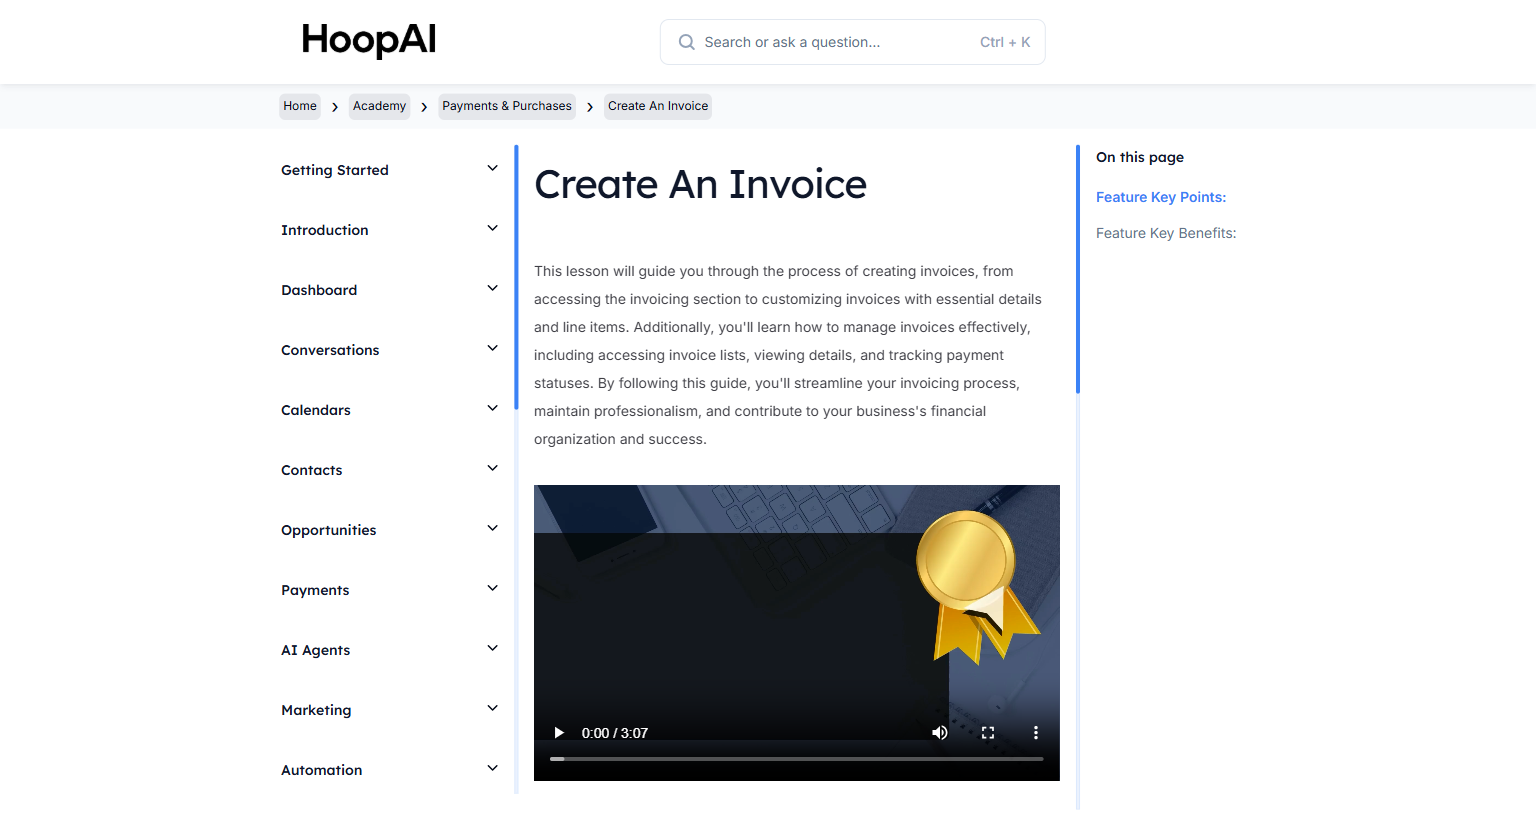
<Frame caption="The Create Payment Links lesson in the HoopAI Academy Payments & Purchases section">
  <img src="https://mintcdn.com/hoopai-84ec0cdc/gyU98wGhFXcTdqFf/images/academy-payments-create-invoice.png?fit=max&auto=format&n=gyU98wGhFXcTdqFf&q=85&s=3d668491cf93b50382e3be8cbcfcb5a5" alt="Create payment links article" width="1536" height="826" data-path="images/academy-payments-create-invoice.png" />
</Frame>

## Why this matters

Some payments don't need the formality of a full invoice. A coaching call deposit, a product sale, an event registration, a retainer fee — these are scenarios where you simply need a link the contact can click to pay right now. Payment links are the fastest path from "I want to sell this" to "payment received." They work in any channel where you can paste a URL, and they eliminate the need to create, send, and track a full invoice for simple transactions.

## How to create and share a payment link

<Steps>
  <Step title="Navigate to Payment Links">
    Go to **Payments** > **Payment Links** in the left sidebar. This is where all your payment links are created and managed.
  </Step>

  <Step title="Create a new payment link">
    Click **New Payment Link** or **Create Payment Link** to open the link builder.

    <Frame caption="Creating a new payment link in the HoopAI Platform Payments section">
      <img src="https://mintcdn.com/hoopai-84ec0cdc/gyU98wGhFXcTdqFf/images/academy-payments-create-invoice.png?fit=max&auto=format&n=gyU98wGhFXcTdqFf&q=85&s=3d668491cf93b50382e3be8cbcfcb5a5" alt="Payment link creation interface" width="1536" height="826" data-path="images/academy-payments-create-invoice.png" />
    </Frame>
  </Step>

  <Step title="Select or create a product">
    Payment links are tied to products in your product catalog. Either:

    * **Select an existing product** from your catalog — the price is pulled automatically
    * **Create a new product** directly from the payment link builder — name it, set the price, and it will be saved to your catalog

    For recurring services, select a product with a subscription price to create a recurring payment link.
  </Step>

  <Step title="Configure the link settings">
    Set the key options for this payment link:

    * **Link name:** A label for internal use — this is how you identify the link in your dashboard
    * **Amount:** The price the customer will pay (pulled from the product, but can be adjusted)
    * **Currency:** Defaults to your account currency
    * **Quantity:** Whether to allow the customer to choose a quantity at checkout
    * **Redirect URL:** The page to send the customer to after payment completes — for example, a thank-you page or onboarding form

    <Tip>
      Set the redirect URL to a page that confirms what happens next — a calendar booking link, a welcome video, or a resource download. This improves the customer experience immediately after payment.
    </Tip>
  </Step>

  <Step title="Customize the payment page">
    Optionally, add branding to the payment page:

    * Your business logo
    * A custom title and description visible on the checkout page
    * Brand colors (if configured in your account settings)

    A branded payment page reinforces trust and professionalism at the moment of purchase.
  </Step>

  <Step title="Save and copy the link">
    Click **Save** to generate the payment link. Copy the URL and share it anywhere:

    * Paste it directly into an SMS or email conversation in the platform
    * Add it to a workflow action to send automatically when a trigger fires
    * Include it in a broadcast email or SMS blast
    * Post it on social media or add it to your website

    <Frame caption="A generated payment link ready to be copied and shared across any channel">
      <img src="https://mintcdn.com/hoopai-84ec0cdc/gyU98wGhFXcTdqFf/images/academy-payments-create-invoice.png?fit=max&auto=format&n=gyU98wGhFXcTdqFf&q=85&s=3d668491cf93b50382e3be8cbcfcb5a5" alt="Shareable payment link generated and ready to copy" width="1536" height="826" data-path="images/academy-payments-create-invoice.png" />
    </Frame>
  </Step>

  <Step title="Track payments">
    Go to **Payments** > **Transactions** to see all completed payments from your payment links. Each transaction shows the contact name, amount, date, and payment status.
  </Step>
</Steps>

## Key points

<AccordionGroup>
  <Accordion title="Payment links vs. invoices — which to use">
    Use a **payment link** when you need a fast, one-click checkout — no itemized billing, no net terms, just pay now. Use an **invoice** when you need a formal document with line items, a due date, and net payment terms. Payment links are better for products and retail; invoices are better for project-based and professional services billing.
  </Accordion>

  <Accordion title="Using payment links in workflows">
    Payment links can be inserted into workflow SMS or email actions using the link URL. For example, build a workflow triggered when a lead reaches a certain pipeline stage that sends an SMS containing the payment link for a deposit. When the lead pays, a subsequent trigger can move them to the next stage automatically.
  </Accordion>

  <Accordion title="Recurring payment links">
    If the product attached to a payment link is a subscription product, the payment link creates a recurring subscription — the customer's card is charged automatically on the configured schedule (weekly, monthly, annually). Use this for retainers, membership fees, and ongoing service packages.
  </Accordion>

  <Accordion title="Payment processor requirement">
    Payment links require a connected payment processor (Stripe is the primary option). Go to **Settings** > **Integrations** > **Stripe** to connect your account before creating payment links. Without a connected processor, payment links cannot collect payments.
  </Accordion>
</AccordionGroup>

## Key benefits

<AccordionGroup>
  <Accordion title="Instant checkout">
    Contacts pay in seconds — no forms to fill, no invoice to wait for, no back-and-forth.
  </Accordion>

  <Accordion title="Works in any channel">
    Paste the link into SMS, email, social media, or anywhere a URL can be shared.
  </Accordion>

  <Accordion title="Automation-ready">
    Insert payment links into workflow actions to automate sales follow-up and payment collection.
  </Accordion>

  <Accordion title="Supports subscriptions">
    Attach a subscription product to create recurring payment links for ongoing services.
  </Accordion>

  <Accordion title="No invoice required">
    Skip the invoice process for simple sales — create the link and start collecting in under a minute.
  </Accordion>
</AccordionGroup>
