> ## Documentation Index
> Fetch the complete documentation index at: https://help.hoopai.com/llms.txt
> Use this file to discover all available pages before exploring further.

# Create an invoice

> Generate professional invoices, add line items, and send payment requests directly to contacts from the HoopAI Platform — with automatic total calculations and payment status tracking.

export const CourseTracker = ({courseId, lessonId, videoId}) => {
  const [progress, setProgress] = useState({});
  const [expanded, setExpanded] = useState(false);
  useEffect(() => {
    setProgress(loadProgress());
    document.body.setAttribute("data-academy", "true");
    return () => document.body.removeAttribute("data-academy");
  }, []);
  const course = COURSES[courseId];
  if (!course) return null;
  const lessons = course.lessons;
  const currentIndex = lessons.findIndex(l => l.id === lessonId);
  const completedCount = lessons.filter(l => !!progress[courseId + "/" + l.id]).length;
  const percent = lessons.length > 0 ? Math.round(completedCount / lessons.length * 100) : 0;
  const isCurrentDone = !!progress[courseId + "/" + lessonId];
  const prev = currentIndex > 0 ? lessons[currentIndex - 1] : null;
  const next = currentIndex < lessons.length - 1 ? lessons[currentIndex + 1] : null;
  const totalDuration = formatTotalDuration(lessons);
  const handleToggle = () => {
    const key = courseId + "/" + lessonId;
    const updated = {
      ...progress
    };
    if (updated[key]) {
      delete updated[key];
    } else {
      updated[key] = Date.now();
    }
    setProgress(updated);
    persistProgress(updated);
  };
  const lessonPath = lesson => "/academy/" + course.dir + "/" + lesson.id;
  const videoEmbed = videoId ? <div style={{
    position: "relative",
    width: "100%",
    paddingBottom: "56.25%",
    borderRadius: "var(--ds-radius-lg)",
    overflow: "hidden",
    marginBottom: "24px",
    background: "#000"
  }}>
      <iframe src={"https://www.youtube-nocookie.com/embed/" + videoId + "?rel=0"} title="Lesson video" allow="accelerometer; autoplay; clipboard-write; encrypted-media; gyroscope; picture-in-picture" allowFullScreen style={{
    position: "absolute",
    top: 0,
    left: 0,
    width: "100%",
    height: "100%",
    border: "none"
  }} />
    </div> : null;
  const lessonList = lessons.map(lesson => {
    const isActive = lesson.id === lessonId;
    const isDone = !!progress[courseId + "/" + lesson.id];
    const itemStyle = {
      display: "flex",
      alignItems: "center",
      gap: "8px",
      padding: "10px 16px",
      borderTop: "1px solid var(--academy-border-subtle, #f3f4f6)",
      background: isActive ? "var(--academy-active-bg, #f9fafb)" : "transparent",
      textDecoration: "none",
      cursor: isActive ? "default" : "pointer",
      color: "inherit",
      transition: "background 0.15s"
    };
    const titleStyle = {
      flex: 1,
      fontSize: "13px",
      fontWeight: isActive ? 600 : 400,
      color: isActive ? "var(--academy-text, #111827)" : "var(--academy-text-secondary, #6b7280)",
      overflow: "hidden",
      textOverflow: "ellipsis",
      whiteSpace: "nowrap",
      lineHeight: "1.4"
    };
    const durationStyle = {
      fontSize: "12px",
      color: "var(--academy-text-muted, #9ca3af)",
      whiteSpace: "nowrap"
    };
    const inner = <>
        {isDone ? <CheckCircle /> : <VideoIcon />}
        <span style={titleStyle}>{lesson.title}</span>
        <span style={durationStyle}>{lesson.duration}</span>
      </>;
    if (isActive) {
      return <div key={lesson.id} style={itemStyle}>
          {inner}
        </div>;
    }
    return <a key={lesson.id} href={lessonPath(lesson)} style={itemStyle}>
        {inner}
      </a>;
  });
  return <div className="not-prose" id="academy-course-tracker">
      {videoEmbed}
      <div className="academy-tracker" style={{
    fontFamily: "Inter, -apple-system, BlinkMacSystemFont, sans-serif",
    borderRadius: "var(--ds-radius-lg)",
    border: "1px solid var(--academy-border, #e5e7eb)",
    background: "var(--academy-bg, #ffffff)",
    overflow: "hidden",
    marginBottom: "24px"
  }}>
        {}
        <div style={{
    padding: "16px 16px 0"
  }}>
          <h3 style={{
    margin: 0,
    fontSize: "16px",
    fontWeight: 600,
    lineHeight: "1.4",
    color: "var(--academy-text, #111827)"
  }}>
            {course.title}
          </h3>
          <div style={{
    display: "flex",
    gap: "12px",
    marginTop: "8px"
  }}>
            <span style={{
    display: "flex",
    alignItems: "center",
    gap: "5px",
    fontSize: "12px",
    color: "var(--academy-text-secondary, #6b7280)",
    padding: "3px 8px 3px 6px",
    borderRadius: "var(--ds-radius-sm)",
    border: "1px solid var(--academy-border, #e5e7eb)"
  }}>
              <BookIcon /> {lessons.length} lessons
            </span>
            <span style={{
    display: "flex",
    alignItems: "center",
    gap: "5px",
    fontSize: "12px",
    color: "var(--academy-text-secondary, #6b7280)",
    padding: "3px 8px 3px 6px",
    borderRadius: "var(--ds-radius-sm)",
    border: "1px solid var(--academy-border, #e5e7eb)"
  }}>
              <ClockIcon /> Approx. {totalDuration}
            </span>
          </div>
        </div>

        {}
        <div style={{
    padding: "14px 16px 16px"
  }}>
          <div style={{
    display: "flex",
    justifyContent: "space-between",
    fontSize: "12px",
    color: "var(--academy-text-secondary, #6b7280)"
  }}>
            <span>Your progress</span>
            <span style={{
    fontWeight: 500,
    color: "var(--academy-text, #111827)"
  }}>
              {percent}%
            </span>
          </div>
          <div style={{
    height: "6px",
    borderRadius: "var(--ds-radius-full)",
    background: "var(--academy-track, #f3f4f6)",
    marginTop: "8px",
    overflow: "hidden"
  }}>
            <div style={{
    height: "100%",
    borderRadius: "var(--ds-radius-full)",
    background: "var(--academy-progress, #3b82f6)",
    transition: "width 0.5s cubic-bezier(0.4, 0, 0.2, 1)",
    width: percent + "%"
  }} />
          </div>
        </div>

        {}
        <div className="academy-lessons-desktop">{lessonList}</div>

        {}
        <div className="academy-lessons-mobile">
          <button onClick={() => setExpanded(!expanded)} aria-expanded={expanded} style={{
    display: "flex",
    alignItems: "center",
    justifyContent: "space-between",
    padding: "12px 16px",
    cursor: "pointer",
    borderTop: "1px solid var(--academy-border-subtle, #f3f4f6)",
    background: "transparent",
    border: "none",
    borderTopStyle: "solid",
    borderTopWidth: "1px",
    borderTopColor: "var(--academy-border-subtle, #f3f4f6)",
    width: "100%",
    textAlign: "left",
    color: "var(--academy-text-secondary, #6b7280)",
    fontSize: "13px",
    fontWeight: 500,
    fontFamily: "inherit"
  }}>
            <span>
              {expanded ? "Hide lessons" : "Show all " + lessons.length + " lessons"}
            </span>
            <ChevronDown open={expanded} />
          </button>
          {expanded && lessonList}
        </div>

        {}
        <div style={{
    display: "flex",
    alignItems: "center",
    justifyContent: "space-between",
    borderTop: "1px solid var(--academy-border, #e5e7eb)",
    padding: "10px 16px"
  }}>
          {prev ? <a href={lessonPath(prev)} style={{
    fontSize: "13px",
    color: "var(--academy-text-secondary, #6b7280)",
    textDecoration: "none",
    display: "flex",
    alignItems: "center",
    gap: "4px"
  }}>
              ‹ Previous
            </a> : <div />}
          <button onClick={handleToggle} style={{
    fontSize: "13px",
    fontWeight: 500,
    cursor: "pointer",
    padding: "6px 14px",
    borderRadius: "var(--ds-radius-md)",
    border: isCurrentDone ? "1px solid var(--academy-border, #e5e7eb)" : "none",
    background: isCurrentDone ? "var(--academy-bg, #ffffff)" : "var(--academy-btn-bg, #111827)",
    color: isCurrentDone ? "var(--academy-complete, #10b981)" : "var(--academy-btn-text, #ffffff)",
    display: "flex",
    alignItems: "center",
    gap: "6px",
    transition: "all 0.2s",
    lineHeight: "1.4",
    fontFamily: "inherit"
  }}>
            {isCurrentDone ? <>
                <CheckCircle /> Completed
              </> : "Mark as completed"}
          </button>
          {next ? <a href={lessonPath(next)} style={{
    fontSize: "13px",
    color: "var(--academy-text-secondary, #6b7280)",
    textDecoration: "none",
    display: "flex",
    alignItems: "center",
    gap: "4px"
  }}>
              Next ›
            </a> : <div />}
        </div>
      </div>
    </div>;
};

<CourseTracker courseId="payments-purchases" lessonId="create-an-invoice" />

The HoopAI Platform's invoicing system lets you create and send professional invoices to clients directly from within the platform. Invoices are sent to the contact's email, tracked by payment status, and can be paid online — eliminating the back-and-forth of external invoicing tools and manual payment follow-up.

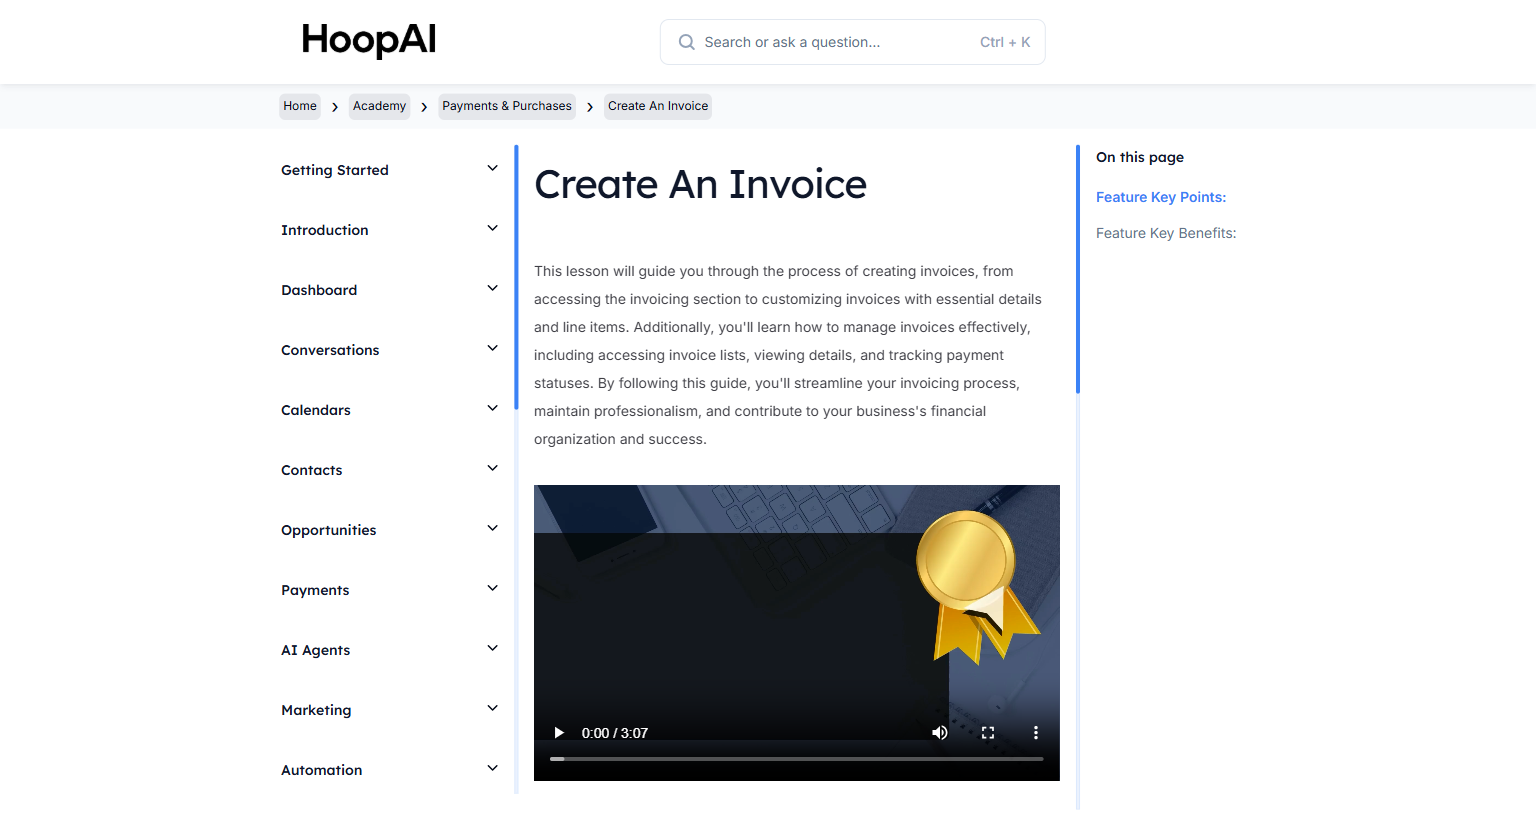
<Frame caption="The Create An Invoice lesson in the HoopAI Academy Payments & Purchases section">
  <img src="https://mintcdn.com/hoopai-84ec0cdc/gyU98wGhFXcTdqFf/images/academy-payments-create-invoice.png?fit=max&auto=format&n=gyU98wGhFXcTdqFf&q=85&s=3d668491cf93b50382e3be8cbcfcb5a5" alt="Create an invoice article" width="1536" height="826" data-path="images/academy-payments-create-invoice.png" />
</Frame>

## Why this matters

Chasing payments manually — sending reminder emails, following up by phone, waiting for checks — wastes time and creates cash flow problems. The platform's invoicing system removes this friction. Send an invoice in seconds, the client pays online, and the payment status updates automatically. For businesses that bill by the appointment or project, this alone saves hours every week.

## How to create and send an invoice

<Steps>
  <Step title="Navigate to Payments">
    Go to **Payments** > **Invoices** in the left sidebar. This is your central hub for all invoices — drafts, sent, paid, and overdue.

    <Frame caption="The Invoices section under Payments showing invoice status tracking and management">
      <img src="https://mintcdn.com/hoopai-84ec0cdc/gyU98wGhFXcTdqFf/images/academy-payments-create-invoice.png?fit=max&auto=format&n=gyU98wGhFXcTdqFf&q=85&s=3d668491cf93b50382e3be8cbcfcb5a5" alt="Invoices section in the HoopAI Platform" width="1536" height="826" data-path="images/academy-payments-create-invoice.png" />
    </Frame>
  </Step>

  <Step title="Create a new invoice">
    Click **New Invoice** or **Create Invoice**. The invoice builder opens with a clean template ready to customize.
  </Step>

  <Step title="Add client information">
    In the **Bill To** section, search for an existing contact by name or email, or enter their details manually. The invoice will be addressed to this contact and sent to their email address.

    * Contact name and business name (if applicable)
    * Email address (where the invoice link is delivered)
    * Billing address (optional, for formal invoices)

    <Tip>
      Always select the contact from your existing CRM rather than entering details manually. This links the invoice to the contact record so the payment is tracked in their history and visible from their contact profile.
    </Tip>
  </Step>

  <Step title="Set the invoice date and due date">
    Configure:

    * **Invoice date:** The date the invoice is issued — usually today
    * **Due date:** When payment is expected — Net 7, Net 14, Net 30, or a specific date
    * **Invoice number:** Auto-generated, but can be edited for continuity with your existing numbering system
  </Step>

  <Step title="Add line items">
    Click **Add Item** for each product or service being invoiced. For each line item, enter:

    * **Item name or description:** What the client is being charged for
    * **Quantity:** Number of units, hours, or sessions
    * **Rate:** Price per unit
    * **Tax rate:** If applicable — the platform calculates tax automatically

    The invoice total is calculated automatically as you add items — no manual math required.

    <Frame caption="Adding line items to an invoice with quantity, rate, and automatic total calculation">
      <img src="https://mintlify.s3.us-west-1.amazonaws.com/hoopai-84ec0cdc/images/academy-sms-text2pay.png" alt="Invoice line items and total calculation" />
    </Frame>
  </Step>

  <Step title="Add a note or payment terms">
    In the **Notes** or **Terms** field, include any additional information for the client:

    * Payment method instructions
    * Late payment policy
    * A thank-you note or reference to the project
    * Your business policies

    These notes appear on the invoice the client receives.
  </Step>

  <Step title="Add your company logo">
    Upload your business logo to the invoice for a professional, branded appearance. The logo appears at the top of the invoice document the client sees when they open the payment link.

    <Frame caption="A completed invoice with logo, line items, total, and payment link ready to send">
      <img src="https://mintcdn.com/hoopai-84ec0cdc/gyU98wGhFXcTdqFf/images/academy-payments-create-invoice.png?fit=max&auto=format&n=gyU98wGhFXcTdqFf&q=85&s=3d668491cf93b50382e3be8cbcfcb5a5" alt="Completed branded invoice ready to send" width="1536" height="826" data-path="images/academy-payments-create-invoice.png" />
    </Frame>
  </Step>

  <Step title="Send the invoice">
    Click **Send Invoice**. The client receives an email with a link to view and pay the invoice online. Supported payment methods depend on the payment processor connected to your account (typically Stripe).

    Once sent, the invoice status updates automatically:

    * **Sent:** Invoice delivered, payment not yet made
    * **Paid:** Client completed payment
    * **Overdue:** Due date passed with no payment
    * **Void:** Invoice cancelled
  </Step>
</Steps>

## Key points

<AccordionGroup>
  <Accordion title="How clients pay the invoice">
    When the client receives the invoice email, they click the payment link and are taken to a secure payment page. They can pay by credit or debit card. The payment is processed through your connected Stripe account and the invoice status updates to Paid automatically — you do not need to manually mark anything.
  </Accordion>

  <Accordion title="Tracking invoice payment status">
    All invoices are visible in the **Payments** > **Invoices** section. Filter by status — paid, sent, overdue — to quickly see which clients still owe payment. You can also view the full payment history from the contact's record in your CRM.
  </Accordion>

  <Accordion title="Editing or voiding an invoice">
    Draft invoices can be edited freely. Once an invoice is sent, you can still edit it — the client will see the updated version when they open the link. To cancel an invoice entirely, change its status to **Void**. Void invoices are kept in the system for record-keeping but are no longer active.
  </Accordion>

  <Accordion title="Connecting Stripe for payment processing">
    To collect payments through invoices, your Stripe account must be connected to the platform under **Settings** > **Integrations** > **Stripe**. If Stripe is not connected, invoices can still be created and sent, but the online payment option will not be available.
  </Accordion>
</AccordionGroup>

## Key benefits

<AccordionGroup>
  <Accordion title="Professional invoices">
    Branded documents with your logo, line items, and terms that reflect your business's credibility.
  </Accordion>

  <Accordion title="Online payment collection">
    Clients pay instantly via a secure link — no checks, no wire transfers, no manual processing.
  </Accordion>

  <Accordion title="Automatic status tracking">
    Know exactly which invoices are paid, sent, or overdue at a glance.
  </Accordion>

  <Accordion title="CRM integration">
    Invoices are linked to contact records, giving you a full payment history for every client.
  </Accordion>

  <Accordion title="Time savings">
    Create and send an invoice in under two minutes — no separate invoicing tool required.
  </Accordion>
</AccordionGroup>
