> ## Documentation Index
> Fetch the complete documentation index at: https://help.hoopai.com/llms.txt
> Use this file to discover all available pages before exploring further.

# 2-Way SMS chat widget

> Add a live chat widget to any funnel or website page that captures visitor contact information and continues the conversation via SMS — all managed in Conversations.

export const CourseTracker = ({courseId, lessonId, videoId}) => {
  const [progress, setProgress] = useState({});
  const [expanded, setExpanded] = useState(false);
  useEffect(() => {
    setProgress(loadProgress());
    document.body.setAttribute("data-academy", "true");
    return () => document.body.removeAttribute("data-academy");
  }, []);
  const course = COURSES[courseId];
  if (!course) return null;
  const lessons = course.lessons;
  const currentIndex = lessons.findIndex(l => l.id === lessonId);
  const completedCount = lessons.filter(l => !!progress[courseId + "/" + l.id]).length;
  const percent = lessons.length > 0 ? Math.round(completedCount / lessons.length * 100) : 0;
  const isCurrentDone = !!progress[courseId + "/" + lessonId];
  const prev = currentIndex > 0 ? lessons[currentIndex - 1] : null;
  const next = currentIndex < lessons.length - 1 ? lessons[currentIndex + 1] : null;
  const totalDuration = formatTotalDuration(lessons);
  const handleToggle = () => {
    const key = courseId + "/" + lessonId;
    const updated = {
      ...progress
    };
    if (updated[key]) {
      delete updated[key];
    } else {
      updated[key] = Date.now();
    }
    setProgress(updated);
    persistProgress(updated);
  };
  const lessonPath = lesson => "/academy/" + course.dir + "/" + lesson.id;
  const videoEmbed = videoId ? <div style={{
    position: "relative",
    width: "100%",
    paddingBottom: "56.25%",
    borderRadius: "var(--ds-radius-lg)",
    overflow: "hidden",
    marginBottom: "24px",
    background: "#000"
  }}>
      <iframe src={"https://www.youtube-nocookie.com/embed/" + videoId + "?rel=0"} title="Lesson video" allow="accelerometer; autoplay; clipboard-write; encrypted-media; gyroscope; picture-in-picture" allowFullScreen style={{
    position: "absolute",
    top: 0,
    left: 0,
    width: "100%",
    height: "100%",
    border: "none"
  }} />
    </div> : null;
  const lessonList = lessons.map(lesson => {
    const isActive = lesson.id === lessonId;
    const isDone = !!progress[courseId + "/" + lesson.id];
    const itemStyle = {
      display: "flex",
      alignItems: "center",
      gap: "8px",
      padding: "10px 16px",
      borderTop: "1px solid var(--academy-border-subtle, #f3f4f6)",
      background: isActive ? "var(--academy-active-bg, #f9fafb)" : "transparent",
      textDecoration: "none",
      cursor: isActive ? "default" : "pointer",
      color: "inherit",
      transition: "background 0.15s"
    };
    const titleStyle = {
      flex: 1,
      fontSize: "13px",
      fontWeight: isActive ? 600 : 400,
      color: isActive ? "var(--academy-text, #111827)" : "var(--academy-text-secondary, #6b7280)",
      overflow: "hidden",
      textOverflow: "ellipsis",
      whiteSpace: "nowrap",
      lineHeight: "1.4"
    };
    const durationStyle = {
      fontSize: "12px",
      color: "var(--academy-text-muted, #9ca3af)",
      whiteSpace: "nowrap"
    };
    const inner = <>
        {isDone ? <CheckCircle /> : <VideoIcon />}
        <span style={titleStyle}>{lesson.title}</span>
        <span style={durationStyle}>{lesson.duration}</span>
      </>;
    if (isActive) {
      return <div key={lesson.id} style={itemStyle}>
          {inner}
        </div>;
    }
    return <a key={lesson.id} href={lessonPath(lesson)} style={itemStyle}>
        {inner}
      </a>;
  });
  return <div className="not-prose" id="academy-course-tracker">
      {videoEmbed}
      <div className="academy-tracker" style={{
    fontFamily: "Inter, -apple-system, BlinkMacSystemFont, sans-serif",
    borderRadius: "var(--ds-radius-lg)",
    border: "1px solid var(--academy-border, #e5e7eb)",
    background: "var(--academy-bg, #ffffff)",
    overflow: "hidden",
    marginBottom: "24px"
  }}>
        {}
        <div style={{
    padding: "16px 16px 0"
  }}>
          <h3 style={{
    margin: 0,
    fontSize: "16px",
    fontWeight: 600,
    lineHeight: "1.4",
    color: "var(--academy-text, #111827)"
  }}>
            {course.title}
          </h3>
          <div style={{
    display: "flex",
    gap: "12px",
    marginTop: "8px"
  }}>
            <span style={{
    display: "flex",
    alignItems: "center",
    gap: "5px",
    fontSize: "12px",
    color: "var(--academy-text-secondary, #6b7280)",
    padding: "3px 8px 3px 6px",
    borderRadius: "var(--ds-radius-sm)",
    border: "1px solid var(--academy-border, #e5e7eb)"
  }}>
              <BookIcon /> {lessons.length} lessons
            </span>
            <span style={{
    display: "flex",
    alignItems: "center",
    gap: "5px",
    fontSize: "12px",
    color: "var(--academy-text-secondary, #6b7280)",
    padding: "3px 8px 3px 6px",
    borderRadius: "var(--ds-radius-sm)",
    border: "1px solid var(--academy-border, #e5e7eb)"
  }}>
              <ClockIcon /> Approx. {totalDuration}
            </span>
          </div>
        </div>

        {}
        <div style={{
    padding: "14px 16px 16px"
  }}>
          <div style={{
    display: "flex",
    justifyContent: "space-between",
    fontSize: "12px",
    color: "var(--academy-text-secondary, #6b7280)"
  }}>
            <span>Your progress</span>
            <span style={{
    fontWeight: 500,
    color: "var(--academy-text, #111827)"
  }}>
              {percent}%
            </span>
          </div>
          <div style={{
    height: "6px",
    borderRadius: "var(--ds-radius-full)",
    background: "var(--academy-track, #f3f4f6)",
    marginTop: "8px",
    overflow: "hidden"
  }}>
            <div style={{
    height: "100%",
    borderRadius: "var(--ds-radius-full)",
    background: "var(--academy-progress, #3b82f6)",
    transition: "width 0.5s cubic-bezier(0.4, 0, 0.2, 1)",
    width: percent + "%"
  }} />
          </div>
        </div>

        {}
        <div className="academy-lessons-desktop">{lessonList}</div>

        {}
        <div className="academy-lessons-mobile">
          <button onClick={() => setExpanded(!expanded)} aria-expanded={expanded} style={{
    display: "flex",
    alignItems: "center",
    justifyContent: "space-between",
    padding: "12px 16px",
    cursor: "pointer",
    borderTop: "1px solid var(--academy-border-subtle, #f3f4f6)",
    background: "transparent",
    border: "none",
    borderTopStyle: "solid",
    borderTopWidth: "1px",
    borderTopColor: "var(--academy-border-subtle, #f3f4f6)",
    width: "100%",
    textAlign: "left",
    color: "var(--academy-text-secondary, #6b7280)",
    fontSize: "13px",
    fontWeight: 500,
    fontFamily: "inherit"
  }}>
            <span>
              {expanded ? "Hide lessons" : "Show all " + lessons.length + " lessons"}
            </span>
            <ChevronDown open={expanded} />
          </button>
          {expanded && lessonList}
        </div>

        {}
        <div style={{
    display: "flex",
    alignItems: "center",
    justifyContent: "space-between",
    borderTop: "1px solid var(--academy-border, #e5e7eb)",
    padding: "10px 16px"
  }}>
          {prev ? <a href={lessonPath(prev)} style={{
    fontSize: "13px",
    color: "var(--academy-text-secondary, #6b7280)",
    textDecoration: "none",
    display: "flex",
    alignItems: "center",
    gap: "4px"
  }}>
              ‹ Previous
            </a> : <div />}
          <button onClick={handleToggle} style={{
    fontSize: "13px",
    fontWeight: 500,
    cursor: "pointer",
    padding: "6px 14px",
    borderRadius: "var(--ds-radius-md)",
    border: isCurrentDone ? "1px solid var(--academy-border, #e5e7eb)" : "none",
    background: isCurrentDone ? "var(--academy-bg, #ffffff)" : "var(--academy-btn-bg, #111827)",
    color: isCurrentDone ? "var(--academy-complete, #10b981)" : "var(--academy-btn-text, #ffffff)",
    display: "flex",
    alignItems: "center",
    gap: "6px",
    transition: "all 0.2s",
    lineHeight: "1.4",
    fontFamily: "inherit"
  }}>
            {isCurrentDone ? <>
                <CheckCircle /> Completed
              </> : "Mark as completed"}
          </button>
          {next ? <a href={lessonPath(next)} style={{
    fontSize: "13px",
    color: "var(--academy-text-secondary, #6b7280)",
    textDecoration: "none",
    display: "flex",
    alignItems: "center",
    gap: "4px"
  }}>
              Next ›
            </a> : <div />}
        </div>
      </div>
    </div>;
};

<CourseTracker courseId="funnels-websites" lessonId="2-way-sms-chat-widget" />

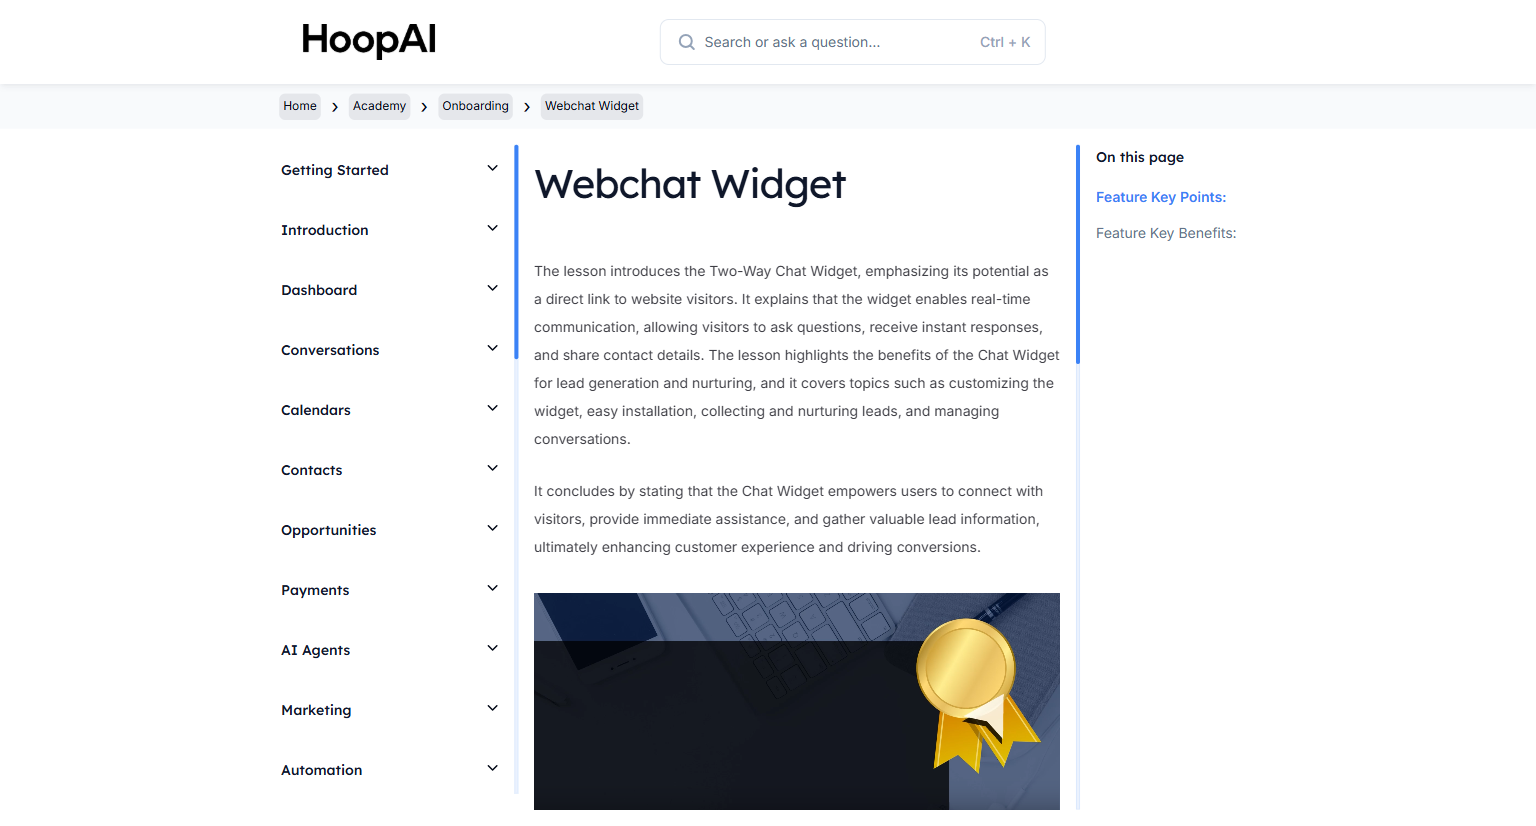
The 2-way SMS chat widget appears as a chat bubble on your web pages. When a visitor clicks it and enters their information, they start a text message conversation with your business. Their message arrives in your Conversations inbox, and your reply goes directly to their phone as an SMS — no app required on their end.

<Frame caption="The 2-Way SMS Chat Widget lesson in the HoopAI Academy Funnels and Websites section">
  <img src="https://mintcdn.com/hoopai-84ec0cdc/gyU98wGhFXcTdqFf/images/academy-onboarding-webchat-widget.png?fit=max&auto=format&n=gyU98wGhFXcTdqFf&q=85&s=66e9548553a7c885294aae986c271a46" alt="2-Way SMS chat widget article" width="1536" height="826" data-path="images/academy-onboarding-webchat-widget.png" />
</Frame>

## Why this matters

Traditional live chat requires someone to be available at that exact moment. Most website visitors are browsing outside business hours — and they leave without contacting you because no one is there to respond. The SMS chat widget changes this completely. The visitor sends a message when it is convenient for them, and you or your automation replies when you are available. The conversation continues via text — the channel most people actually read.

<Note>
  Text messages have a 98% open rate and are read within 3 minutes by 9 out of 10 people — making SMS chat one of the highest-performing lead capture tools available.
</Note>

## How to add the chat widget to your pages

<Steps>
  <Step title="Configure the chat widget">
    Go to **Sites** > **Chat Widget** (or **Settings** > **Chat Widget**). Configure:

    * **Widget headline:** The title shown on the chat bubble — for example, "Chat with us!"
    * **Welcome message:** The text displayed when the visitor opens the chat
    * **Input fields:** Which contact fields to collect — name, phone, email
    * **Widget color:** Match your brand colors
    * **Widget position:** Bottom left or bottom right of the page

    <Frame caption="Configuring the chat widget headline, welcome message, and branding settings">
      <img src="https://mintcdn.com/hoopai-84ec0cdc/gyU98wGhFXcTdqFf/images/academy-onboarding-webchat-widget.png?fit=max&auto=format&n=gyU98wGhFXcTdqFf&q=85&s=66e9548553a7c885294aae986c271a46" alt="Chat widget configuration settings" width="1536" height="826" data-path="images/academy-onboarding-webchat-widget.png" />
    </Frame>
  </Step>

  <Step title="Add the widget to an internal funnel or website page">
    Open the funnel or website page in the builder. In the elements panel, find the **Chat Widget** element and drag it onto the page. The widget appears as the floating chat bubble on your published page.
  </Step>

  <Step title="Embed on external websites">
    To add the chat widget to a website outside the platform — WordPress, Squarespace, Wix, etc. — copy the widget embed code from the Chat Widget settings and paste it into the `<head>` or `<body>` of your external site.

    <Frame caption="Getting the embed code to add the chat widget to an external website">
      <img src="https://mintcdn.com/hoopai-84ec0cdc/gyU98wGhFXcTdqFf/images/academy-onboarding-connect-integrations.png?fit=max&auto=format&n=gyU98wGhFXcTdqFf&q=85&s=438d94999ada2e8819af2eb0ee159b50" alt="Chat widget embed code" width="1536" height="826" data-path="images/academy-onboarding-connect-integrations.png" />
    </Frame>
  </Step>

  <Step title="Set up automated responses">
    Create a workflow triggered by **Customer Replied** with the channel set to SMS. Add an immediate reply so visitors get an instant response — even outside business hours. For example:

    > "Hi `{{contact.first_name}}`! Thanks for reaching out. We will be in touch within 1 business day. In the meantime, you can book a call here: \[link]"

    <Tip>
      Always include your booking link in the automated chat widget response. A visitor who is engaged enough to open your chat widget is your warmest possible lead — give them the easiest possible path to booking a call.
    </Tip>
  </Step>

  <Step title="Monitor and respond in Conversations">
    All chat widget messages are routed to your **Conversations** inbox. When a visitor sends a message, you receive a notification and can reply directly from the inbox. Your reply is delivered to the visitor as an SMS.

    <Frame caption="Chat widget messages appearing in the Conversations inbox alongside SMS and email">
      <img src="https://mintcdn.com/hoopai-84ec0cdc/gyU98wGhFXcTdqFf/images/academy-quick-start-conversations.png?fit=max&auto=format&n=gyU98wGhFXcTdqFf&q=85&s=b35ece2a2ead2ac8c92820a62c044b70" alt="Chat messages in Conversations inbox" width="1536" height="826" data-path="images/academy-quick-start-conversations.png" />
    </Frame>
  </Step>
</Steps>

## Key points

<AccordionGroup>
  <Accordion title="Why SMS chat outperforms live chat">
    Traditional live chat requires both parties to be online at the same time. SMS chat does not — the visitor sends their message and continues their day, while you reply when available. This removes friction from the lead capture process and produces higher contact rates than email follow-up.
  </Accordion>

  <Accordion title="Works on any website">
    The chat widget embed code works on any website platform — WordPress, Squarespace, Wix, Webflow, or any custom HTML site. You do not need to use the platform's website builder to benefit from the widget.
  </Accordion>

  <Accordion title="Contacts are automatically created">
    When a visitor submits their information via the chat widget, a contact record is automatically created in the platform. The conversation is logged, and any configured workflow automation fires immediately.
  </Accordion>

  <Accordion title="Automating responses with workflows">
    Pair the chat widget with a Customer Replied workflow trigger to send an instant automated reply. You can also route leads to team members, add tags, or enroll contacts in nurture sequences based on the chat widget submission.
  </Accordion>
</AccordionGroup>

## Key benefits

<AccordionGroup>
  <Accordion title="Always-on lead capture">
    The chat widget works 24/7 — capturing visitor information even when your team is offline.
  </Accordion>

  <Accordion title="Higher engagement">
    SMS has a 45% response rate vs. 6% for email — visitors are far more likely to reply.
  </Accordion>

  <Accordion title="No special app required">
    Visitors respond via standard text message from their phone.
  </Accordion>

  <Accordion title="Instant contact creation">
    Chat submissions automatically create contact records in your CRM.
  </Accordion>

  <Accordion title="Flexible deployment">
    Add the widget to platform pages or embed it on any external website.
  </Accordion>

  <Accordion title="Automated follow-up">
    Pair with workflows to send instant replies and start nurture sequences immediately.
  </Accordion>
</AccordionGroup>