> ## Documentation Index
> Fetch the complete documentation index at: https://help.hoopai.com/llms.txt
> Use this file to discover all available pages before exploring further.

# Create your branded booking page

> Design a booking page that looks like your business — your logo, your colors, your domain — so every contact who books an appointment experiences a professional and trustworthy scheduling flow.

export const CourseTracker = ({courseId, lessonId, videoId}) => {
  const [progress, setProgress] = useState({});
  const [expanded, setExpanded] = useState(false);
  useEffect(() => {
    setProgress(loadProgress());
    document.body.setAttribute("data-academy", "true");
    return () => document.body.removeAttribute("data-academy");
  }, []);
  const course = COURSES[courseId];
  if (!course) return null;
  const lessons = course.lessons;
  const currentIndex = lessons.findIndex(l => l.id === lessonId);
  const completedCount = lessons.filter(l => !!progress[courseId + "/" + l.id]).length;
  const percent = lessons.length > 0 ? Math.round(completedCount / lessons.length * 100) : 0;
  const isCurrentDone = !!progress[courseId + "/" + lessonId];
  const prev = currentIndex > 0 ? lessons[currentIndex - 1] : null;
  const next = currentIndex < lessons.length - 1 ? lessons[currentIndex + 1] : null;
  const totalDuration = formatTotalDuration(lessons);
  const handleToggle = () => {
    const key = courseId + "/" + lessonId;
    const updated = {
      ...progress
    };
    if (updated[key]) {
      delete updated[key];
    } else {
      updated[key] = Date.now();
    }
    setProgress(updated);
    persistProgress(updated);
  };
  const lessonPath = lesson => "/academy/" + course.dir + "/" + lesson.id;
  const videoEmbed = videoId ? <div style={{
    position: "relative",
    width: "100%",
    paddingBottom: "56.25%",
    borderRadius: "var(--ds-radius-lg)",
    overflow: "hidden",
    marginBottom: "24px",
    background: "#000"
  }}>
      <iframe src={"https://www.youtube-nocookie.com/embed/" + videoId + "?rel=0"} title="Lesson video" allow="accelerometer; autoplay; clipboard-write; encrypted-media; gyroscope; picture-in-picture" allowFullScreen style={{
    position: "absolute",
    top: 0,
    left: 0,
    width: "100%",
    height: "100%",
    border: "none"
  }} />
    </div> : null;
  const lessonList = lessons.map(lesson => {
    const isActive = lesson.id === lessonId;
    const isDone = !!progress[courseId + "/" + lesson.id];
    const itemStyle = {
      display: "flex",
      alignItems: "center",
      gap: "8px",
      padding: "10px 16px",
      borderTop: "1px solid var(--academy-border-subtle, #f3f4f6)",
      background: isActive ? "var(--academy-active-bg, #f9fafb)" : "transparent",
      textDecoration: "none",
      cursor: isActive ? "default" : "pointer",
      color: "inherit",
      transition: "background 0.15s"
    };
    const titleStyle = {
      flex: 1,
      fontSize: "13px",
      fontWeight: isActive ? 600 : 400,
      color: isActive ? "var(--academy-text, #111827)" : "var(--academy-text-secondary, #6b7280)",
      overflow: "hidden",
      textOverflow: "ellipsis",
      whiteSpace: "nowrap",
      lineHeight: "1.4"
    };
    const durationStyle = {
      fontSize: "12px",
      color: "var(--academy-text-muted, #9ca3af)",
      whiteSpace: "nowrap"
    };
    const inner = <>
        {isDone ? <CheckCircle /> : <VideoIcon />}
        <span style={titleStyle}>{lesson.title}</span>
        <span style={durationStyle}>{lesson.duration}</span>
      </>;
    if (isActive) {
      return <div key={lesson.id} style={itemStyle}>
          {inner}
        </div>;
    }
    return <a key={lesson.id} href={lessonPath(lesson)} style={itemStyle}>
        {inner}
      </a>;
  });
  return <div className="not-prose" id="academy-course-tracker">
      {videoEmbed}
      <div className="academy-tracker" style={{
    fontFamily: "Inter, -apple-system, BlinkMacSystemFont, sans-serif",
    borderRadius: "var(--ds-radius-lg)",
    border: "1px solid var(--academy-border, #e5e7eb)",
    background: "var(--academy-bg, #ffffff)",
    overflow: "hidden",
    marginBottom: "24px"
  }}>
        {}
        <div style={{
    padding: "16px 16px 0"
  }}>
          <h3 style={{
    margin: 0,
    fontSize: "16px",
    fontWeight: 600,
    lineHeight: "1.4",
    color: "var(--academy-text, #111827)"
  }}>
            {course.title}
          </h3>
          <div style={{
    display: "flex",
    gap: "12px",
    marginTop: "8px"
  }}>
            <span style={{
    display: "flex",
    alignItems: "center",
    gap: "5px",
    fontSize: "12px",
    color: "var(--academy-text-secondary, #6b7280)",
    padding: "3px 8px 3px 6px",
    borderRadius: "var(--ds-radius-sm)",
    border: "1px solid var(--academy-border, #e5e7eb)"
  }}>
              <BookIcon /> {lessons.length} lessons
            </span>
            <span style={{
    display: "flex",
    alignItems: "center",
    gap: "5px",
    fontSize: "12px",
    color: "var(--academy-text-secondary, #6b7280)",
    padding: "3px 8px 3px 6px",
    borderRadius: "var(--ds-radius-sm)",
    border: "1px solid var(--academy-border, #e5e7eb)"
  }}>
              <ClockIcon /> Approx. {totalDuration}
            </span>
          </div>
        </div>

        {}
        <div style={{
    padding: "14px 16px 16px"
  }}>
          <div style={{
    display: "flex",
    justifyContent: "space-between",
    fontSize: "12px",
    color: "var(--academy-text-secondary, #6b7280)"
  }}>
            <span>Your progress</span>
            <span style={{
    fontWeight: 500,
    color: "var(--academy-text, #111827)"
  }}>
              {percent}%
            </span>
          </div>
          <div style={{
    height: "6px",
    borderRadius: "var(--ds-radius-full)",
    background: "var(--academy-track, #f3f4f6)",
    marginTop: "8px",
    overflow: "hidden"
  }}>
            <div style={{
    height: "100%",
    borderRadius: "var(--ds-radius-full)",
    background: "var(--academy-progress, #3b82f6)",
    transition: "width 0.5s cubic-bezier(0.4, 0, 0.2, 1)",
    width: percent + "%"
  }} />
          </div>
        </div>

        {}
        <div className="academy-lessons-desktop">{lessonList}</div>

        {}
        <div className="academy-lessons-mobile">
          <button onClick={() => setExpanded(!expanded)} aria-expanded={expanded} style={{
    display: "flex",
    alignItems: "center",
    justifyContent: "space-between",
    padding: "12px 16px",
    cursor: "pointer",
    borderTop: "1px solid var(--academy-border-subtle, #f3f4f6)",
    background: "transparent",
    border: "none",
    borderTopStyle: "solid",
    borderTopWidth: "1px",
    borderTopColor: "var(--academy-border-subtle, #f3f4f6)",
    width: "100%",
    textAlign: "left",
    color: "var(--academy-text-secondary, #6b7280)",
    fontSize: "13px",
    fontWeight: 500,
    fontFamily: "inherit"
  }}>
            <span>
              {expanded ? "Hide lessons" : "Show all " + lessons.length + " lessons"}
            </span>
            <ChevronDown open={expanded} />
          </button>
          {expanded && lessonList}
        </div>

        {}
        <div style={{
    display: "flex",
    alignItems: "center",
    justifyContent: "space-between",
    borderTop: "1px solid var(--academy-border, #e5e7eb)",
    padding: "10px 16px"
  }}>
          {prev ? <a href={lessonPath(prev)} style={{
    fontSize: "13px",
    color: "var(--academy-text-secondary, #6b7280)",
    textDecoration: "none",
    display: "flex",
    alignItems: "center",
    gap: "4px"
  }}>
              ‹ Previous
            </a> : <div />}
          <button onClick={handleToggle} style={{
    fontSize: "13px",
    fontWeight: 500,
    cursor: "pointer",
    padding: "6px 14px",
    borderRadius: "var(--ds-radius-md)",
    border: isCurrentDone ? "1px solid var(--academy-border, #e5e7eb)" : "none",
    background: isCurrentDone ? "var(--academy-bg, #ffffff)" : "var(--academy-btn-bg, #111827)",
    color: isCurrentDone ? "var(--academy-complete, #10b981)" : "var(--academy-btn-text, #ffffff)",
    display: "flex",
    alignItems: "center",
    gap: "6px",
    transition: "all 0.2s",
    lineHeight: "1.4",
    fontFamily: "inherit"
  }}>
            {isCurrentDone ? <>
                <CheckCircle /> Completed
              </> : "Mark as completed"}
          </button>
          {next ? <a href={lessonPath(next)} style={{
    fontSize: "13px",
    color: "var(--academy-text-secondary, #6b7280)",
    textDecoration: "none",
    display: "flex",
    alignItems: "center",
    gap: "4px"
  }}>
              Next ›
            </a> : <div />}
        </div>
      </div>
    </div>;
};

<CourseTracker courseId="calendars" lessonId="create-your-branded-booking-page" />

Your booking page is often the first time a prospect actively engages with your business — they are choosing a time to meet you. A generic, unbranded booking page undermines the confidence they need to follow through. The HoopAI Platform lets you customize every visual detail of your booking page so it feels like a seamless extension of your website and brand.

<Frame caption="The Create Your Branded Booking Page lesson in the HoopAI Academy Calendars section">
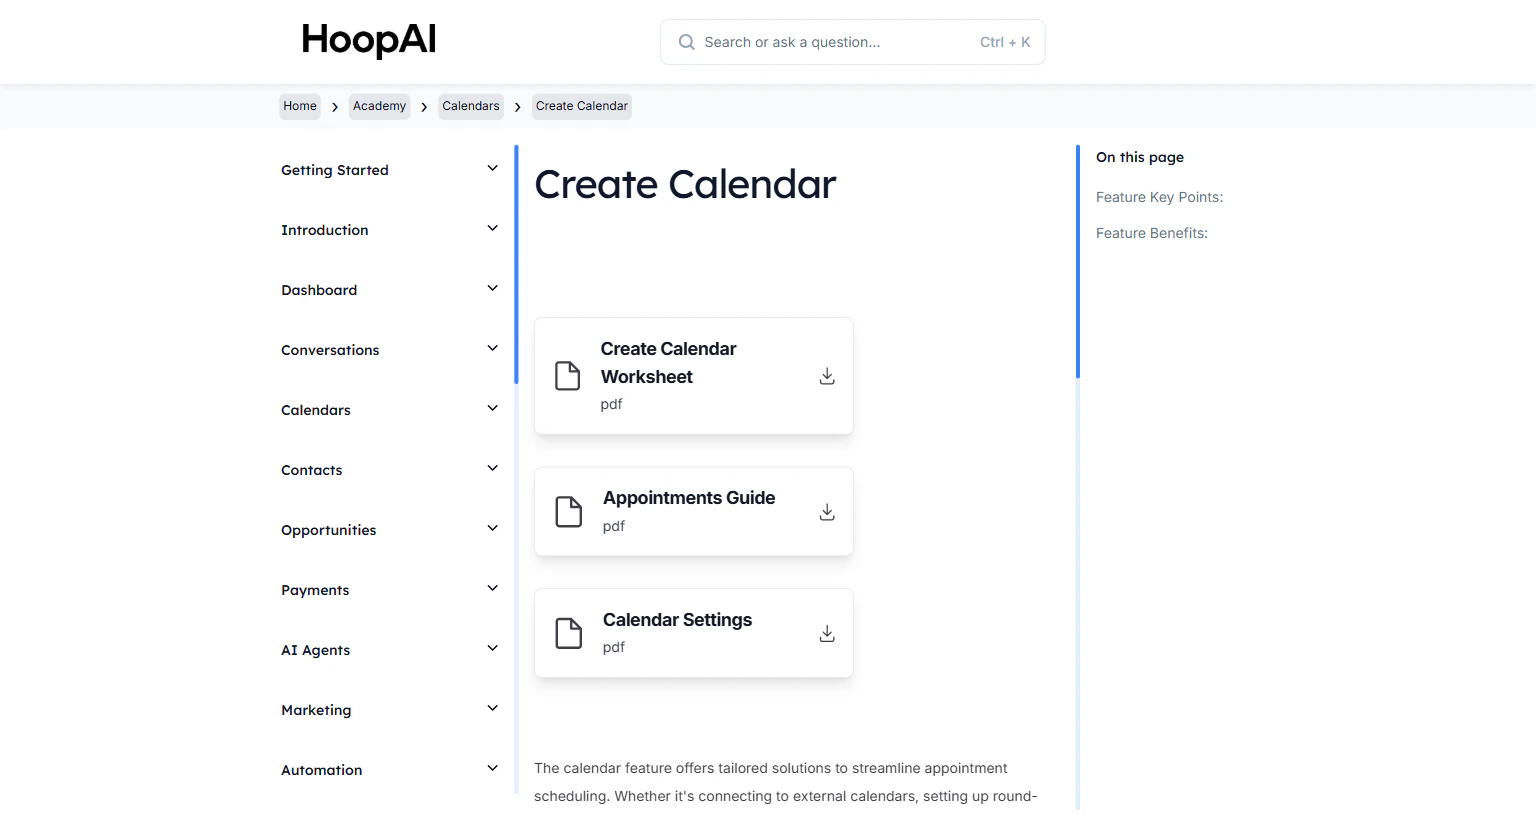
  <img src="https://mintcdn.com/hoopai-84ec0cdc/gyU98wGhFXcTdqFf/images/academy-calendars-create.png?fit=max&auto=format&n=gyU98wGhFXcTdqFf&q=85&s=5be7ef7b0f6b19bf1fea5441430fb3ed" alt="Create a branded booking page article" width="1536" height="826" data-path="images/academy-calendars-create.png" />
</Frame>

## Why this matters

A booking page with no logo, mismatched colors, and a generic URL sends a subtle signal that the business is unprofessional or unsecured. Research shows that branded, consistent experiences increase conversion rates — more contacts who land on a branded booking page complete the booking than those who land on a generic one. Your booking page should look as polished as your website.

## How to create your branded booking page

<Steps>
  <Step title="Open your calendar settings">
    Go to **Calendars** > **Calendar Settings** and click on the calendar you want to customize. Navigate to the **Forms & Availability** tab or the **Customization** section, depending on your calendar type.

    <Frame caption="The Calendar Settings showing the customization options for branding the booking page">
      <img src="https://mintcdn.com/hoopai-84ec0cdc/gyU98wGhFXcTdqFf/images/academy-calendars-create.png?fit=max&auto=format&n=gyU98wGhFXcTdqFf&q=85&s=5be7ef7b0f6b19bf1fea5441430fb3ed" alt="Calendar customization settings" width="1536" height="826" data-path="images/academy-calendars-create.png" />
    </Frame>
  </Step>

  <Step title="Set the calendar title and description">
    Update the **Calendar Name** — this is what contacts see at the top of the booking page. Add a short **Description** explaining what the appointment is for and what the contact can expect.

    Example title: "30-Minute Strategy Call"
    Example description: "Book your complimentary strategy session. We will review your current goals and outline a clear next step."

    <Tip>
      Make the title action-oriented and specific. "30-Minute Strategy Call" converts better than "Consultation" because it sets clear expectations about the time commitment and format.
    </Tip>
  </Step>

  <Step title="Upload your logo and set brand colors">
    In the **Customization** or **Appearance** section of the calendar settings:

    * Upload your business **logo** — it displays at the top of the booking page
    * Set your **primary color** — used for the booking button, selected time slot highlights, and accents
    * Set the **background color** — keep it consistent with your website or use white for a clean look

    <Frame caption="Uploading a logo and setting brand colors for a professional booking page appearance">
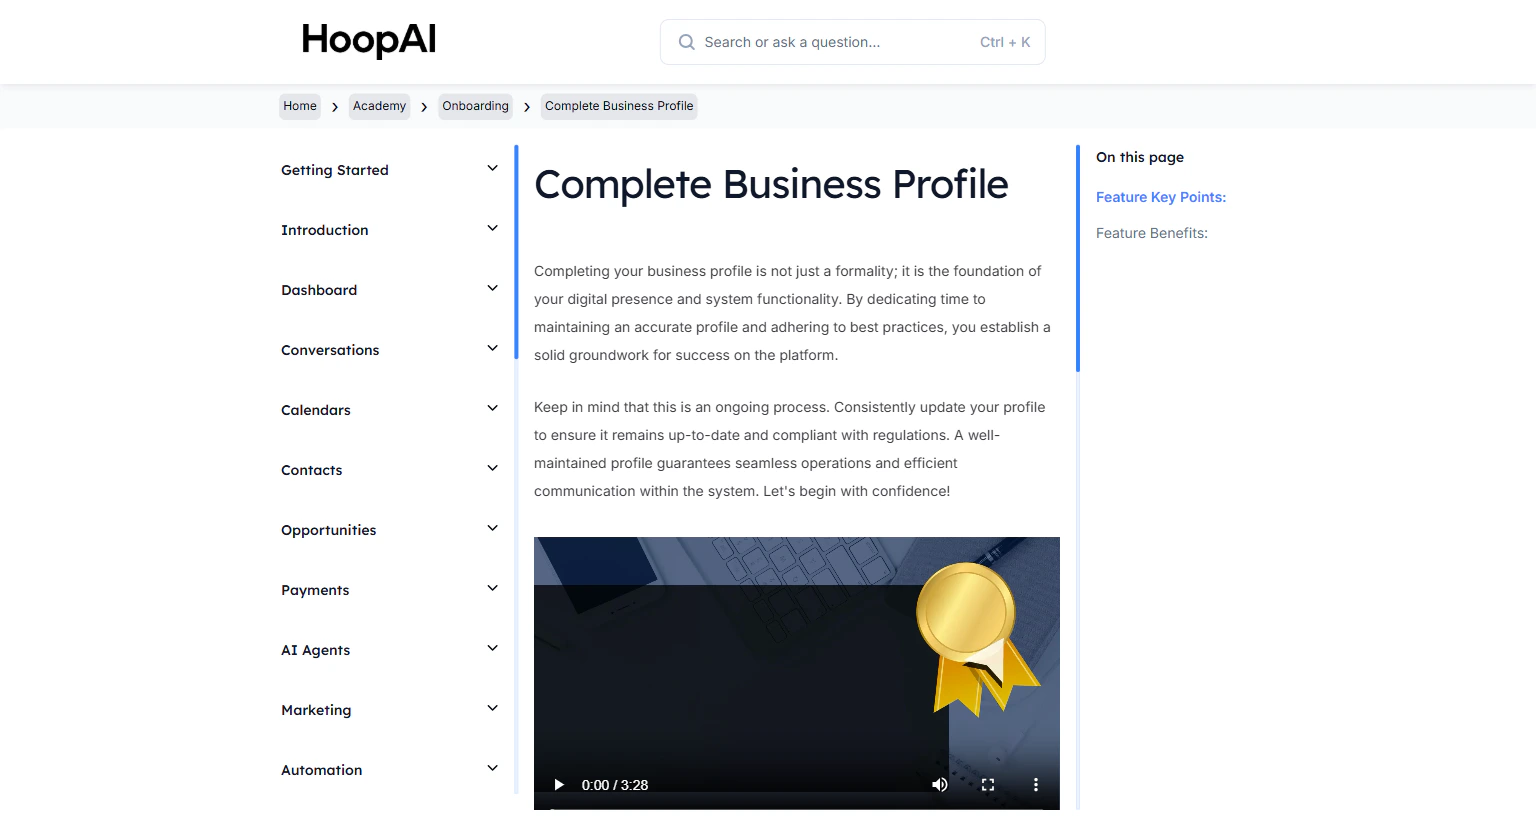
      <img src="https://mintcdn.com/hoopai-84ec0cdc/gyU98wGhFXcTdqFf/images/academy-onboarding-business-profile.png?fit=max&auto=format&n=gyU98wGhFXcTdqFf&q=85&s=16ee3d4747e0c5b5fdffec7483279cae" alt="Booking page logo and color customization" width="1536" height="826" data-path="images/academy-onboarding-business-profile.png" />
    </Frame>
  </Step>

  <Step title="Configure the intake form questions">
    Under **Form Fields** or **Custom Fields**, add the questions you want contacts to answer before completing the booking:

    * Name and email are collected by default
    * Add **Phone** to enable SMS confirmation and reminders
    * Add **custom questions** — company name, goal for the call, how they heard about you
    * Mark fields as required or optional

    Only ask for what you will actually use. Longer forms reduce completion rates — keep intake questions to 3-5 fields maximum.
  </Step>

  <Step title="Set up the confirmation message and redirect">
    After a contact completes their booking, they see a confirmation screen. Configure what happens at that moment:

    * **Confirmation message:** The text shown immediately after booking — for example, "You are booked! Check your email for a confirmation and calendar invite."
    * **Redirect URL:** Instead of a message, redirect the contact to a custom thank you page on your website — your booking confirmation funnel page, a video message, or a resource download

    <Frame caption="Configuring the post-booking confirmation message and optional redirect to a custom thank you page">
      <img src="https://mintcdn.com/hoopai-84ec0cdc/gyU98wGhFXcTdqFf/images/academy-onboarding-webchat-widget.png?fit=max&auto=format&n=gyU98wGhFXcTdqFf&q=85&s=66e9548553a7c885294aae986c271a46" alt="Booking confirmation and redirect settings" width="1536" height="826" data-path="images/academy-onboarding-webchat-widget.png" />
    </Frame>
  </Step>

  <Step title="Connect your domain">
    By default, your booking page lives on a generic platform URL. To use your own domain:

    1. Go to **Settings** > **Domains** and confirm your domain is connected to the platform
    2. Inside the calendar settings, assign the calendar to your connected domain
    3. Set a clean URL slug — for example, `yourdomain.com/book` or `yourdomain.com/strategy-call`

    See [Add a Domain or Subdomain](/academy/onboarding/add-a-domain-or-subdomain) if your domain is not yet connected.

    <Frame caption="Assigning a custom domain and URL slug to the branded booking page">
      <img src="https://mintcdn.com/hoopai-84ec0cdc/gyU98wGhFXcTdqFf/images/academy-onboarding-business-profile.png?fit=max&auto=format&n=gyU98wGhFXcTdqFf&q=85&s=16ee3d4747e0c5b5fdffec7483279cae" alt="Custom domain assignment for booking page" width="1536" height="826" data-path="images/academy-onboarding-business-profile.png" />
    </Frame>
  </Step>

  <Step title="Preview and publish your booking page">
    Click **Preview** to see the booking page exactly as a contact will see it. Check:

    * Logo and colors appear correctly
    * Available time slots display accurately
    * Form fields are in the right order and labeled clearly
    * The confirmation message or redirect works after a test booking

    Once satisfied, copy the booking URL and share it — add it to your website, email signatures, SMS messages, and social media bio.
  </Step>
</Steps>

## Key points

<AccordionGroup>
  <Accordion title="Custom domain vs. platform URL">
    Without a custom domain, your booking page URL includes the platform's subdomain — for example, `app.hoopai.io/calendar/your-calendar`. With a custom domain connected, you can publish the page at `yourdomain.com/book` — a cleaner, more professional URL that reinforces your brand in every link you share.
  </Accordion>

  <Accordion title="Redirect vs. confirmation message — which to use?">
    Use a **confirmation message** for simplicity — just enter the text and the booking page displays it immediately. Use a **redirect** when you want to do something more sophisticated: send the contact to a thank you page with a video, offer a resource download, or trigger a pixel event for ad tracking. Redirect to a page on your own domain for maximum brand consistency.
  </Accordion>

  <Accordion title="Form fields and conversion rates">
    Every additional field you add to the intake form reduces the percentage of contacts who complete the booking. Name, email, and phone are the core minimum. Add company name and one qualifying question if your sales process requires it. Avoid asking for information you can collect later in the discovery call itself.
  </Accordion>

  <Accordion title="Multiple calendar types, one branded experience">
    The same branding options — logo, colors, custom domain, confirmation redirect — apply to all calendar types: Service (one-on-one), Round Robin, Collective, and Class Booking. Each calendar can have its own distinct branding, or you can keep a consistent look across all of them.
  </Accordion>
</AccordionGroup>

## Key benefits

<AccordionGroup>
  <Accordion title="Professional first impression">
    A branded booking page with your logo, colors, and domain builds trust before the appointment even starts.
  </Accordion>

  <Accordion title="Higher booking completion">
    Familiar branding reduces friction and increases the percentage of visitors who complete the booking.
  </Accordion>

  <Accordion title="Custom intake questions">
    Collect exactly the information you need to prepare for the appointment — no more, no less.
  </Accordion>

  <Accordion title="Flexible confirmation options">
    Show a simple message or redirect to a fully custom thank you page with additional resources.
  </Accordion>

  <Accordion title="Your own domain">
    Publish at `yourdomain.com/book` for a clean, professional link you can share anywhere.
  </Accordion>
</AccordionGroup>